
32 DIY Christmas Garland Ideas: Dried Orange, Popcorn and Paper
Garlands are the easiest handmade Christmas there is — a needle, a length of twine and an afternoon — and these 32 diy christmas garland ideas start with the classics, dried orange, popcorn and paper, then wander through greenery, foraged branches and mixed layers, so every doorway, tree and table in the house can wear something you made yourself.
Dried Orange & Citrus Garlands
1. Classic Dried Orange Slices: The Garland That Started It All
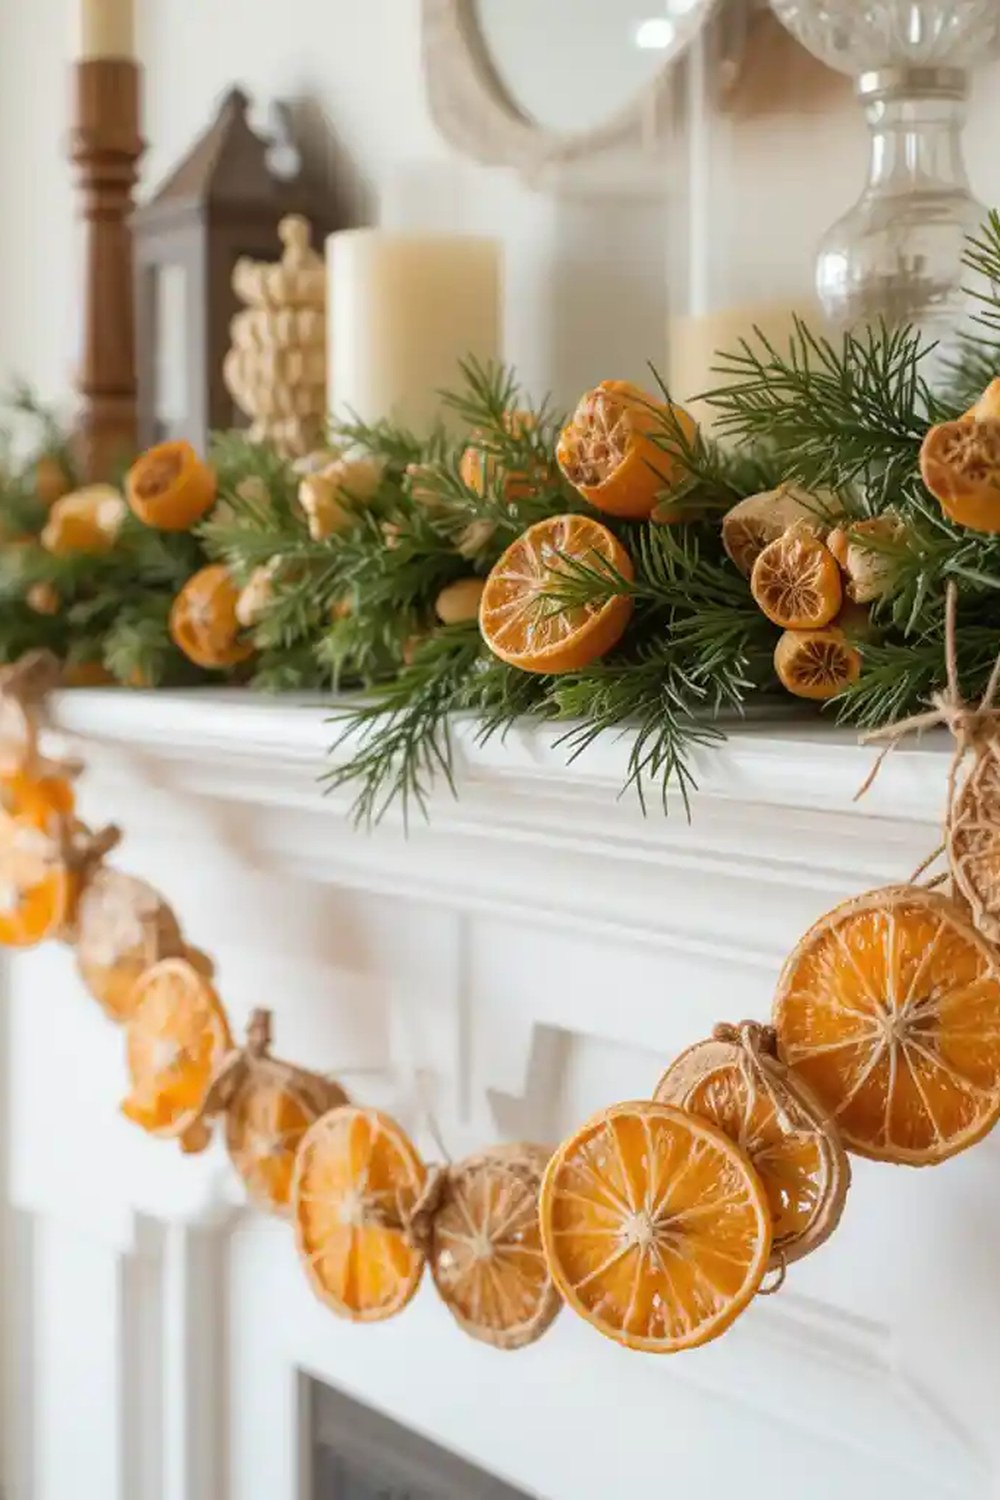
Orange slices, dried to stained glass — the simplest garland, and still the prettiest.
Slice oranges thinly, dry them slowly in a low oven until they turn translucent, then thread them onto twine with a large needle, spacing them evenly. The slices glow amber against the light, smell faintly of Christmas for weeks, and cost almost nothing. Hung across a mantel or a window, this garland is the whole handmade-Christmas story in a single line.
Styling tip: slice the oranges no thicker than 5mm and dry them at the lowest oven setting, turning them once. Thick slices stay soft in the middle and curl unevenly; thin ones dry flat and keep their colour.
2. Orange & Cinnamon Stick Garland: Spice and Citrus
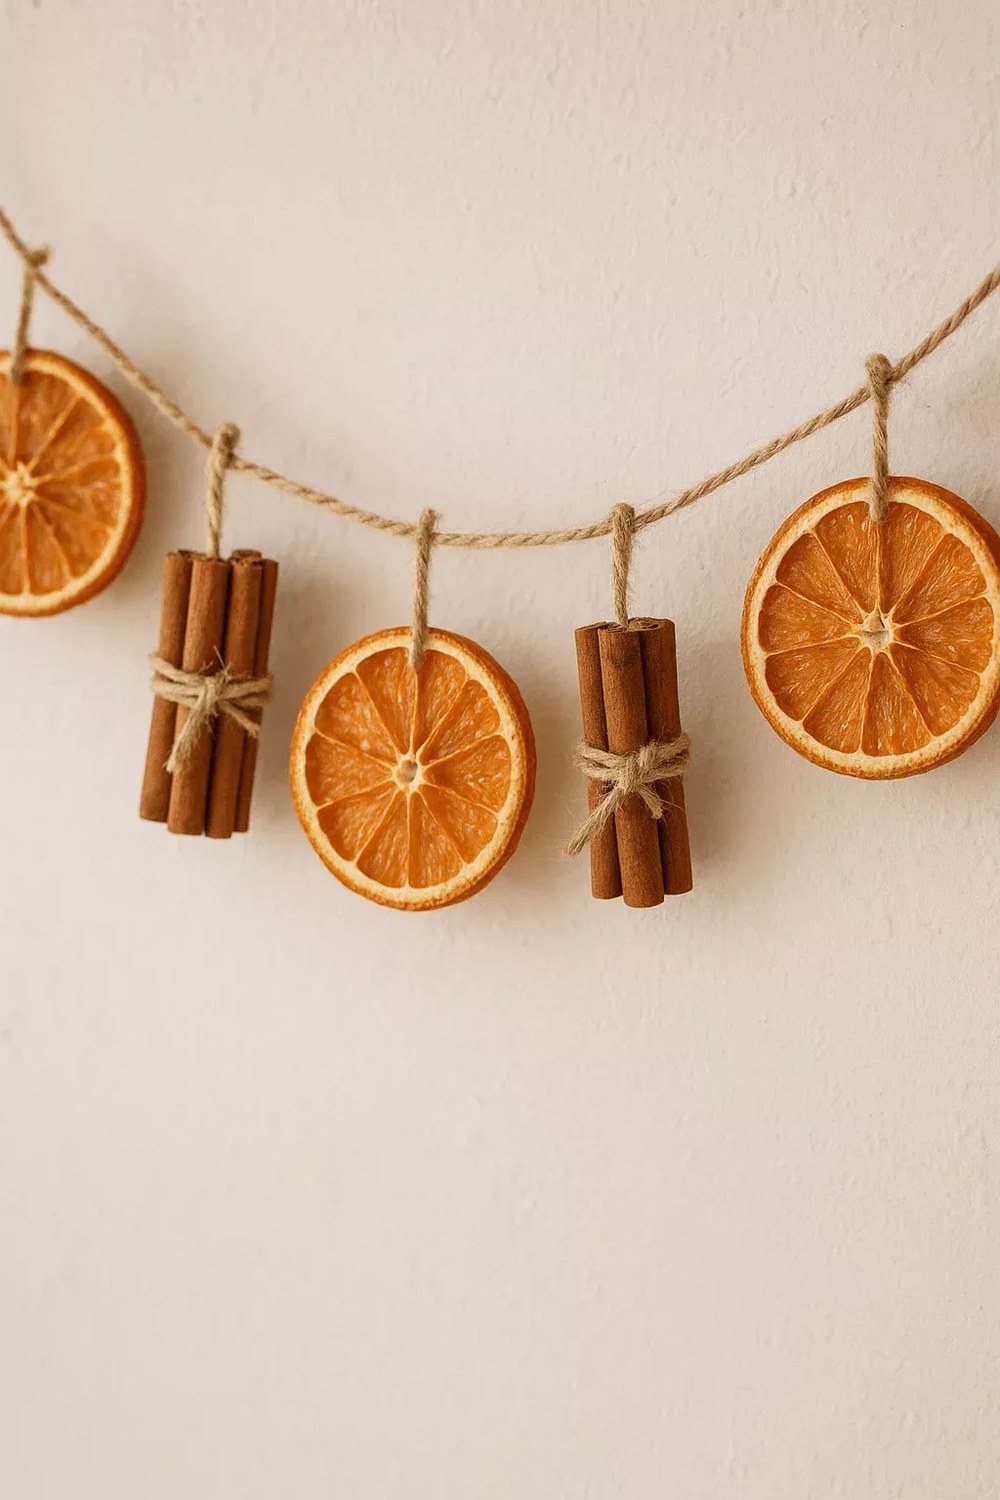
Cinnamon sticks between the orange slices — the garland smells like Christmas before you even see it.
Thread dried orange slices onto twine and tie a cinnamon stick between every second slice with a short length of string. The cinnamon adds a warm brown stripe to the amber row, and the scent — citrus and spice together — is the best air freshener a house can have in December. It is a five-minute upgrade to the classic garland, and it looks twice as considered.
Styling tip: use cinnamon sticks of roughly the same length and tie each one at its centre so it hangs straight. A cinnamon stick tied at one end swings and tangles with its neighbours.
3. Orange, Star Anise & Clove: The Spiced Garland
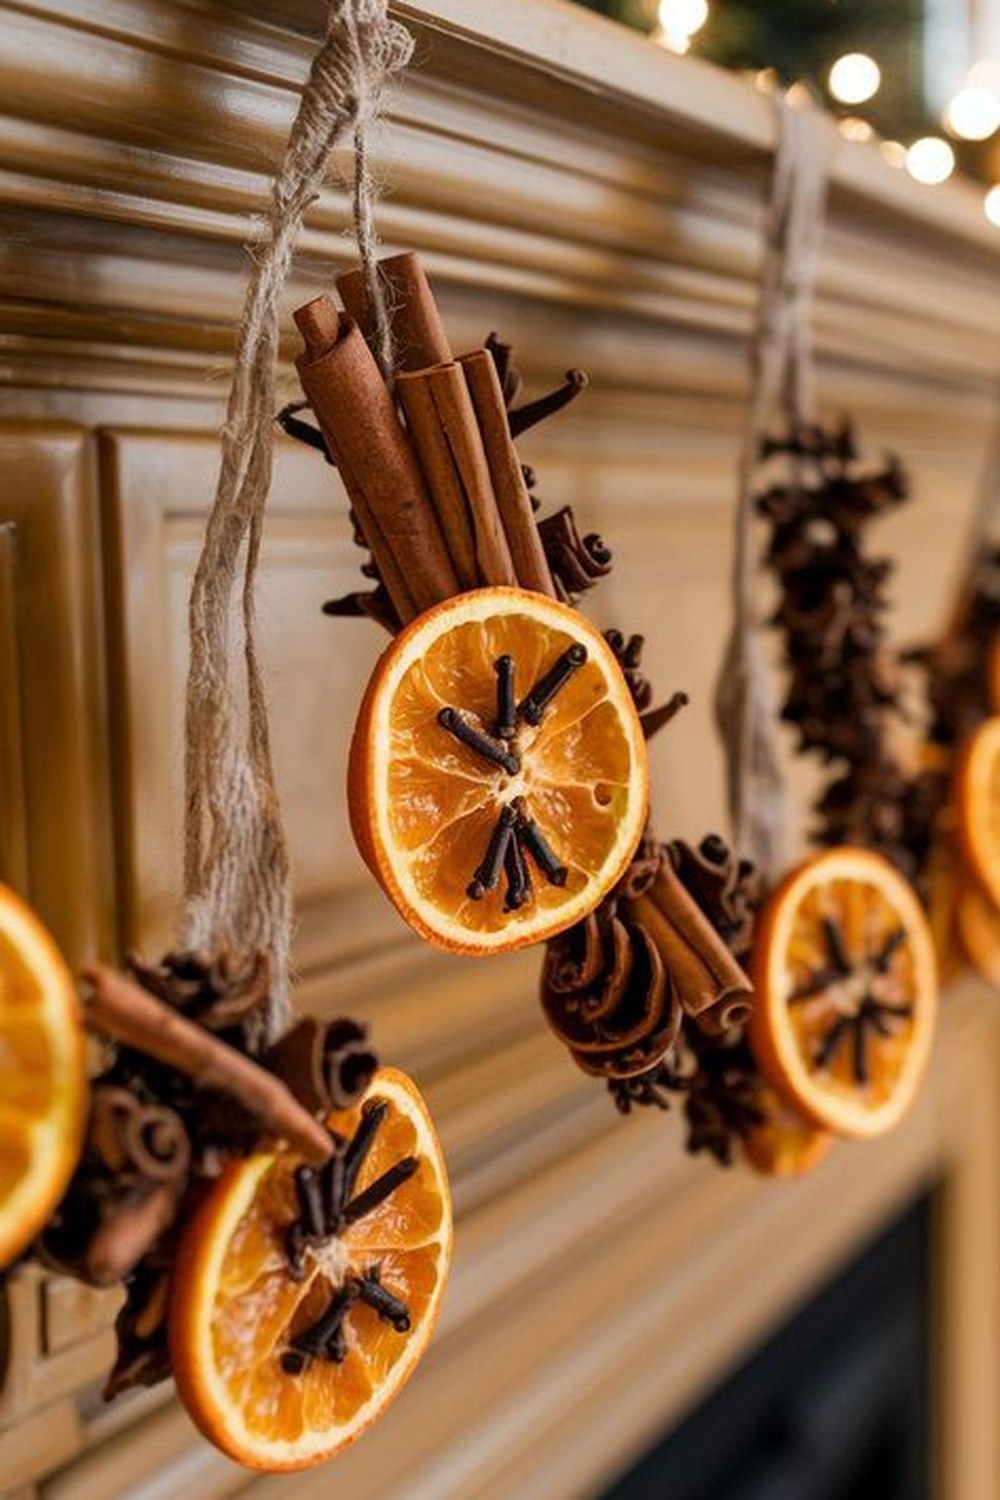
Star anise like little wooden stars — the garland becomes a spice rack you can hang.
Add star anise and whole cloves to the orange-slice garland, threading the cloves through the slices or tying the star anise on with twine. The star shapes break up the round slices beautifully, the dark brown spice adds depth to the amber, and the whole garland smells like mulled wine. It is the most fragrant garland in this guide, and the one guests will lean in to smell.
Styling tip: thread cloves through the orange slices while they are still slightly warm from the oven — they push through easily then and set firm as the slices cool. Cold, fully dried slices can crack.
4. Orange Slices on Twine With Greenery: Citrus in the Pines
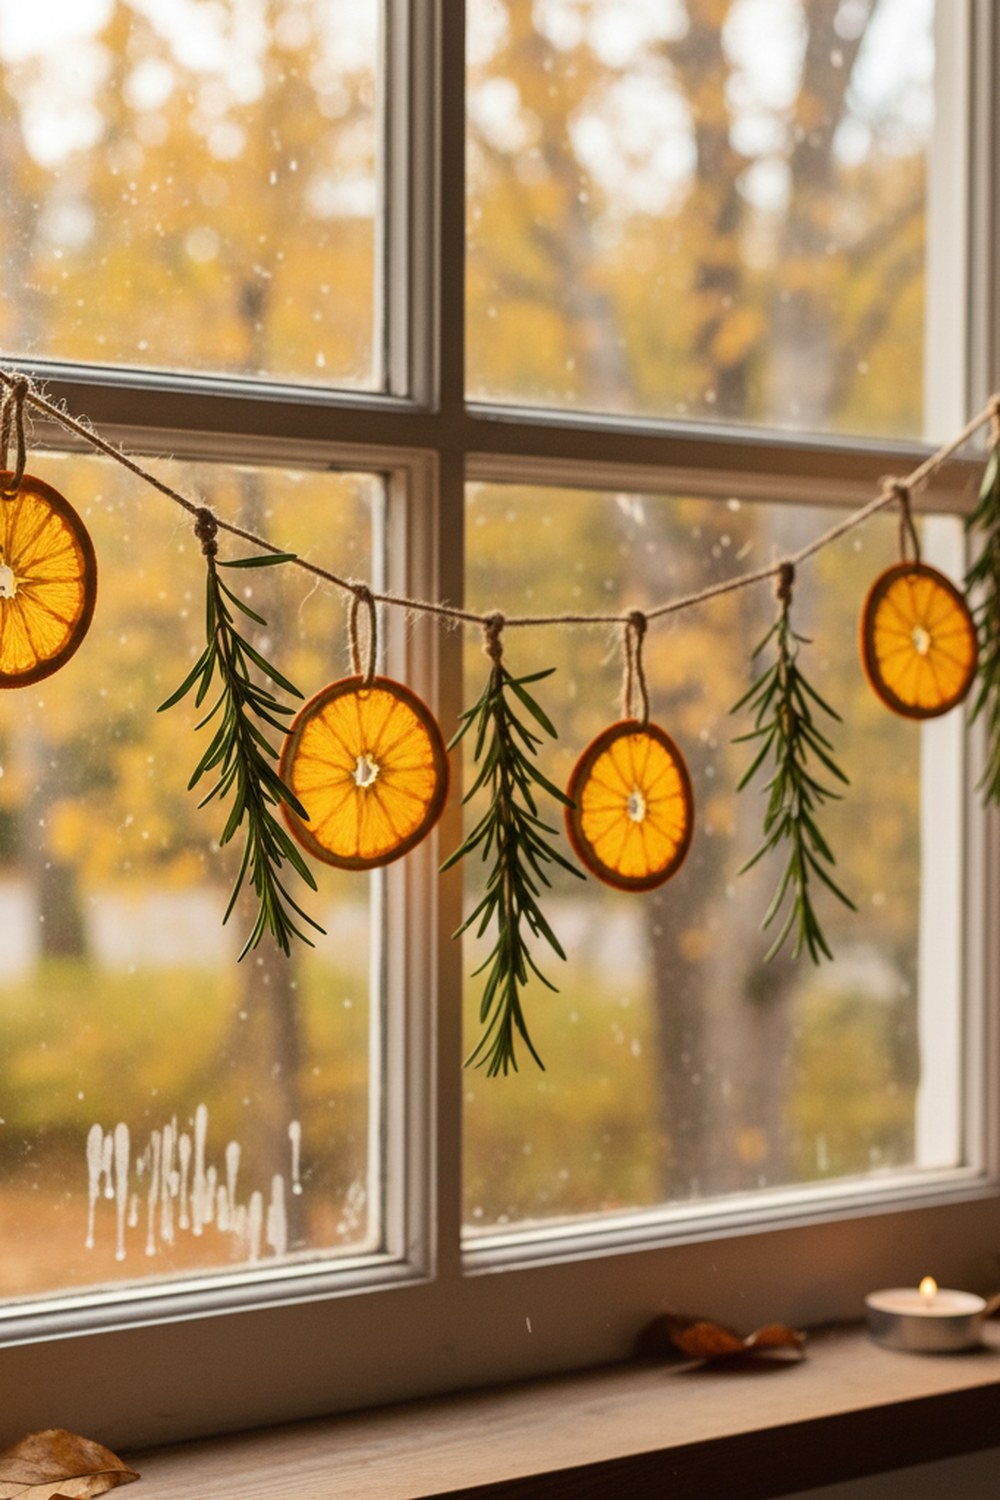
Orange and green together — the garland joins the greenery instead of competing with it.
Thread dried orange slices onto twine, then tuck small sprigs of fresh pine, eucalyptus or rosemary between them, tying each sprig in place with a short piece of string. The green softens the amber row, the garland reads as part of the house's greenery rather than a separate decoration, and the fresh sprigs keep the whole thing smelling like a winter garden. It is the best version for a window, where the light shines through the slices.
Styling tip: replace the fresh sprigs once a week — they dry out in warm air and shed. Dried orange lasts the whole season; fresh greenery is the part that needs tending.
5. Orange & Bay Leaf Garland: Dark Green, Bright Amber
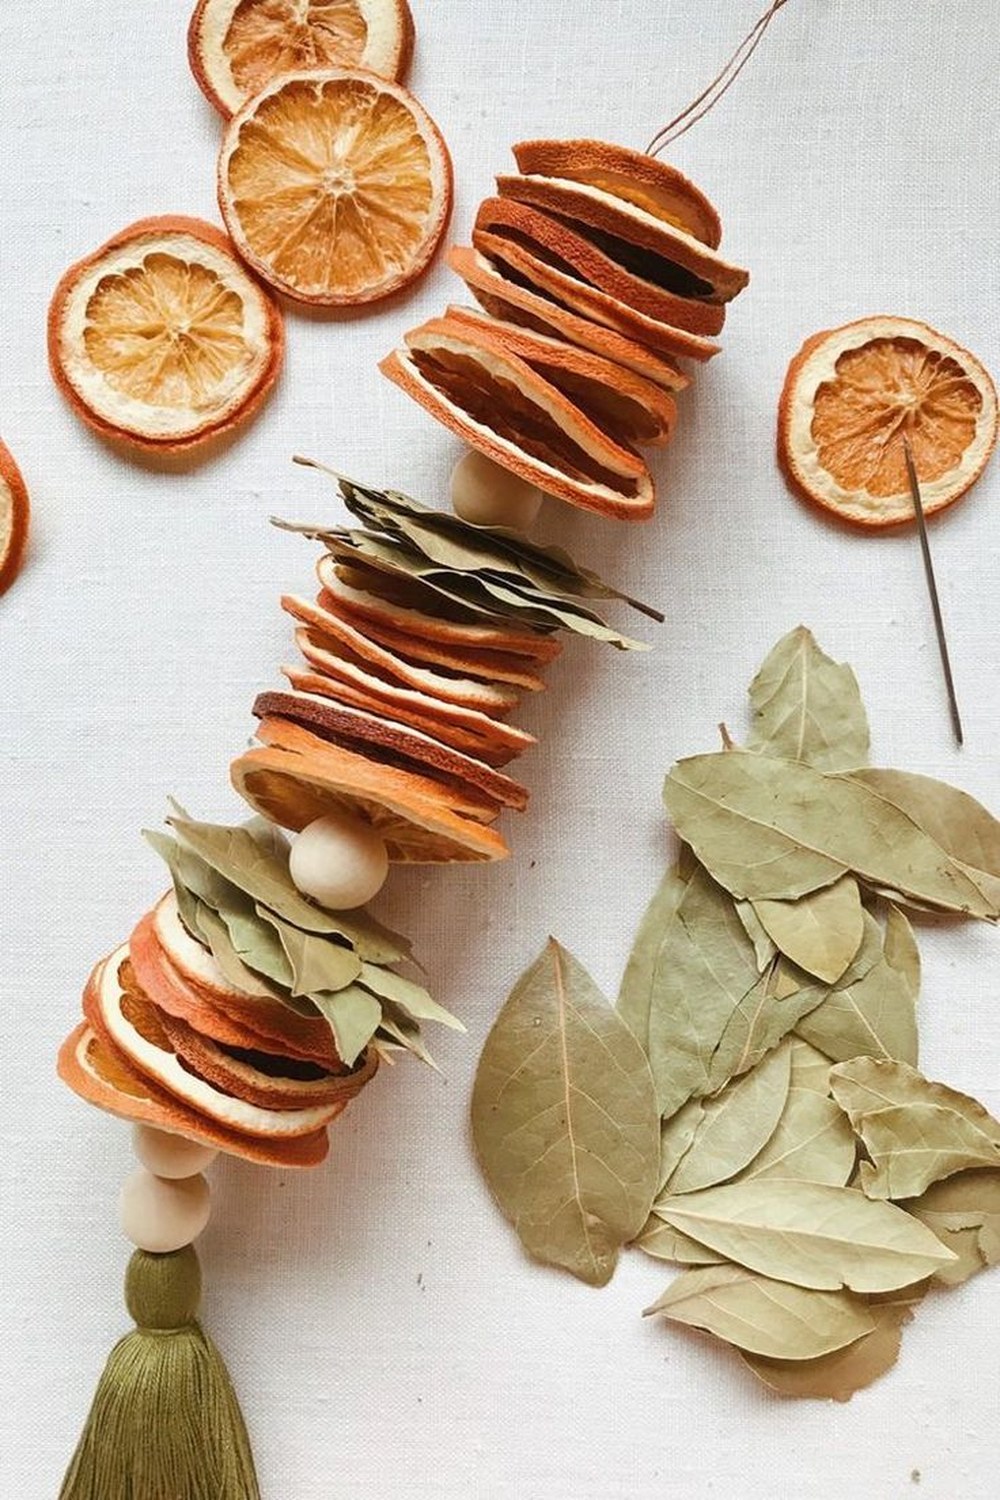
Bay leaves, dark and glossy, between the amber slices — the garland looks like it grew in a kitchen garden.
Thread dried bay leaves between the orange slices, two leaves to each slice, so the garland alternates dark green and glowing amber down its whole length. Bay is the darkest green in the kitchen, which makes the orange shine brighter beside it, and the leaves dry beautifully without curling. Hung in the kitchen, this garland suits the room it was made in.
Styling tip: use whole, unbroken bay leaves and thread them through the centre vein. Torn leaves fray at the edges and look untidy within a day.
6. Orange Slice & Wooden Bead Garland: A Crafted Look
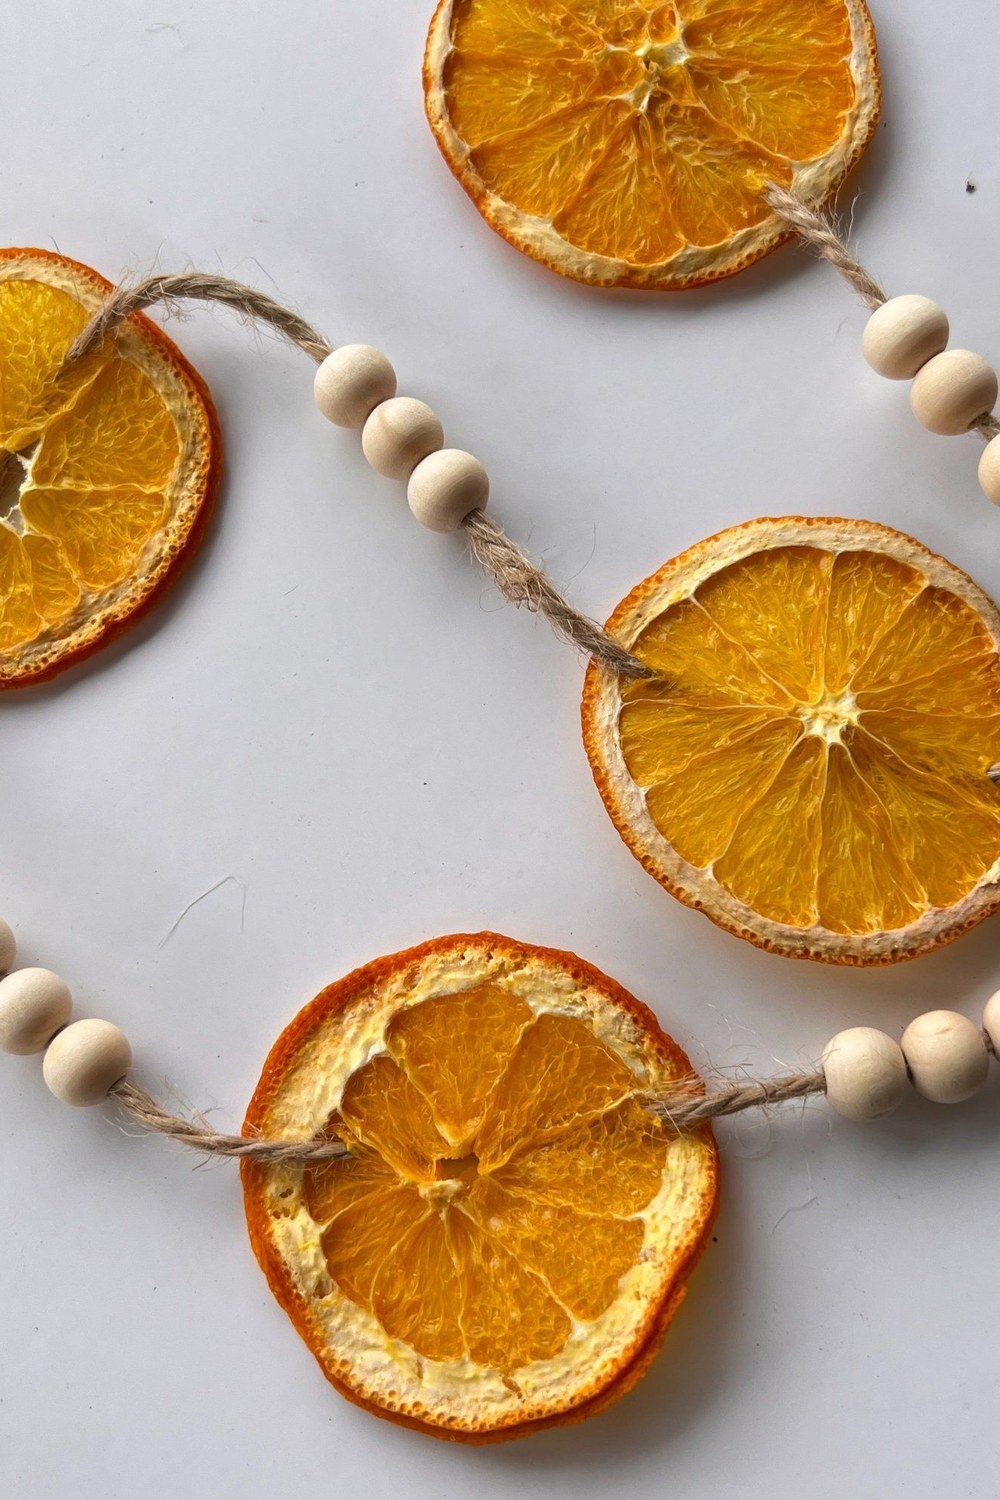
Wooden beads between the slices — the garland gets a crafted, Scandinavian rhythm.
Thread large natural wooden beads between the orange slices, three beads to each slice, on a length of twine. The pale wood calms the amber down, the beads give the garland a neat, measured rhythm, and the whole thing reads Scandinavian — simple, natural, handmade. It is a lovely garland for a neutral or minimalist Christmas, where bright colours would shout.
Styling tip: use beads with a wide enough hole for your twine, and knot the twine on either side of each bead group so nothing slides. Beads that bunch at one end ruin the rhythm in an afternoon.
7. Orange Garland for the Kitchen Window: Citrus Where You Cook
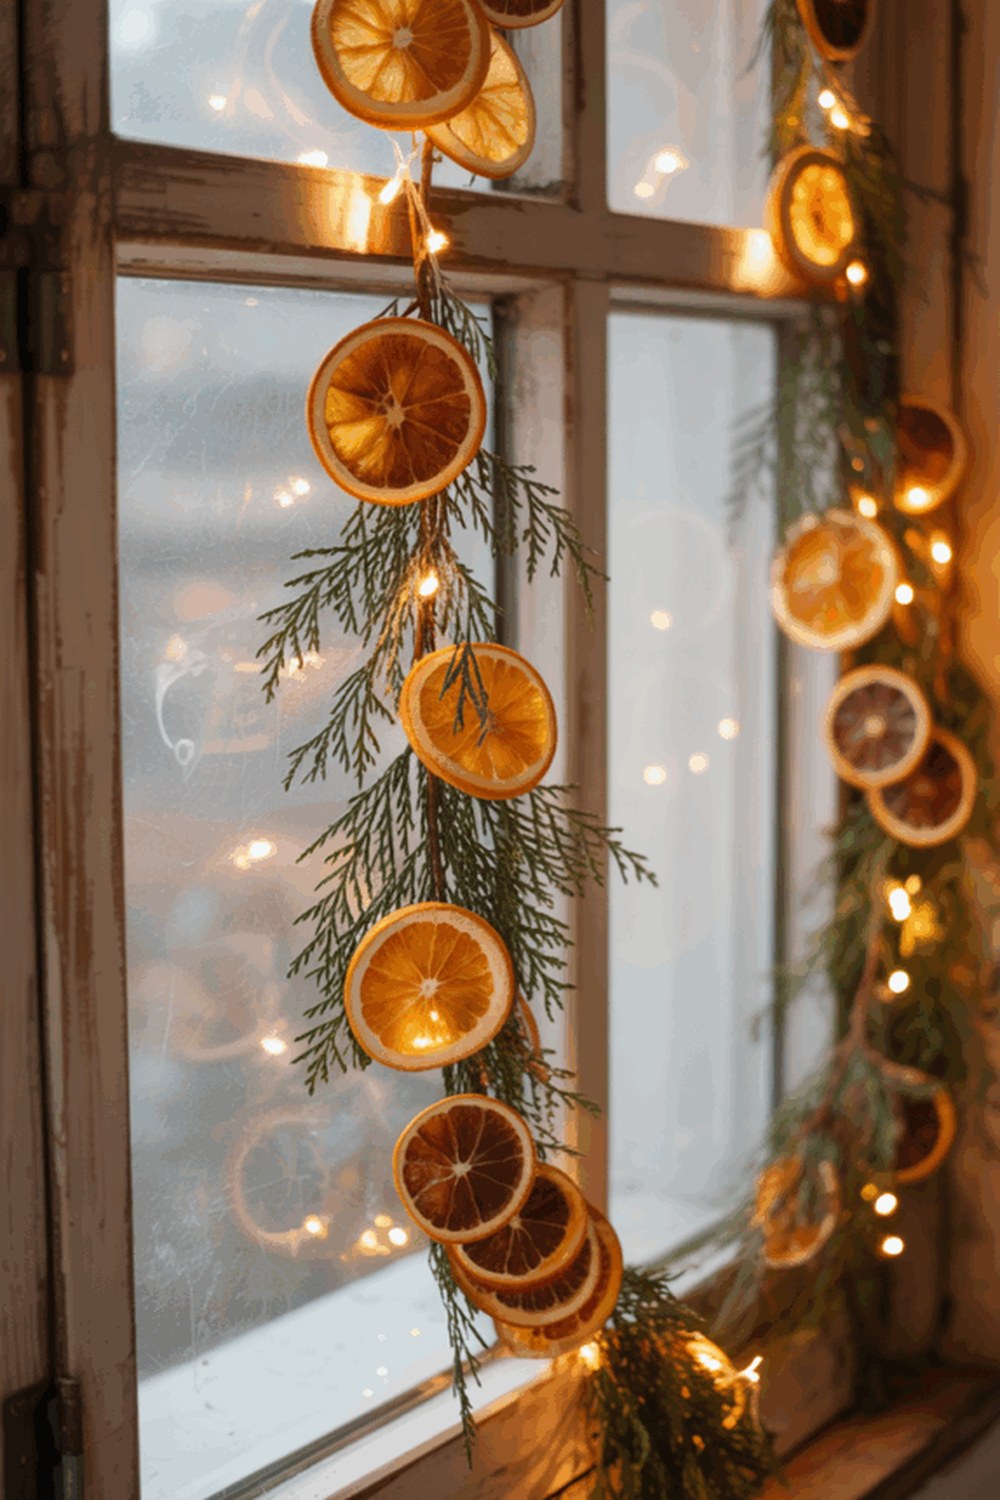
The kitchen window is where the oranges were dried — hang the garland there and the story comes full circle.
Hang a short orange-slice garland across the kitchen window, with fairy lights looped loosely behind it. The daylight shines through the slices and turns them into stained glass, the kitchen smells faintly of citrus, and the garland is exactly where the cooking happens. It is the smallest garland in this guide and one of the most satisfying.
Styling tip: keep the garland short — a window garland should span the glass with a little swag in the middle, not trail onto the worktop. A swag of a few centimetres looks generous; a long droop looks like it is falling down.
Popcorn & Cranberry Garlands
8. Classic Popcorn & Cranberry: The Old-Fashioned Favourite
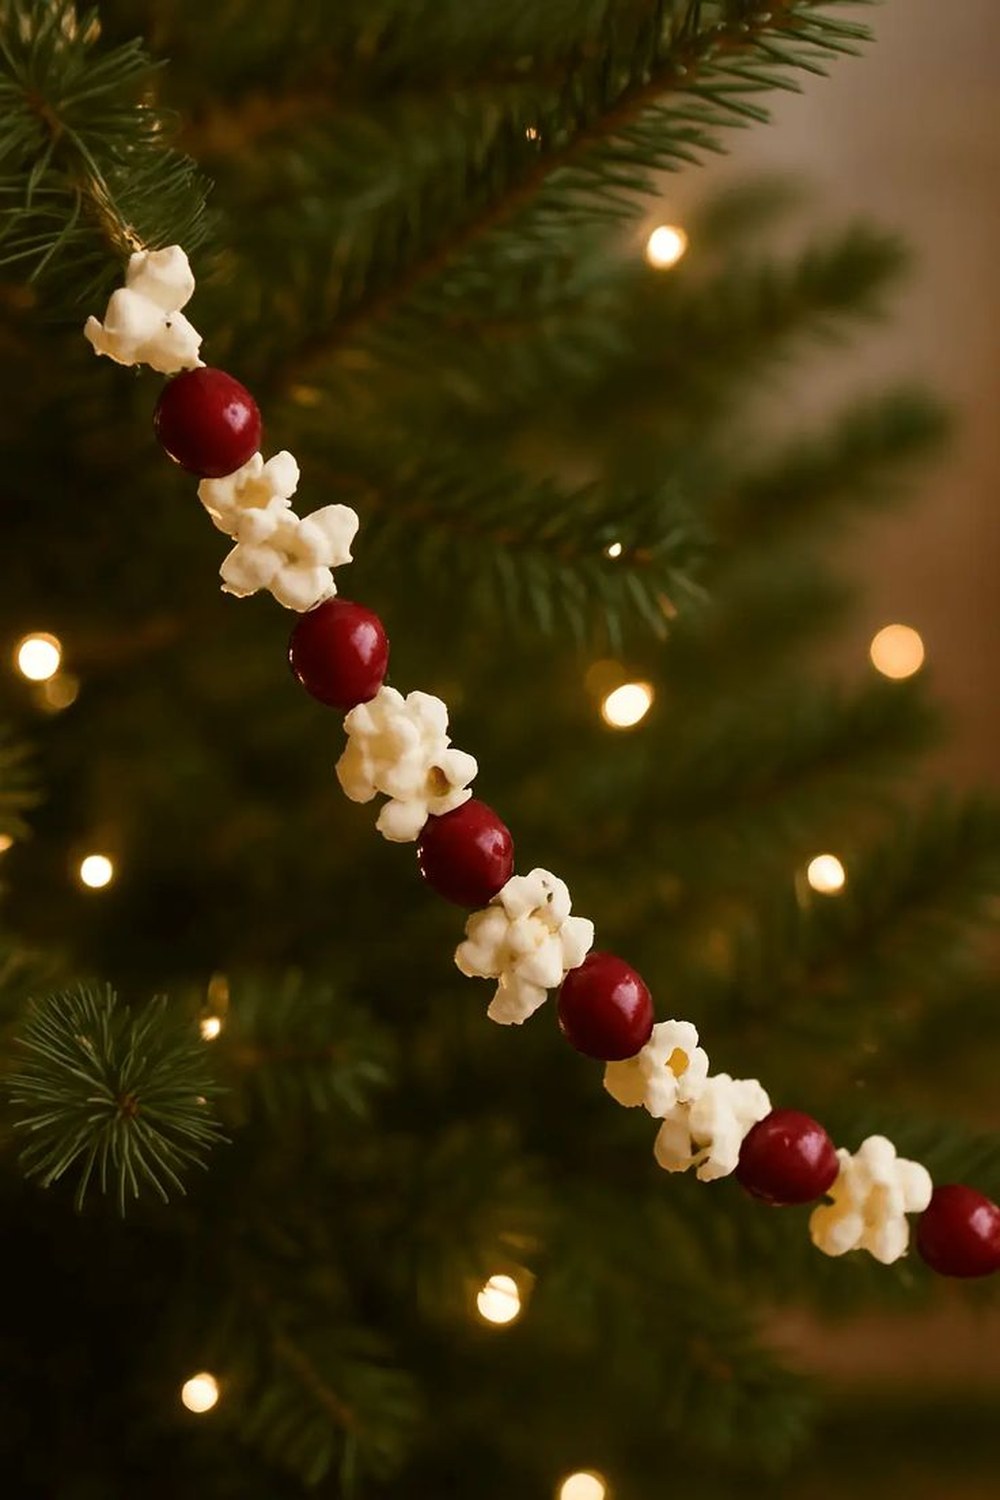
Popcorn and cranberries, threaded one by one — the garland every grandmother made, and every child should make once.
Pop plain popcorn, thread it onto strong twine with a large needle, alternating three pieces of popcorn with one cranberry. The white puffs and red berries make the most old-fashioned garland there is, and threading it is the perfect slow December afternoon — a bowl of popcorn, a needle, and a conversation. Hung on the tree, it softens the baubles and adds a homemade note no shop-bought garland can match.
Styling tip: pop the corn the day before and leave it out overnight so it goes slightly stale and firm. Fresh popcorn crumbles on the needle; day-old popcorn threads cleanly.
9. The Plain Popcorn & Cranberry Garland: Just Two Ingredients
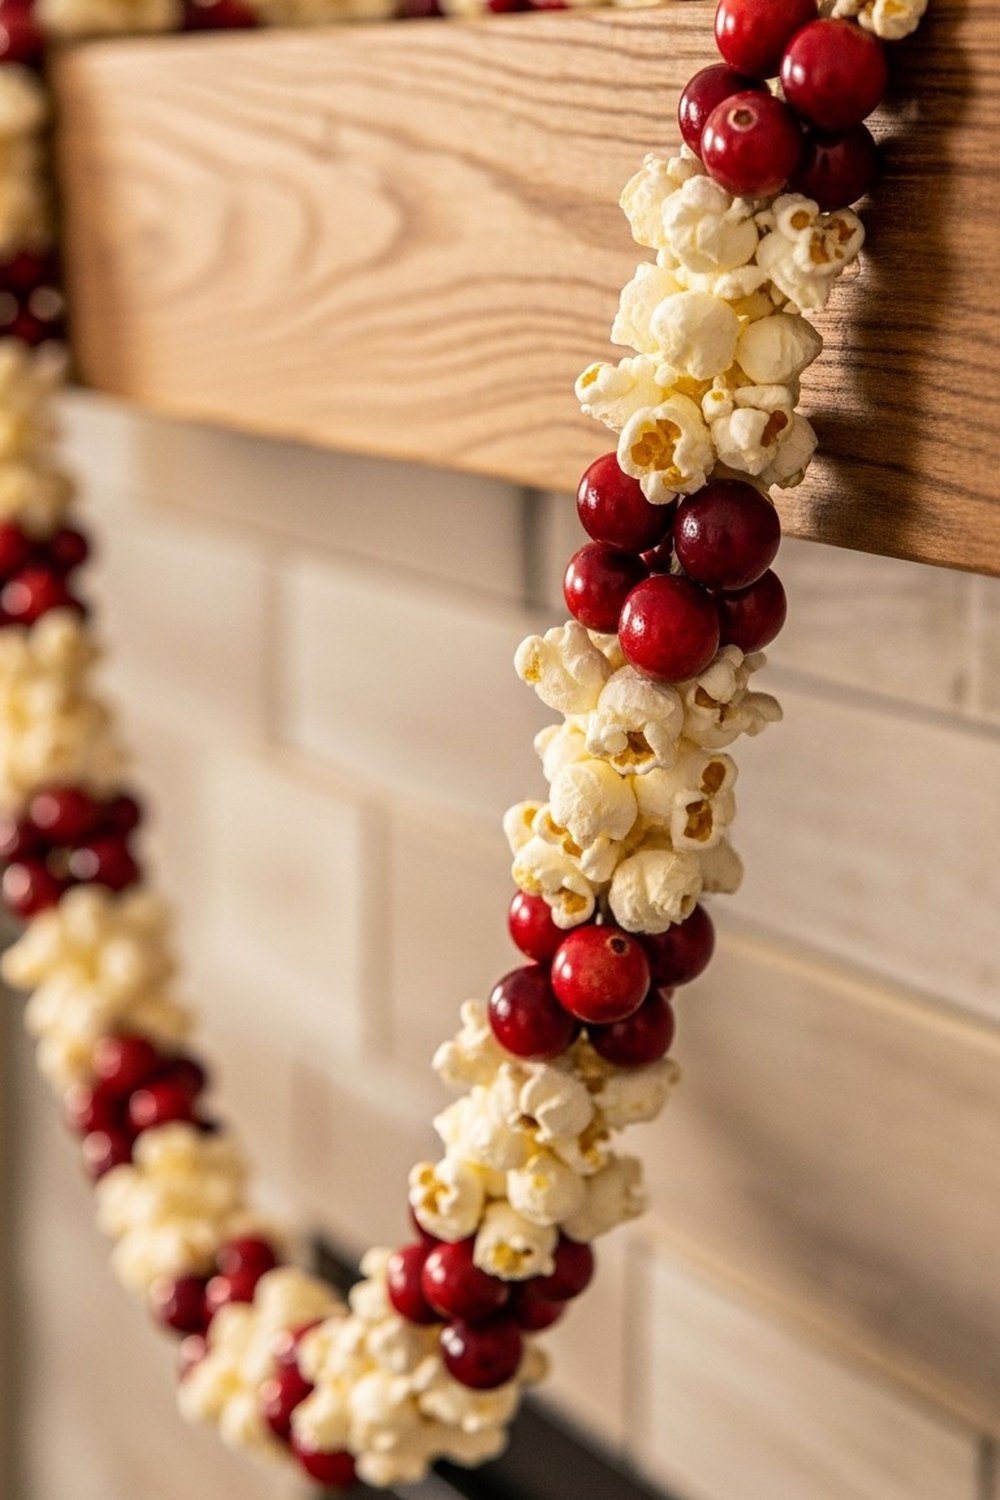
Popcorn and cranberries, nothing else — the classic, exactly as it has always been made.
String popcorn and cranberries on plain twine and nothing more, one cranberry for every few pieces of popcorn, and let the two-ingredient garland speak for itself. Without a third material competing for attention, the red and white read clean and bright, and the garland looks like something from a farmhouse kitchen rather than a craft table. It is the garland for a mantel, where its length can be properly appreciated.
Styling tip: keep the cranberries to one in every five or six pieces of popcorn. Too many cranberries and the garland turns red; too few and it reads as plain popcorn with spots.
10. Popcorn Garland for the Tree: White on Green
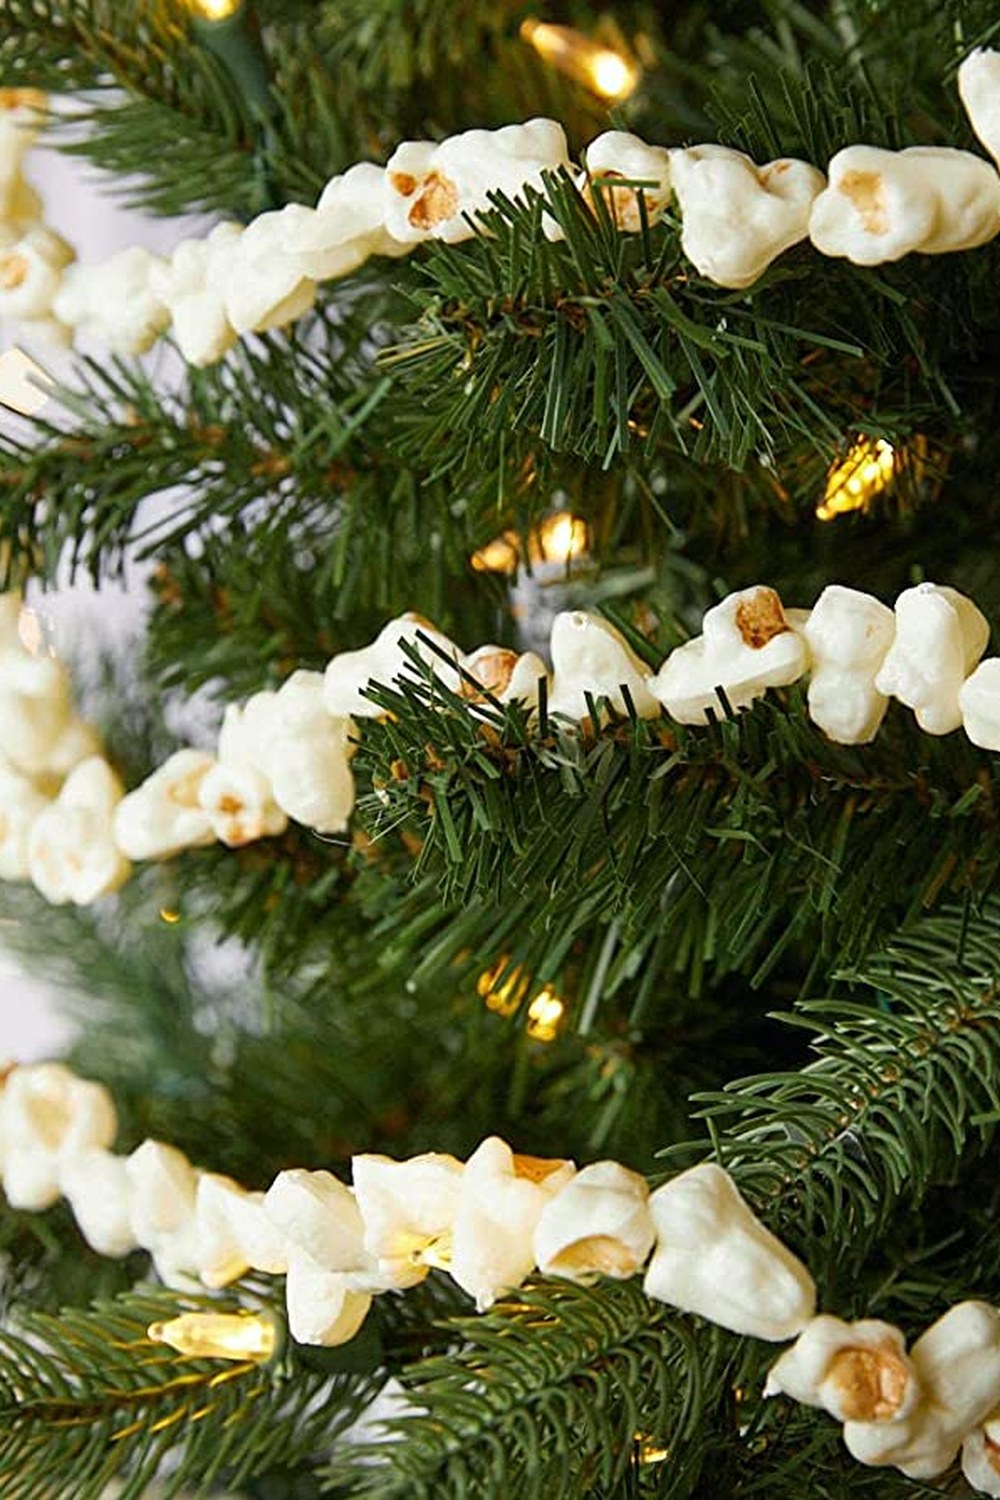
A plain popcorn garland, no cranberries at all — white puffs winding through the green branches like snow.
Thread popcorn alone, with no cranberries, and drape the garland around the tree in loose swags. The white against the green reads as snow caught in the branches, the garland fills a sparse tree beautifully, and the tree looks softer and more homemade than any tinsel could make it. It is the quietest garland in this guide, and the one that lets the baubles shine brightest.
Styling tip: make the garland in two shorter lengths rather than one long one — it is far easier to drape around a tree in sections, and a dropped section is a small loss rather than a ruined afternoon.
11. Cranberry & Popcorn on the Mantel: Red, White & Green
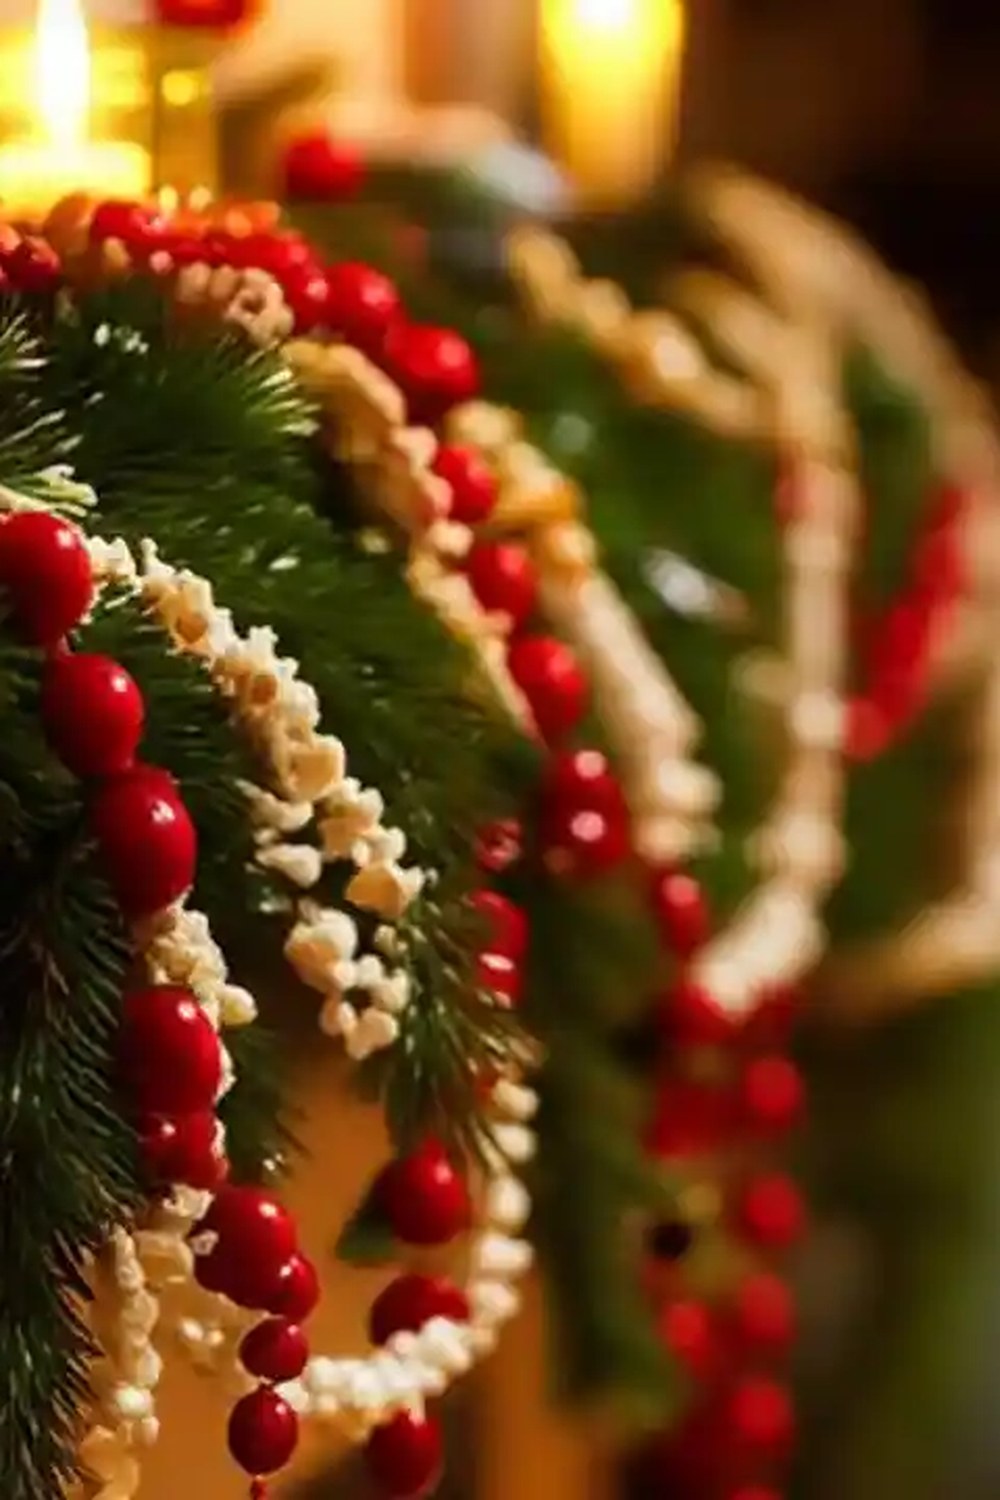
The mantel gets the popcorn garland, draped in swags above the stockings — red, white and green in one line.
Drape a popcorn-and-cranberry garland along the mantel in two or three gentle swags, over the top of the greenery garland, with the ends trailing down at the sides. The popcorn softens the mantel's dark wood, the cranberries pick up the stockings' red, and the whole mantel looks like it was decorated by hand — because it was.
Styling tip: pin the garland's swags to the greenery with florist wire, not tape. Tape fails in the warmth above a fire; wire holds all month and comes off cleanly.
12. Popcorn Garland With Cinnamon Sticks: Spice in the Snow

Cinnamon sticks tied along the popcorn garland — white puffs, brown spice, and a scent that fills the room.
Tie short cinnamon sticks along a plain popcorn garland at intervals, one stick for every hand-span of popcorn. The brown sticks give the white garland a rhythm it was missing, and the scent — popcorn and cinnamon together — is warm and slightly sweet. It is a garland for a hallway or a bedroom door, where people pass close enough to smell it.
Styling tip: tie the cinnamon sticks with the same twine as the garland, in a simple cross knot. A different string colour shows; matching twine disappears.
13. The Kid-Made Popcorn Chain: A Garland for Small Hands
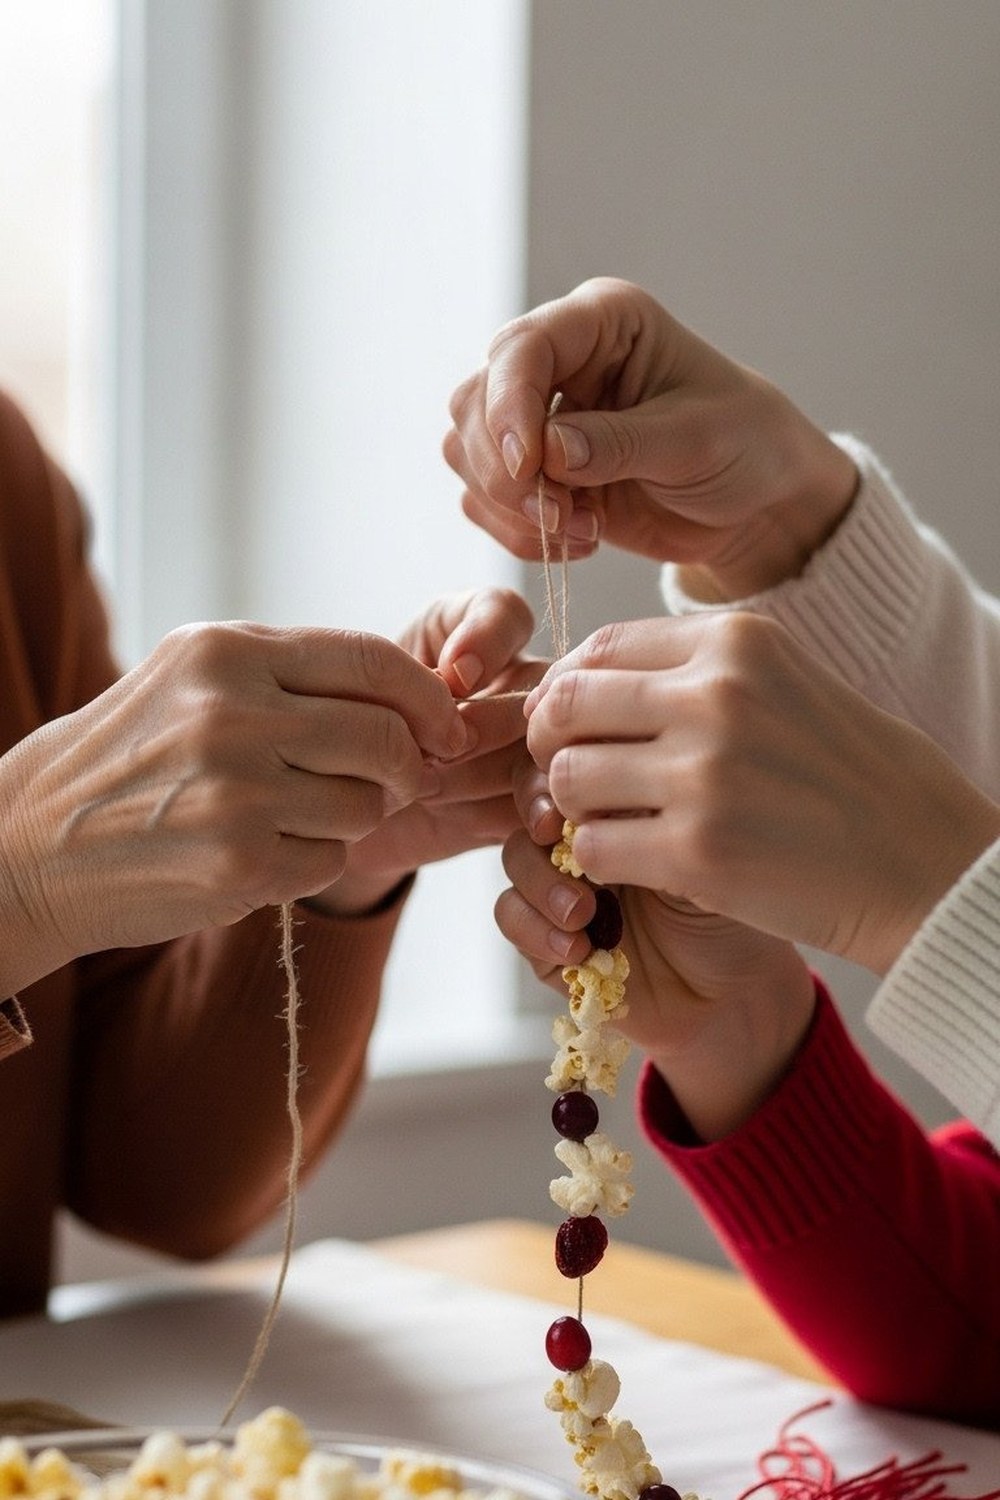
Blunt needles, big popcorn, small hands — the garland the children made is the one you will keep.
Let children thread popcorn onto thick string with blunt plastic needles, with no pattern to follow and no cranberries to drop. Their garland will be uneven, the popcorn will be eaten as fast as it is threaded, and it will be the garland you photograph, keep, and remember. Perfection is not the point of this one — participation is.
Styling tip: use a thick, blunt needle and pre-cut the string to arm's length. Long string tangles in small hands; short lengths get finished, and finished garlands get hung.
Paper Garlands: Snowflakes, Stars & Chains
14. Paper Snowflake Garland: Cut, Fold, Hang
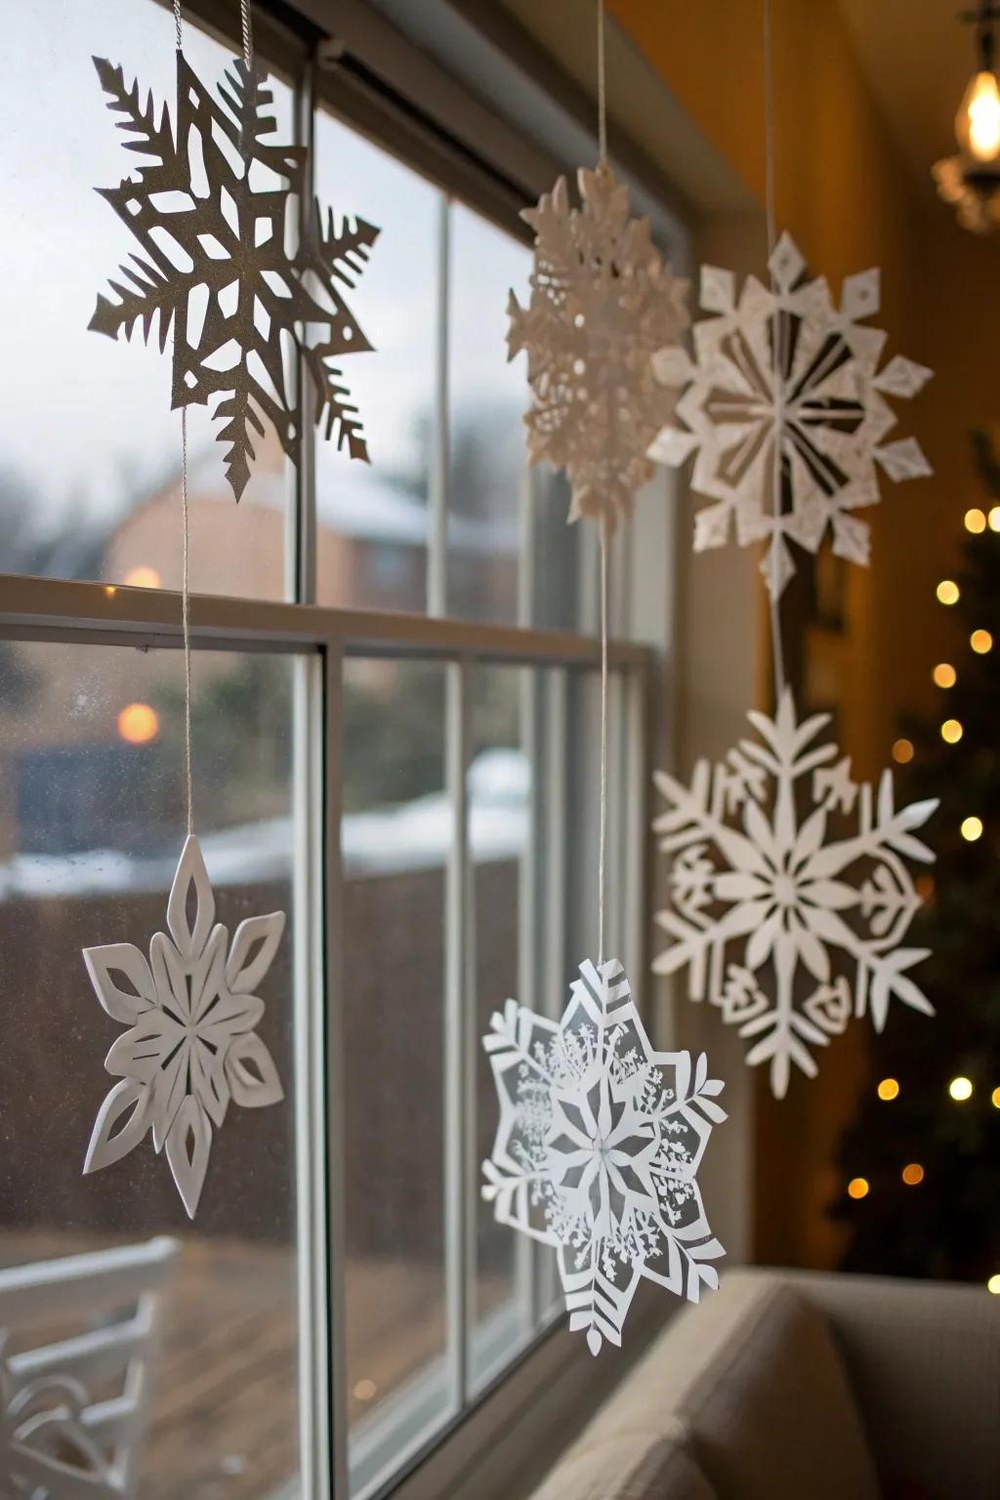
Paper snowflakes, each one different — the garland you made in school, all grown up.
Fold white paper, cut snowflake patterns, open them out and thread them onto string with a needle, spacing them evenly. Every snowflake is different, which is the whole charm, and against a window they glow like real snow caught in the glass. It is the cheapest garland in this guide and one of the most magical.
Styling tip: use thin paper, not card — card snowflakes are heavy and pull the string into a sag. Thin paper floats, and a floating garland looks like snow falling in slow motion.
15. Paper Star Garland: Gold Stars on a String

Gold paper stars, strung in a row — the garland that catches the candlelight.
Cut stars from gold or metallic paper, fold each one slightly down the middle so it catches the light, and thread them onto twine. The stars shimmer as they turn, the garland glows above the mantel in the evening, and the whole thing costs a single sheet of paper. It is the most glamorous garland in this guide for the least money.
Styling tip: cut the stars in two sizes and alternate them — large, small, large, small. A row of identical stars looks printed; a row of two sizes looks handmade.
16. Paper Chain in Christmas Colours: The Classic, Done Well
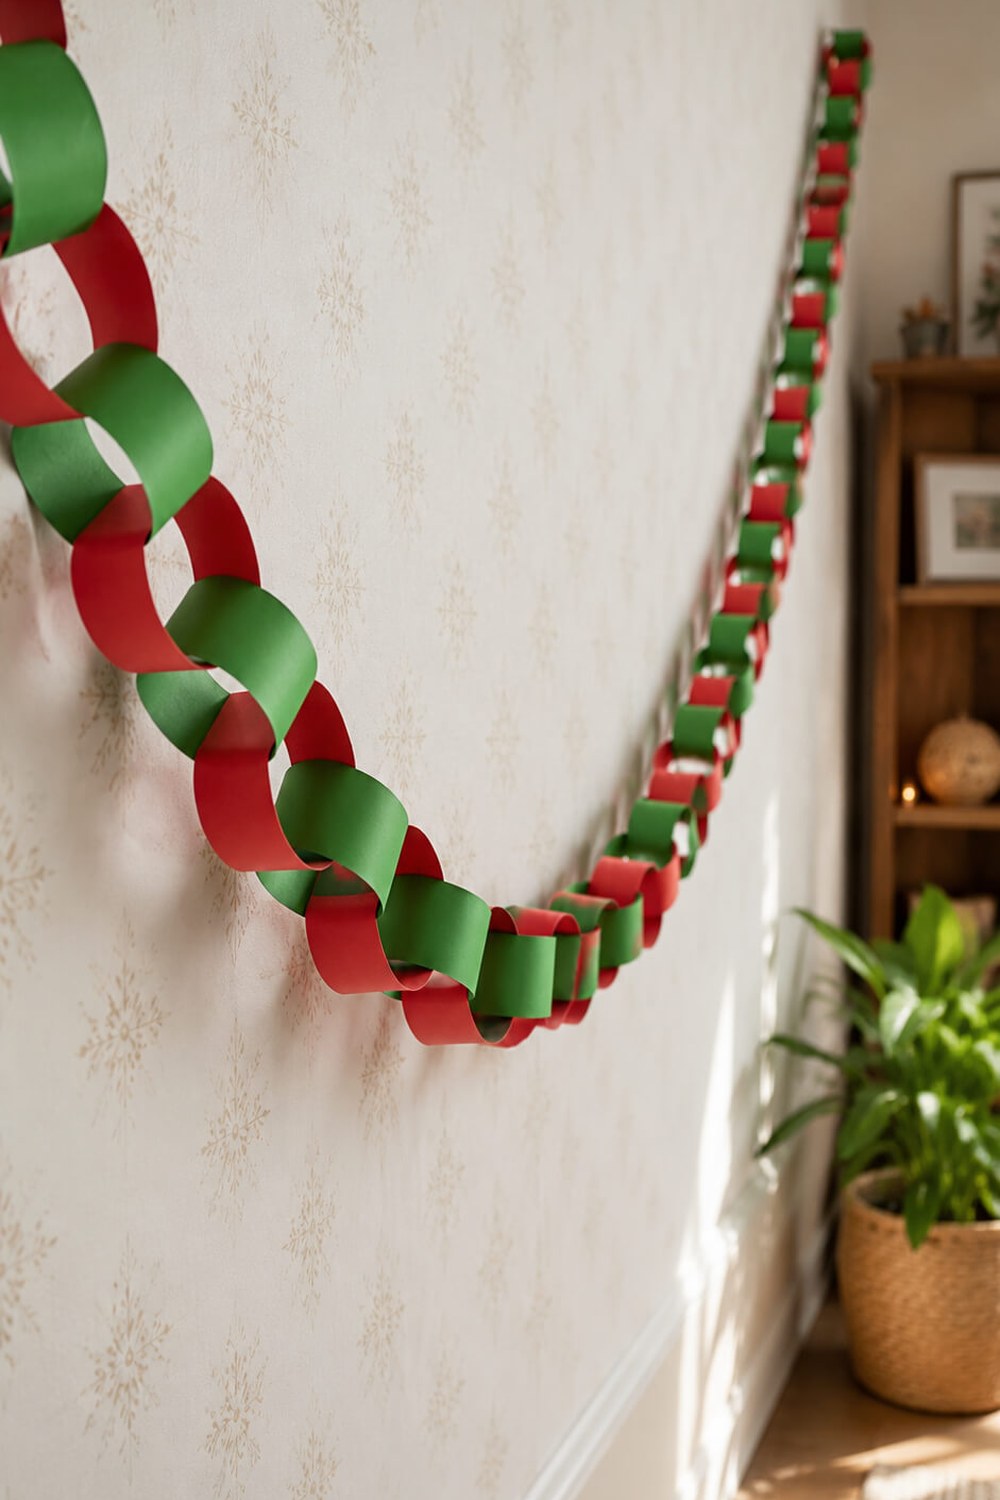
Strips of paper, looped into a chain — the oldest paper garland, and still the jolliest.
Cut strips of red, green and white paper, loop them into a chain with glue or staples, and hang it across a wall or along a banister. The chain is the most cheerful garland there is — bright, bold, and unashamedly homemade — and children can make a whole room's worth in an afternoon. It is the garland for a family Christmas, not a showroom one.
Styling tip: keep the strips the same width and length, and alternate the colours in a strict pattern. A paper chain lives on its rhythm; random colours look like a mistake rather than a choice.
17. Paper Fan Garland: Folded Circles, Big Impact
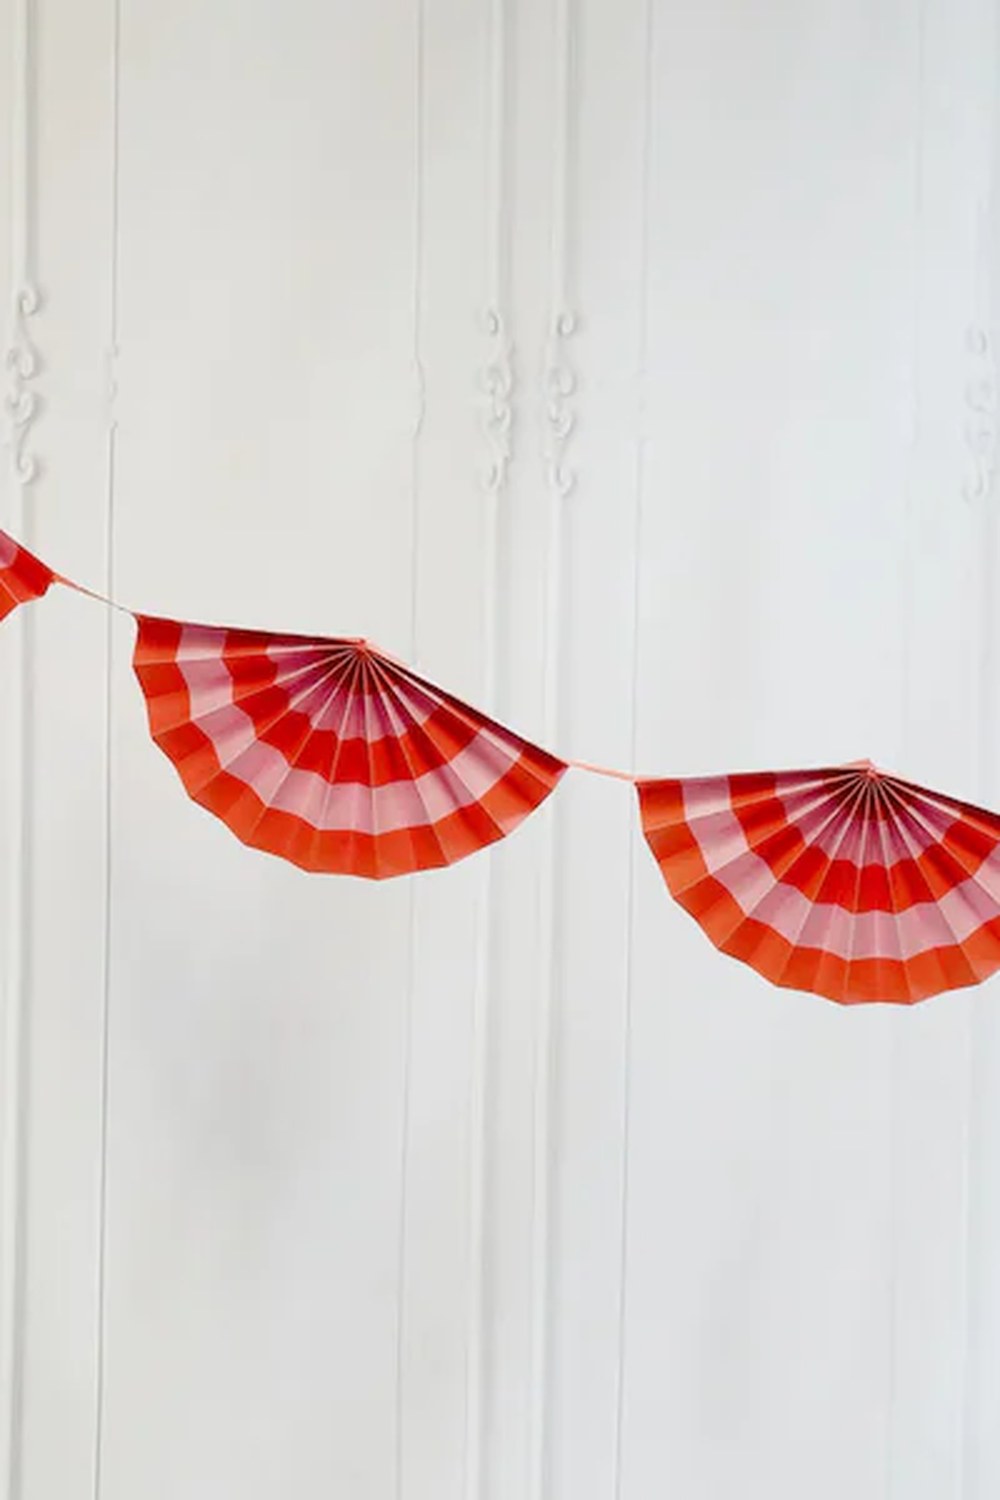
Paper folded into fans, joined in a row — a garland with the presence of bunting and the delicacy of lace.
Fold circles of paper into fans, pinch them at the centre, and join them edge to edge on a string. The fans open like little suns along the garland, the folds catch the light, and the whole row has far more presence than its paper suggests. It is a beautiful garland for a doorway, where it can be seen from both sides.
Styling tip: use two colours — red and cream, or green and white — and alternate them fan by fan. A single-colour fan garland looks flat; two colours make each fan stand out.
18. Paper Holly Leaf Garland: Green Leaves, Red Berries
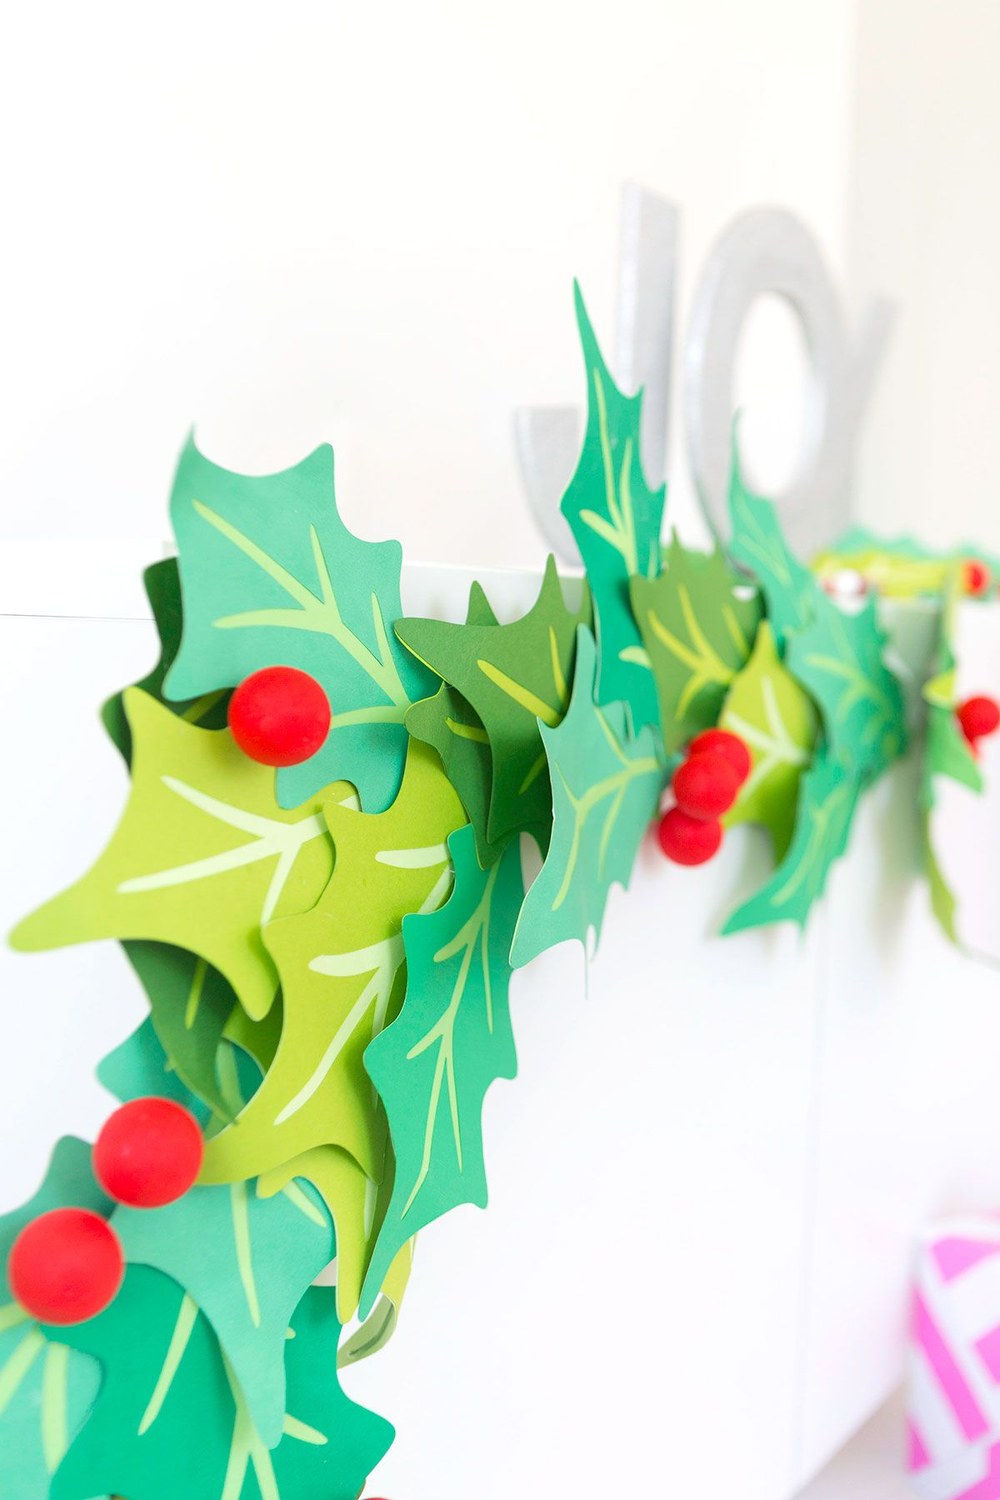
Holly leaves cut from green paper, red berries from red — the garland that never wilts.
Cut holly leaves from green paper, score a centre vein down each one, and thread them onto string with small red paper berries or beads between them. The garland looks like fresh holly from across the room, it never drops a leaf, and it packs flat in January for next year. It is the practical person's evergreen garland.
Styling tip: curl each leaf slightly around a pencil before threading it, so it holds a natural curve. Flat paper leaves look cut out; curled ones look grown.
19. Paper Ornament Cut-Out Garland: Baubles Made of Paper

Baubles cut from paper, hung in a row — the tree gets a garland that weighs nothing.
Cut bauble shapes from coloured paper, add a small paper cap and a loop at the top of each one, and thread them onto string. The paper baubles are light enough to hang anywhere — on the tree, across a window, along a shelf — and their flat, graphic shapes look charmingly modern against real greenery. It is a lovely garland for a child's tree, where nothing breakable should hang low.
Styling tip: use card for the baubles, not thin paper — they need to hold their shape. Punch the hanging hole before threading, and reinforce it with a tiny ring of tape on the back.
Greenery & Foraged Garlands
20. Fresh Pine Garland: The Real Thing
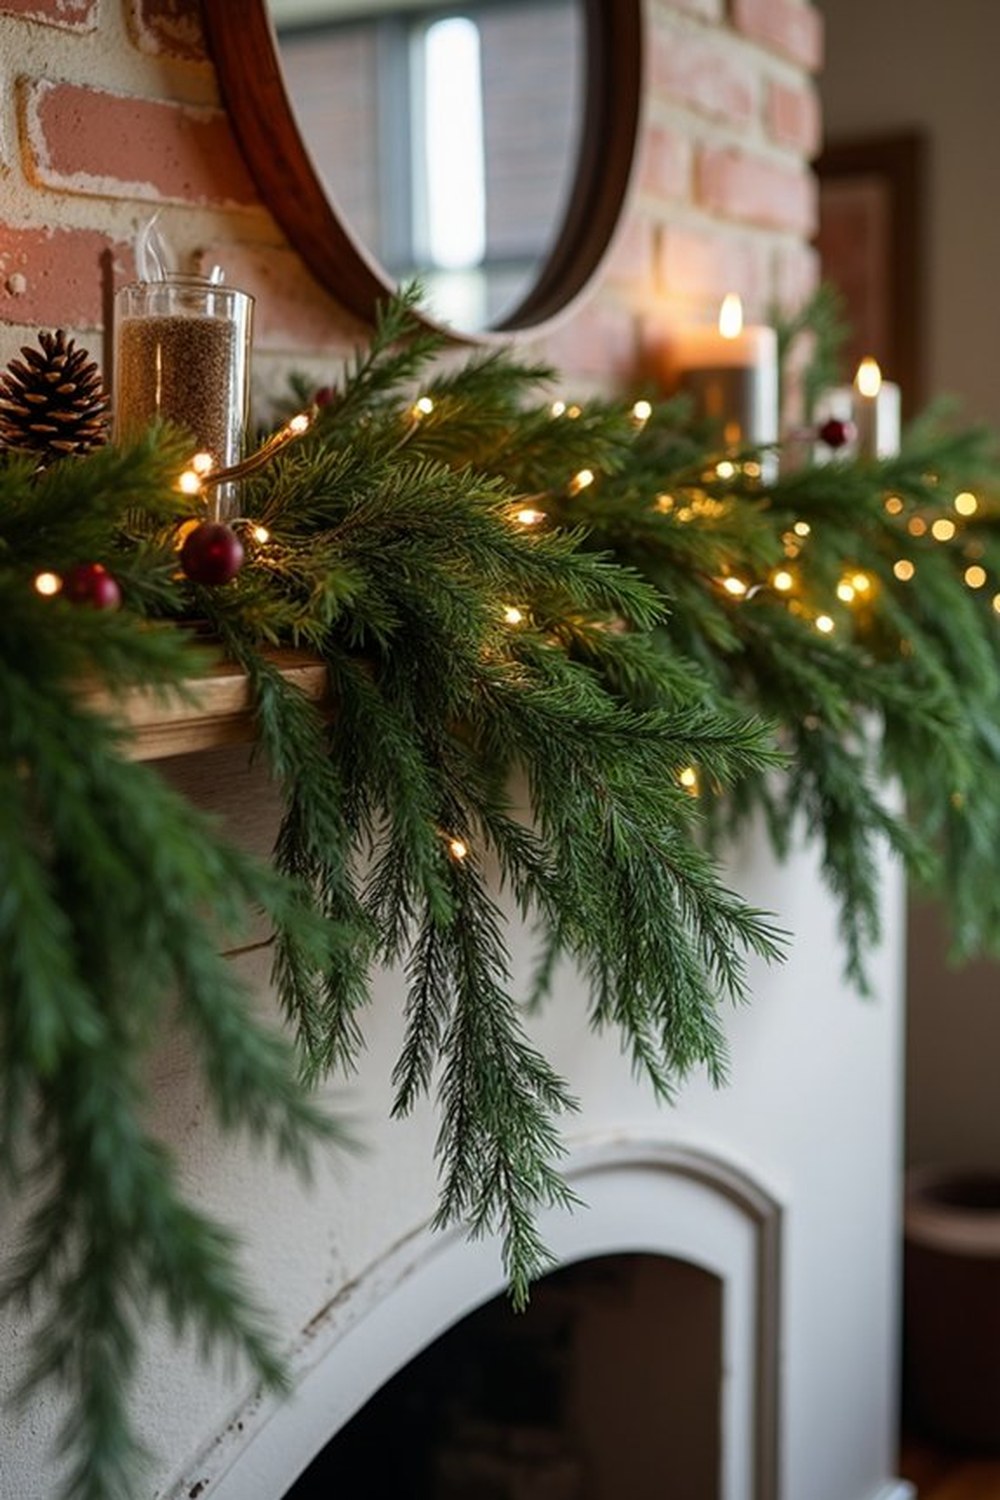
Real pine, wired together branch by branch — the garland that smells like Christmas the moment you walk in.
Buy or cut pine branches, lay them overlapping along a length of twine or wire, and bind each one in place with florist wire. The garland is full, fragrant and unmistakably real, and it is the foundation every other garland in this guide can hang from. It takes an hour to make and a month to enjoy, and it is worth every minute.
Styling tip: lay every branch facing the same direction, overlapping by a third, so the garland has a smooth, flowing line. Branches facing different ways make a garland that looks like a hedge.
21. Eucalyptus Garland: Silver Green, Soft Scent
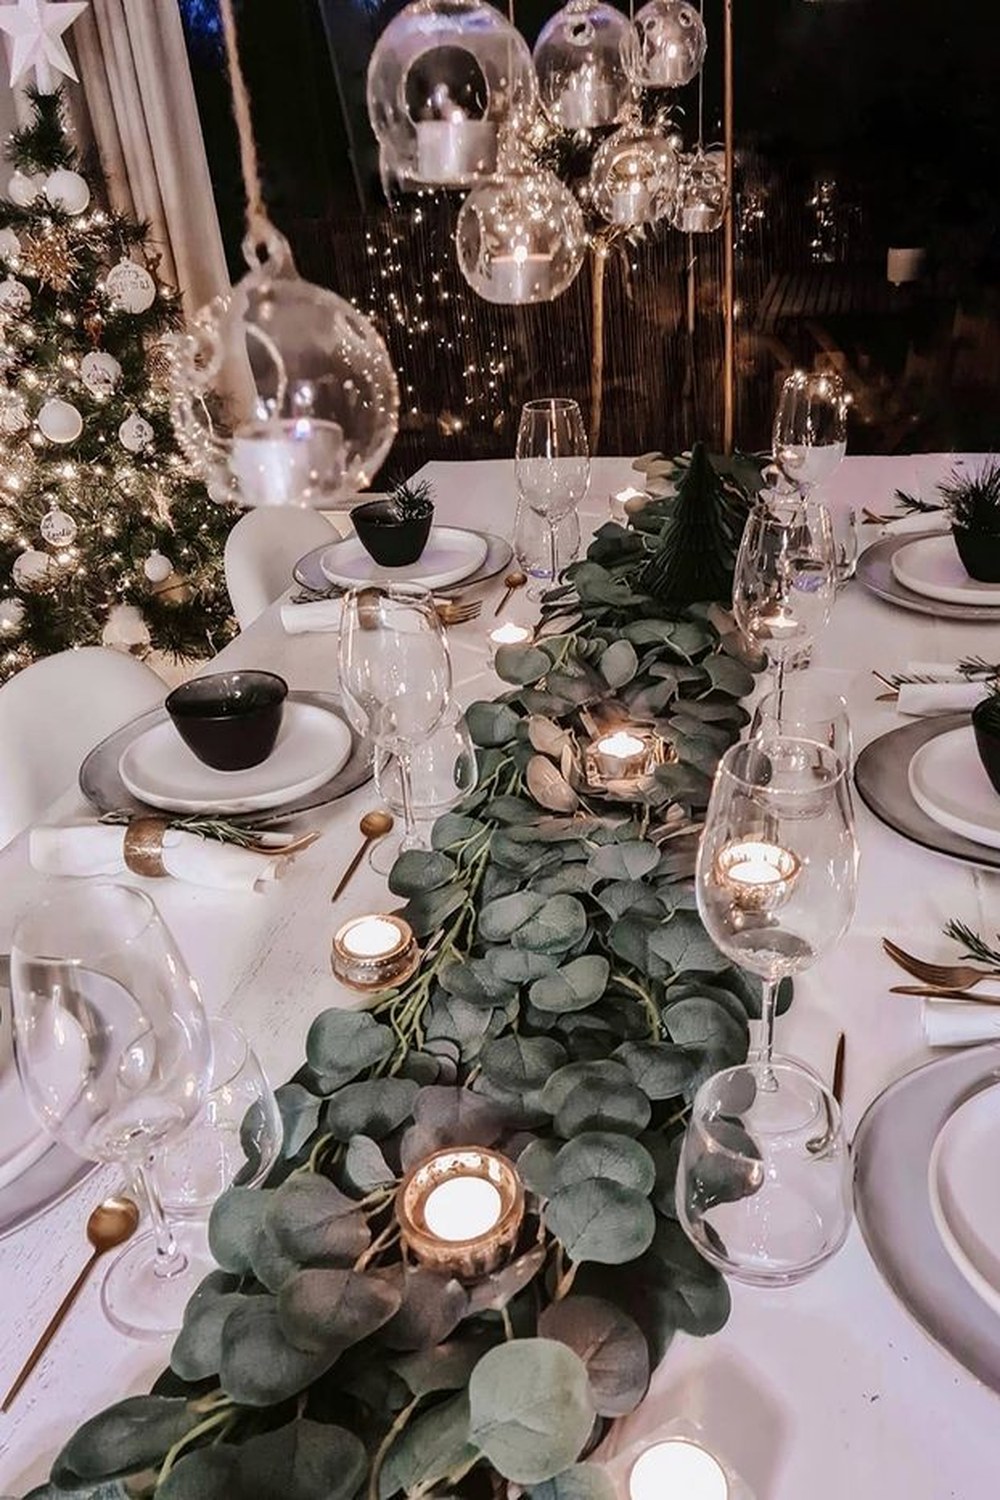
Eucalyptus, silver-green and soft — the garland for a calm, modern Christmas.
Wire eucalyptus stems together in the same way as pine, overlapping each stem by a third. The silver-green leaves are softer and paler than pine, the scent is clean and cool, and the garland suits a neutral or minimalist room where dark pine would dominate. It dries beautifully too, fading to a soft grey-green that lasts into January.
Styling tip: use the round-leaved eucalyptus, not the long-leaved kind — the round leaves lie flat and make a fuller garland. Long leaves stick out at angles and leave gaps.
22. Pinecone & Greenery Garland: Cones in the Pines
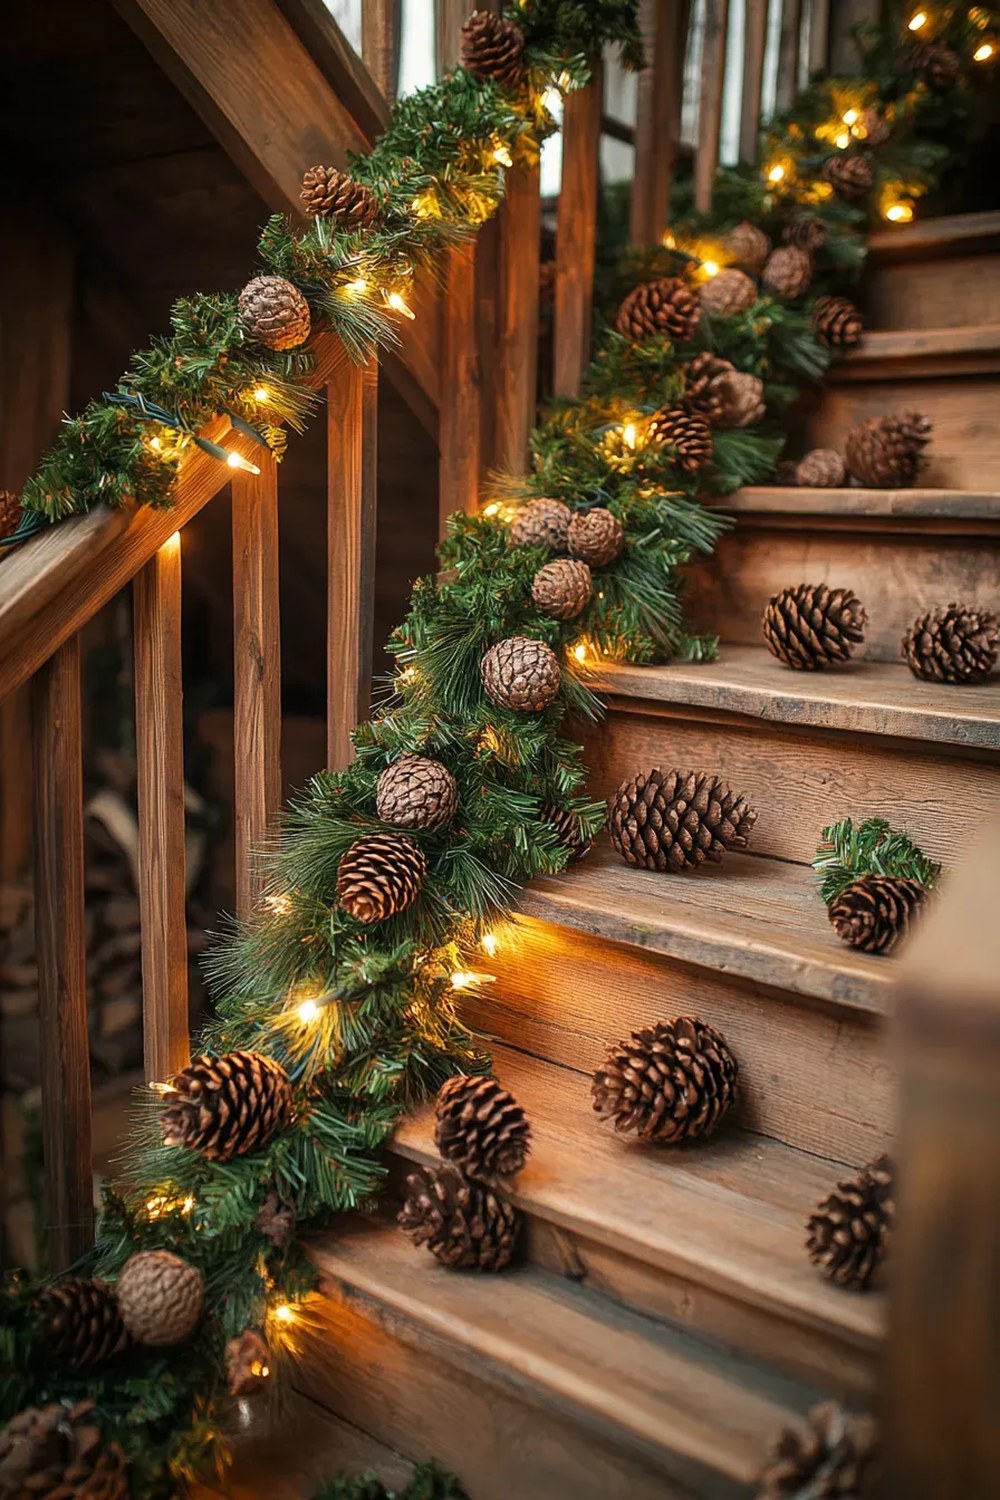
Pinecones wired into the greenery — the garland gets a woodland texture for free.
Wire small pinecones into a fresh pine garland at intervals, one cone for every hand-span of greenery, with a few red berries tucked beside them. The cones add a rough, natural texture that plain greenery lacks, and they cost nothing if you gathered them yourself. It is the garland for a staircase, where its length and texture can be seen from below.
Styling tip: wire each pinecone through its base, not around its middle, so it sits upright in the garland. A cone wired around the middle rolls and hides; one wired at the base stands proud.
23. Dried Flower & Grass Garland: A Meadow in December
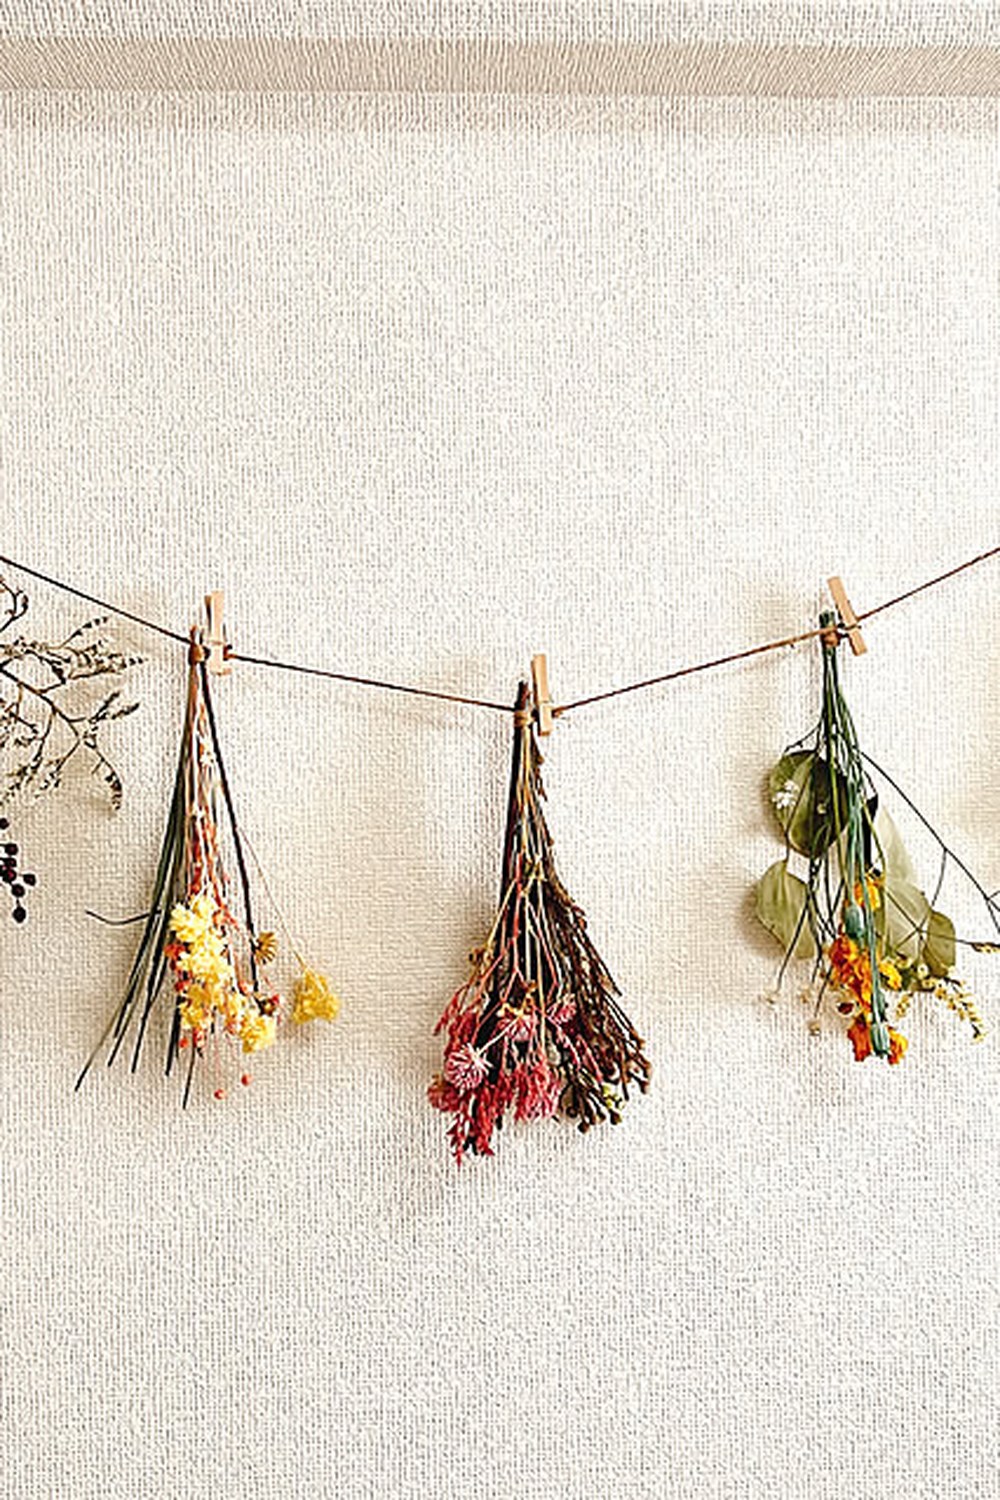
Dried flowers and grasses, wired in a row — the garland for a house that loves a meadow more than a forest.
Wire dried flowers — strawflowers, lavender, honesty — and dried grasses together along a length of twine, overlapping each stem. The garland is pale, delicate and wonderfully scented, and it suits a cream or neutral Christmas far better than dark pine. It also lasts for years, packed carefully in a box each January.
Styling tip: keep the garland out of direct sun and away from radiators — dried flowers fade fast in heat and light. A hallway garland lasts years; a sunny window garland lasts one season.
24. Rosemary & Olive Branch Garland: The Kitchen Garland
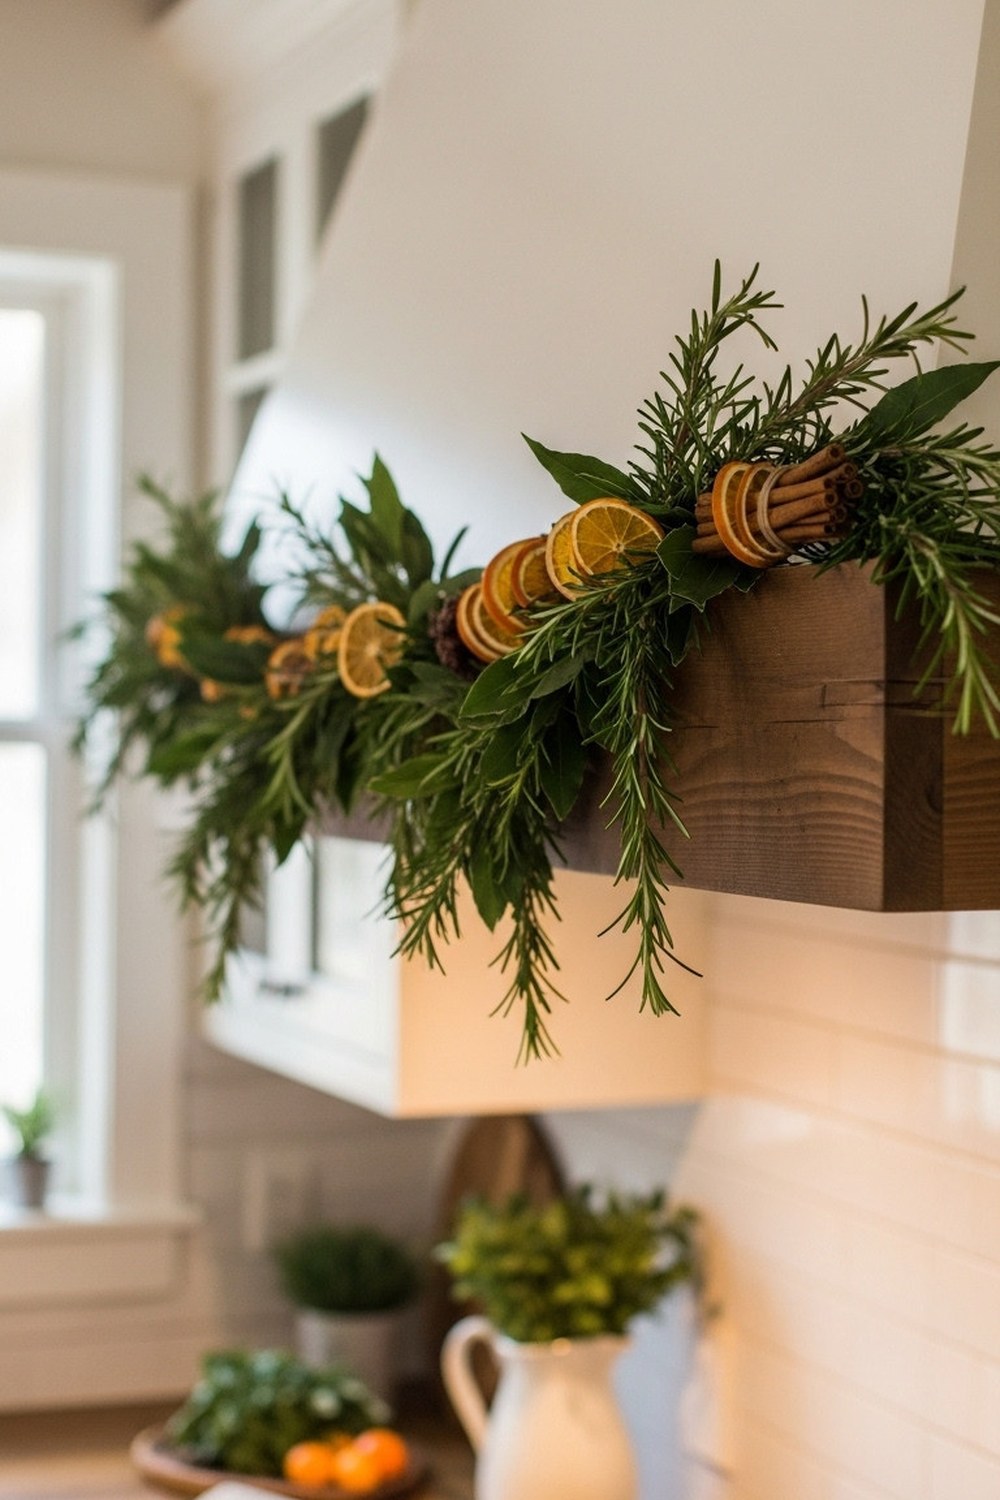
Rosemary and olive branches — the garland you can cook with afterwards.
Wire rosemary sprigs and olive branches together along a shelf or a window, with a few dried orange slices tucked in. The scent is herbal and fresh, the silver-green olive leaves are beautiful against the dark rosemary, and in January the rosemary goes into the roast. It is the most useful garland in this guide, and the prettiest one for a kitchen.
Styling tip: use long rosemary sprigs and wire them in at the woody end, so the soft tips hang free. Rosemary wired in the middle snaps; rosemary wired at the base lasts the month.
25. Magnolia Leaf Garland: Glossy Green, Golden Backs
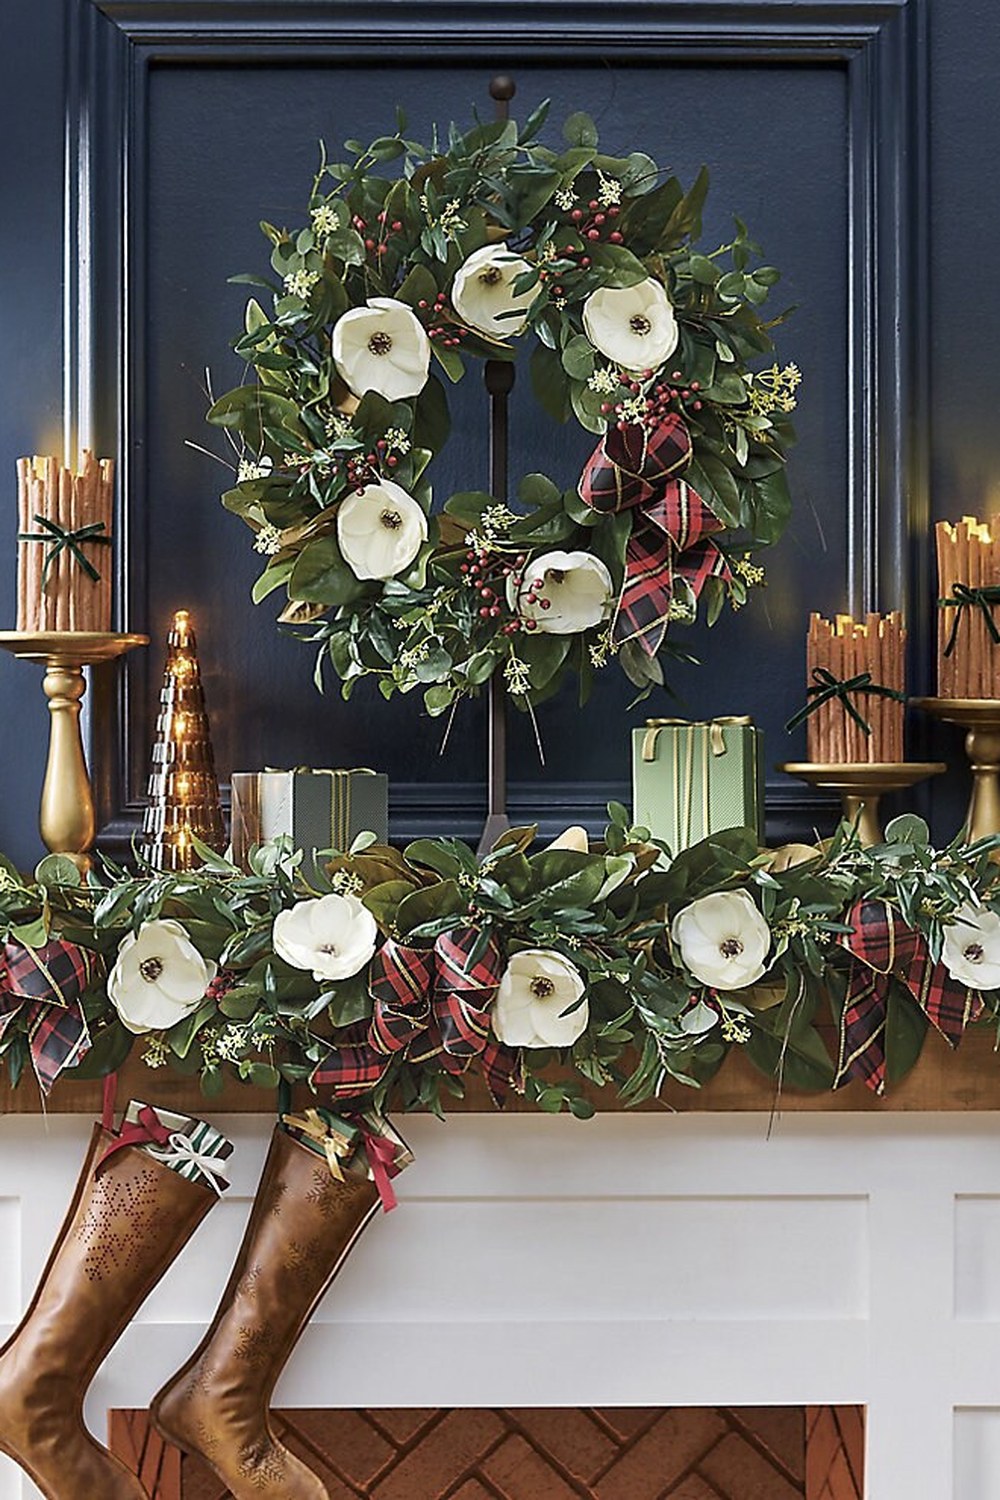
Magnolia leaves, glossy green on one side and golden-brown on the other — the garland that changes colour as you walk past.
Wire magnolia leaves together in overlapping rows, alternating some leaves green-side up and some gold-side up. The garland shimmers between green and gold as the light changes, it is sturdier than any other leaf garland, and the leaves dry into a beautiful russet that lasts for months. It is the most luxurious foraged garland there is, and it costs only a walk and a pair of secateurs.
Styling tip: wipe each leaf with a damp cloth before wiring it in — dusty magnolia leaves look dull, and a clean leaf shines. Wear gloves; the leaf edges are sharper than they look.
26. Foraged Twig & Berry Garland: The Hedgerow Garland
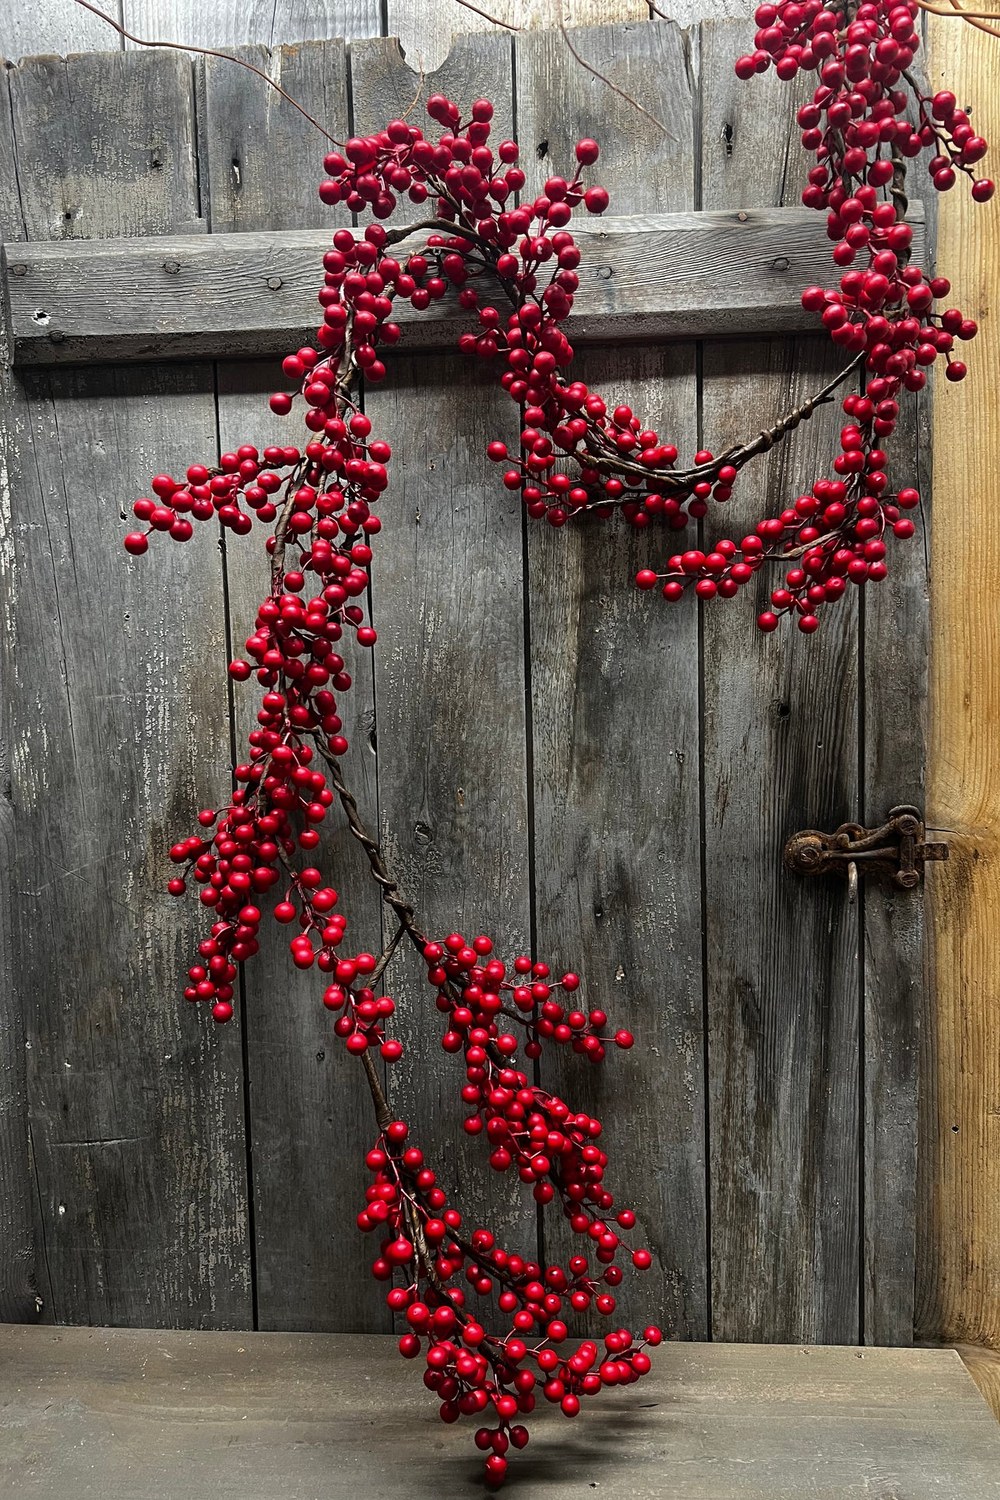
Bare twigs and red berries, wired together — the hedgerow, brought indoors.
Gather straight twigs, wire them together in a loose bundle, and thread red berries — real rosehips, or wired-on faux berries — through the twigs at intervals. The garland is bare, graphic and wonderfully wintry, like a hedgerow in January, and it suits a modern or rustic room where lush greenery would feel too much. It is the garland for a doorway, where its silhouette can be seen against the light.
Styling tip: choose twigs of similar thickness and wire them in pairs, so the garland has an even backbone. Single twigs snap under their own weight; paired twigs hold firm.
Hanging, Mixing & Finishing Your Garlands
27. Orange & Popcorn in Two Strands: The Layered Look
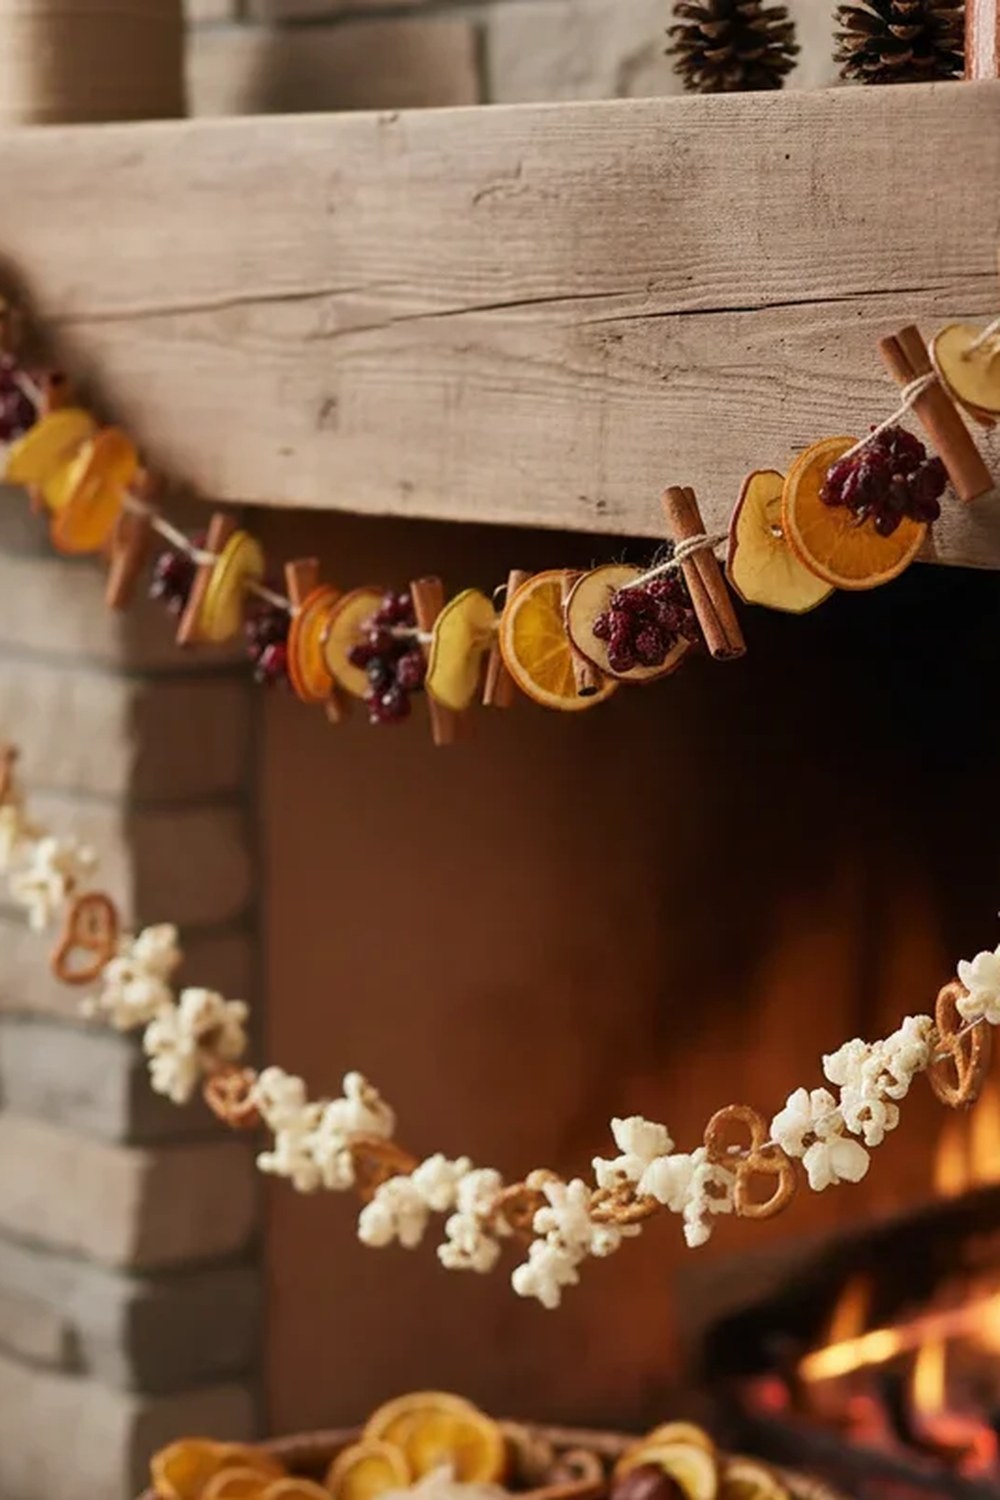
Two garlands, one display — an orange strand and a popcorn strand, hung together.
Hang a dried-orange garland and a popcorn garland as two separate strands, one slightly above the other, instead of threading everything onto a single twine. The layered pair has everything the classics offer at once — amber and white — and each strand keeps its own rhythm, so the display looks fuller than a single mixed garland. It is the garland for a mantel, where the two layers can be seen up close.
Styling tip: hang the orange strand a few centimetres above the popcorn strand, not directly on top of it. Two strands at the same height tangle; two strands offset read as a deliberate layer.
28. The Layered Double Garland: Two Garlands, One Mantel
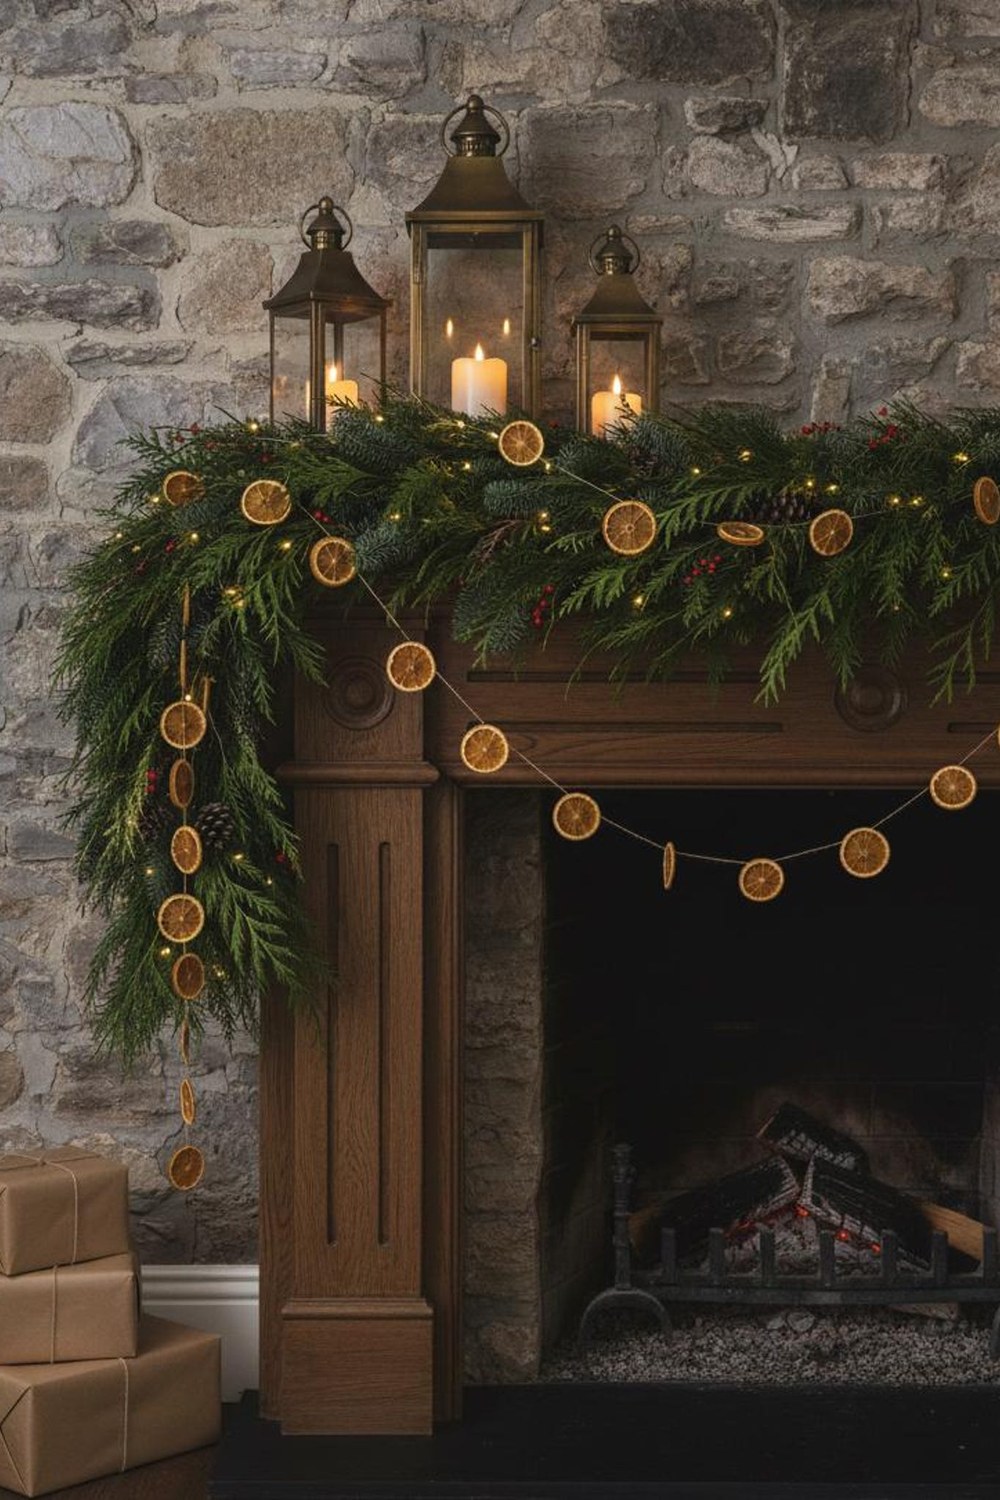
Two garlands on one mantel — greenery below, orange above — and the mantel looks twice as dressed.
Hang a full greenery garland along the mantel, then hang a lighter garland — dried orange, popcorn or paper — in swags just above it, pinned to the same hooks. The two layers give the mantel a depth a single garland never achieves, and the lighter garland catches the light while the greenery grounds it. It is the most impressive garland display in this guide, and it is simply two easy garlands hung together.
Styling tip: hang the lighter garland's swags slightly shorter than the greenery's, so the two lines stay separate. Swags of the same length tangle; offset swags read as two deliberate layers.
29. Garland on the Staircase Banister: The Grand Climb
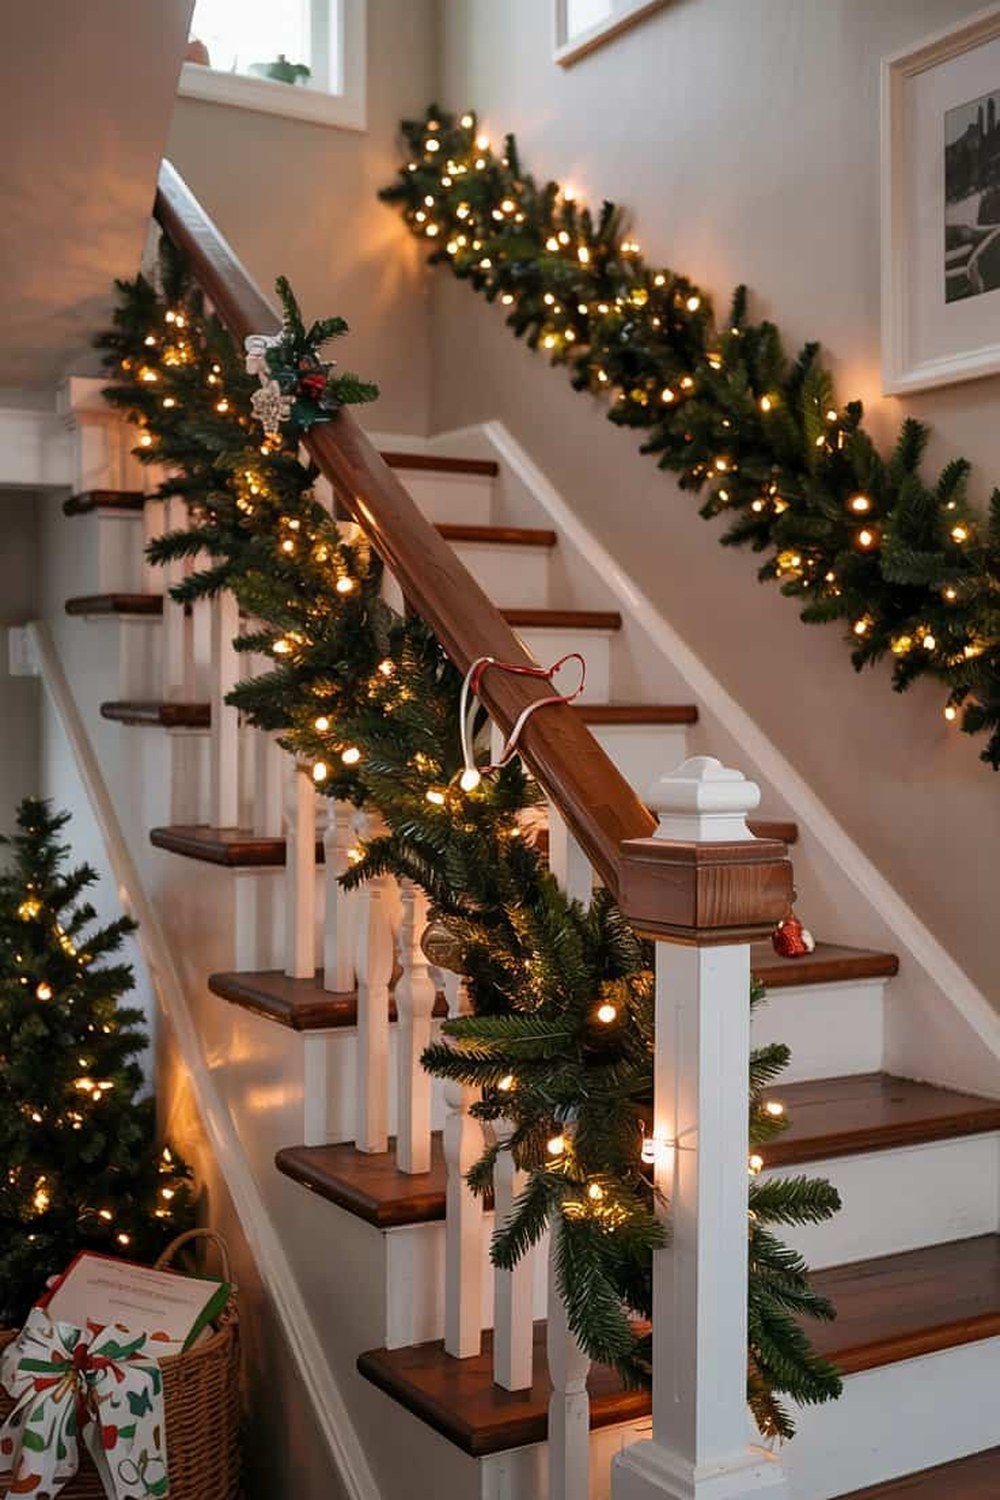
The banister is the longest line in the house — wrap your garland around it and let it climb.
Wrap a greenery, orange or popcorn garland around the banister, wiring it in place at every newel post and every few spindles, with fairy lights woven through and red bows at the posts. The staircase becomes the house's Christmas centrepiece, the garland is seen from every floor, and the climb to bed becomes a small procession. It is the grandest place a handmade garland can go.
Styling tip: make the garland in sections and wire each section separately — a banister garland made in one piece is heavy, awkward and hard to hang evenly. Sections let you adjust the swag as you go.
30. Garland Across the Window: Light Through the Leaves
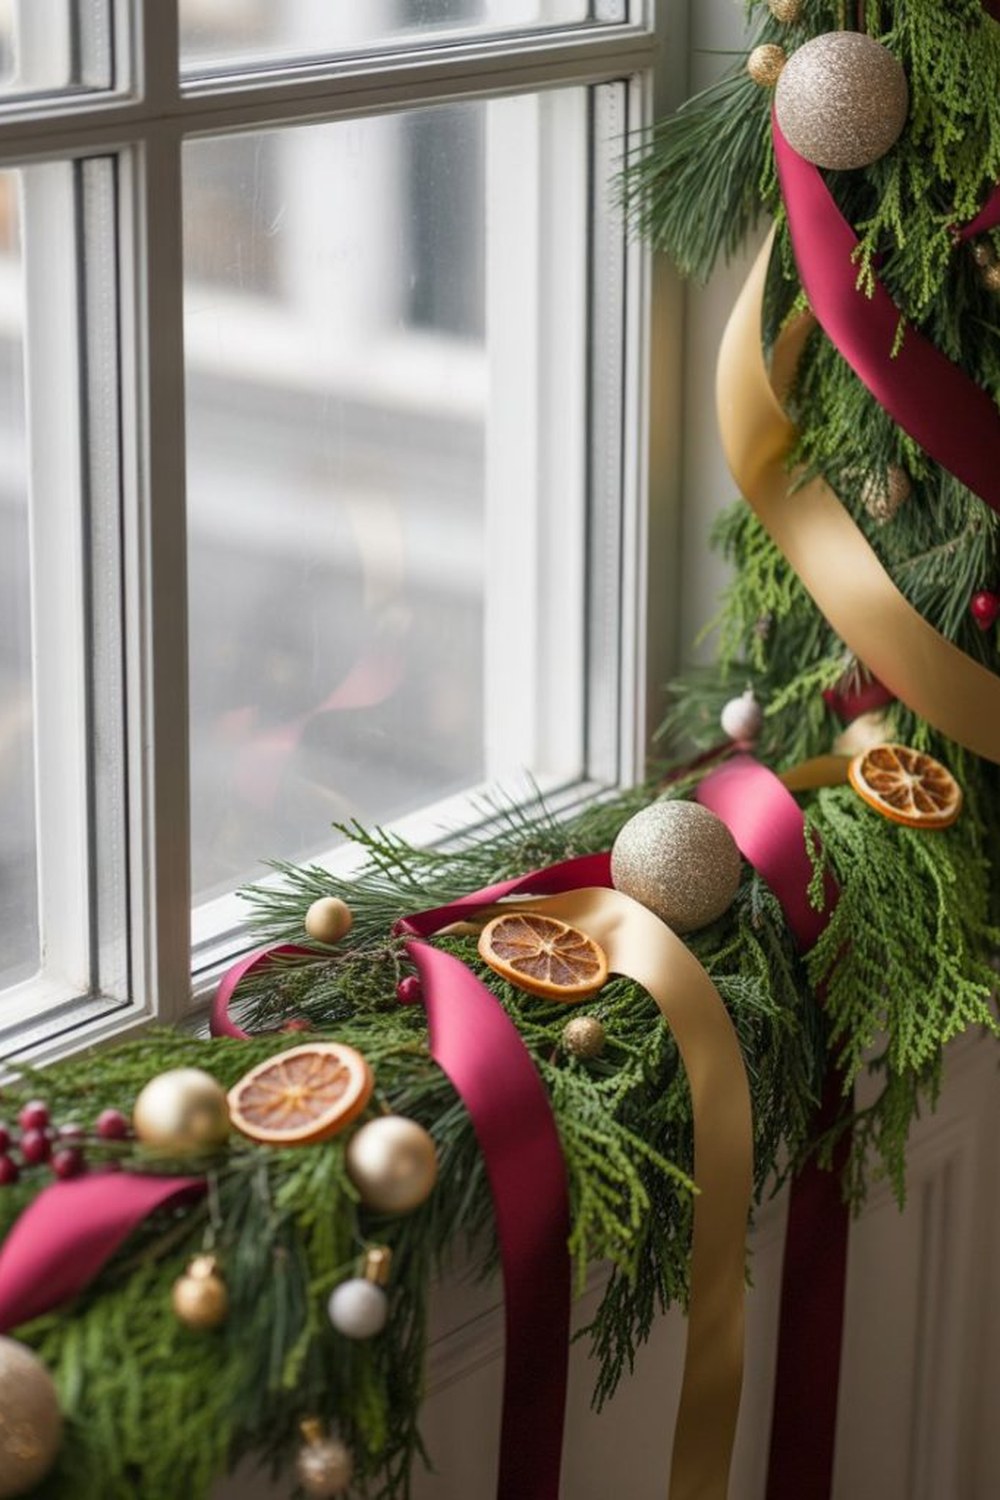
Hang the garland across the window and the daylight does half the styling.
Fix small hooks to the window frame and hang a garland — orange, paper or greenery — across the top, letting it swag gently in the middle. By day the light shines through the orange slices and paper stars; by night the fairy lights woven through it glow for the street. It is the most light-filled place a garland can hang, and the easiest to enjoy from inside and out.
Styling tip: keep the window garland light — paper, orange or popcorn, not heavy greenery. A heavy garland pulls its hooks out of a window frame; a light one hangs happily all month.
31. Garland as a Table Runner: Down the Centre of the Table
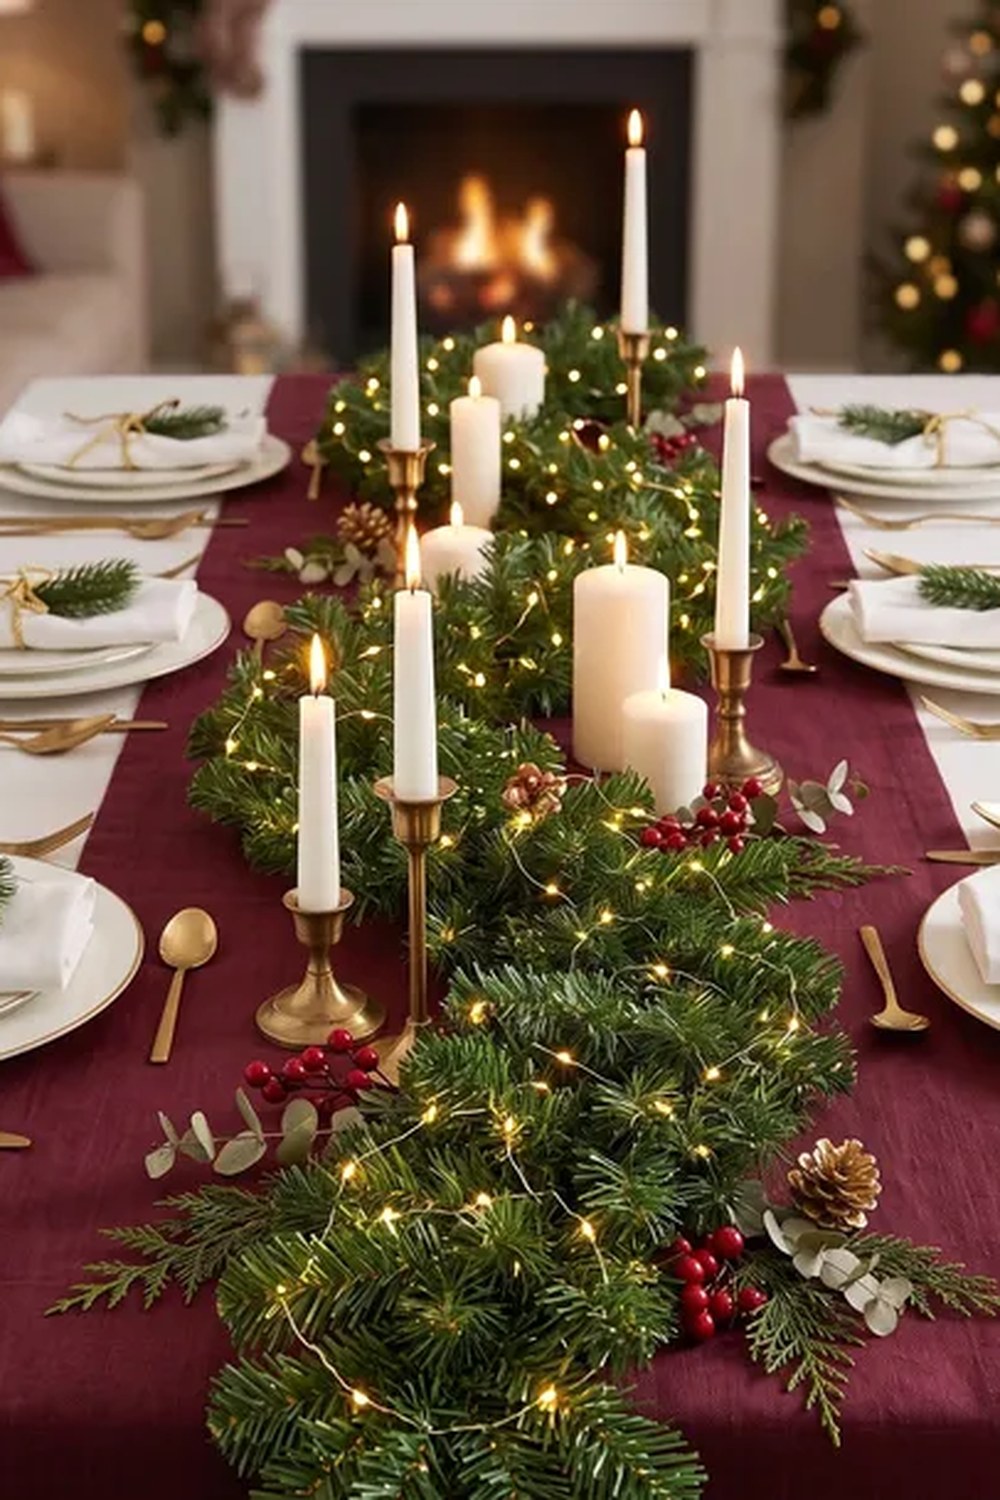
Lay the garland down the middle of the table and it becomes the centrepiece.
Lay a greenery or orange garland along the centre of the dining table as a runner, with candles tucked into it and the plates set on either side. The garland gives the table its structure, the candles make it glow, and the whole setting looks like a woodland feast. It is the most sociable garland in this guide — everyone at the table sits beside it.
Styling tip: keep the table garland low and narrow — no more than a hand-span wide — so guests can see over it and pass dishes across it. A tall, wide garland divides the table; a low, narrow one joins it.
32. Storing Your Garlands for Next Year: Pack Them Like Treasure
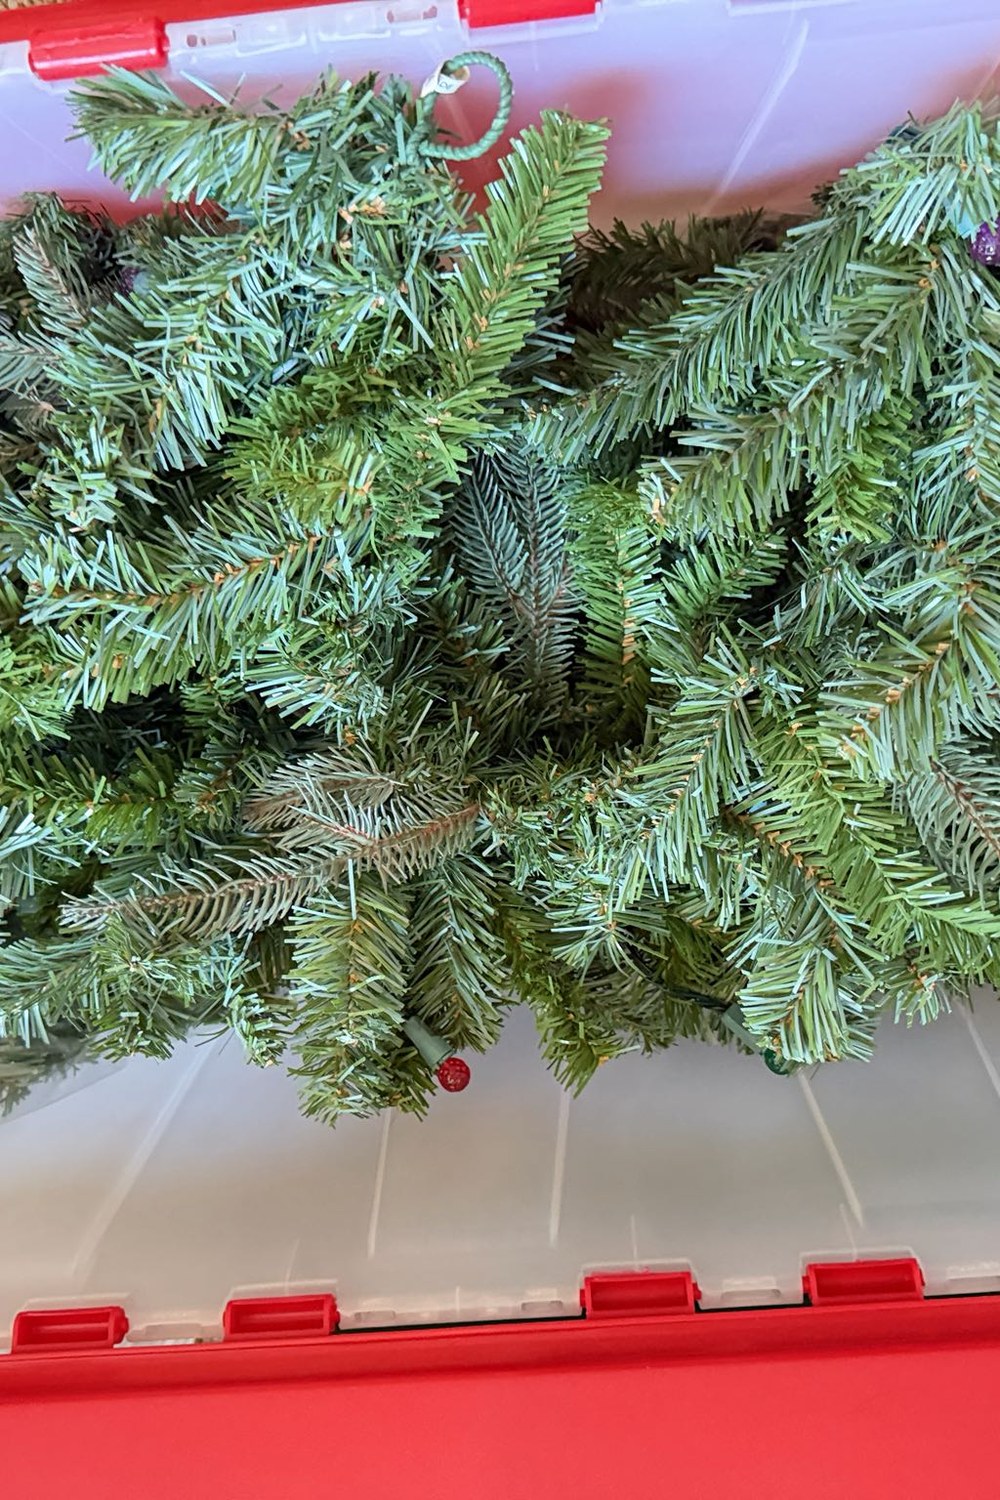
The last garland idea is about next year — coil them gently, label the box, and December will thank you.
When January comes, coil each garland loosely, wrap it in tissue paper, and store it in a labelled box with the year written on it. Dried orange, paper and wooden-bead garlands last for years if they are packed dry and kept out of damp; popcorn and fresh greenery go on the compost, and their twine can be reused. A garland that survives to next year is a garland you only had to make once.
Styling tip: photograph each garland in place before you take it down, and tuck the photograph into its box. Next December you will know exactly where it hung and how long it needs to be.
Essential Decor Takeaways
- Start with the classics: dried orange, popcorn and paper are the cheapest, easiest garlands, and they teach every skill the fancier ones need.
- Dry orange slices thin and slow, pop corn a day early, and use thin paper for snowflakes — the material's condition decides whether the garland threads cleanly.
- Lay greenery branches facing the same way, overlapping by a third, and wire each one in — a garland is built, not draped.
- One material should lead in a mixed garland; the others are accents. Equal measures of everything look muddled.
- Hang garlands in sections on a banister, keep table garlands low and narrow, and keep window garlands light.
- Warm white fairy lights woven through any garland make it glow after dark — never cool bulbs.
- Pack the keepers dry, in tissue, in a labelled box with a photograph of where they hung; compost the popcorn and fresh greenery.
Frequently Asked Questions
How long do diy christmas garland ideas like dried orange and popcorn last?
Dried orange slices last the whole season and often into the next year if kept dry; paper garlands last for years packed flat. Popcorn garlands last about two weeks indoors before they go stale and attract pests, so hang them where they can be enjoyed and compost them afterwards. Fresh greenery garlands last three to four weeks if misted occasionally and kept away from radiators.
How do I dry orange slices for a garland without them browning?
Slice them thinly, about 5mm, pat them dry, and bake them at the lowest oven setting — around 90–100°C — for two to three hours, turning them once. Thin slices dry to a translucent amber; thick slices stay soft in the middle and brown unevenly. Let them cool completely before threading, and store any spares in an airtight jar.
Can I make a Christmas garland with children?
Yes — popcorn threading with blunt needles, paper chains and paper snowflakes are all made for small hands. Keep the sharp needles, hot ovens and florist wire for the adults, pre-cut string to arm's length so it does not tangle, and let the children's garland be uneven. The imperfect one is the one you will photograph and keep.
How do I hang a garland without damaging my walls?
Use removable adhesive hooks rated well above the garland's weight, or hang it from existing rails, banisters, curtain rods and picture ledges. Wire heavy greenery garlands to banisters and newel posts rather than relying on hooks, and always test a hook with the garland's full weight before leaving it overnight. A garland that falls at midnight is a garland that needs better hooks.
A handmade garland is Christmas at its simplest: a needle, a length of twine, and an afternoon with oranges, popcorn or paper. Save your favourite diy christmas garland ideas from this list, start with one classic, and let every doorway, tree and table in the house wear something you made yourself. For more seasonal inspiration, follow TheStylingHub on Pinterest, where we pin fresh tree, mantel, table and colour-story ideas all season long.