
32 Christmas Decor Storage Ideas to Pack Everything Away Neatly
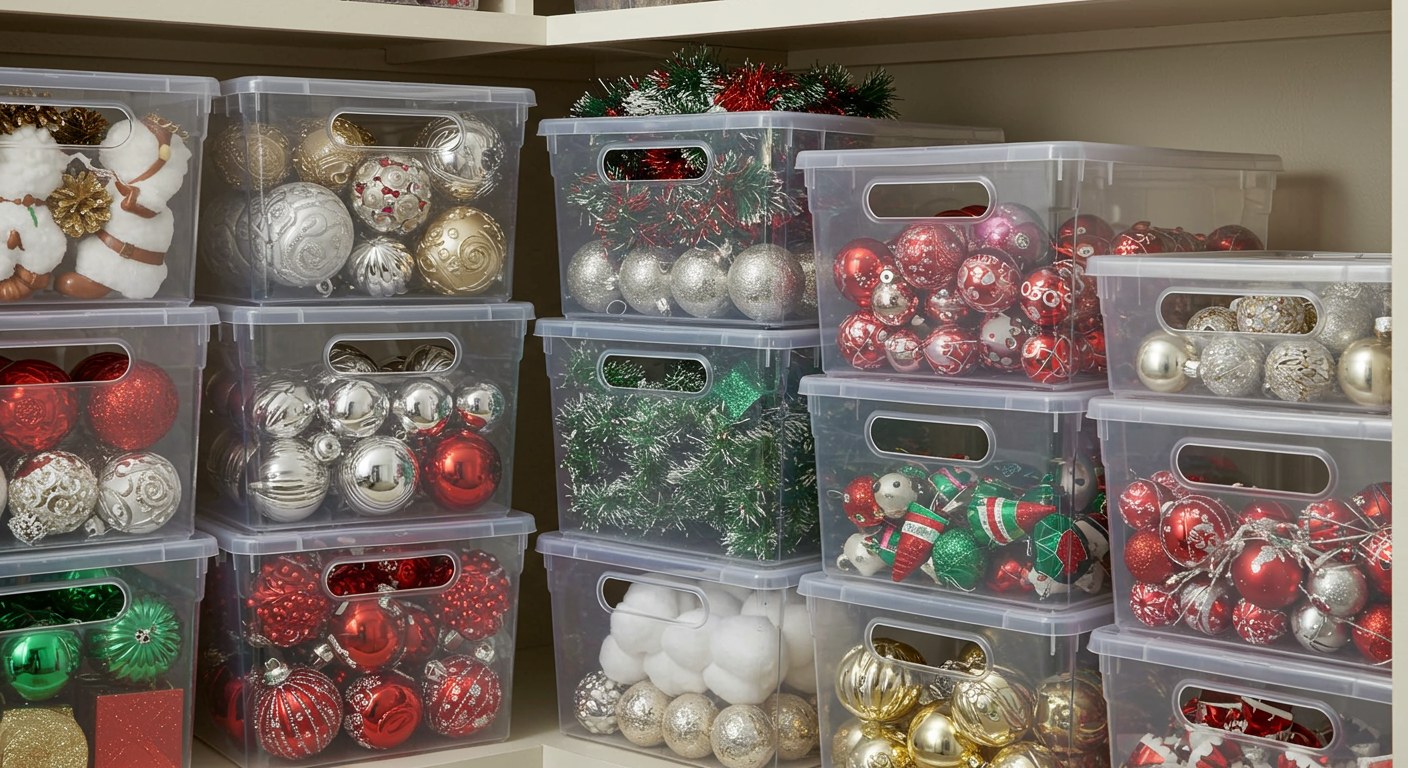
January is the part of Christmas nobody photographs, and these 32 christmas decor storage ideas make it painless: ornaments wrapped so they survive the year, lights wound tangle-free, trees and wreaths bagged against dust, and every box labelled with a photo of where it all goes, so next December unpacking feels like opening presents, not untangling a mess.
Ornaments: Pack Them Safe
1. The Egg-Carton Trick: One Ornament per Cup
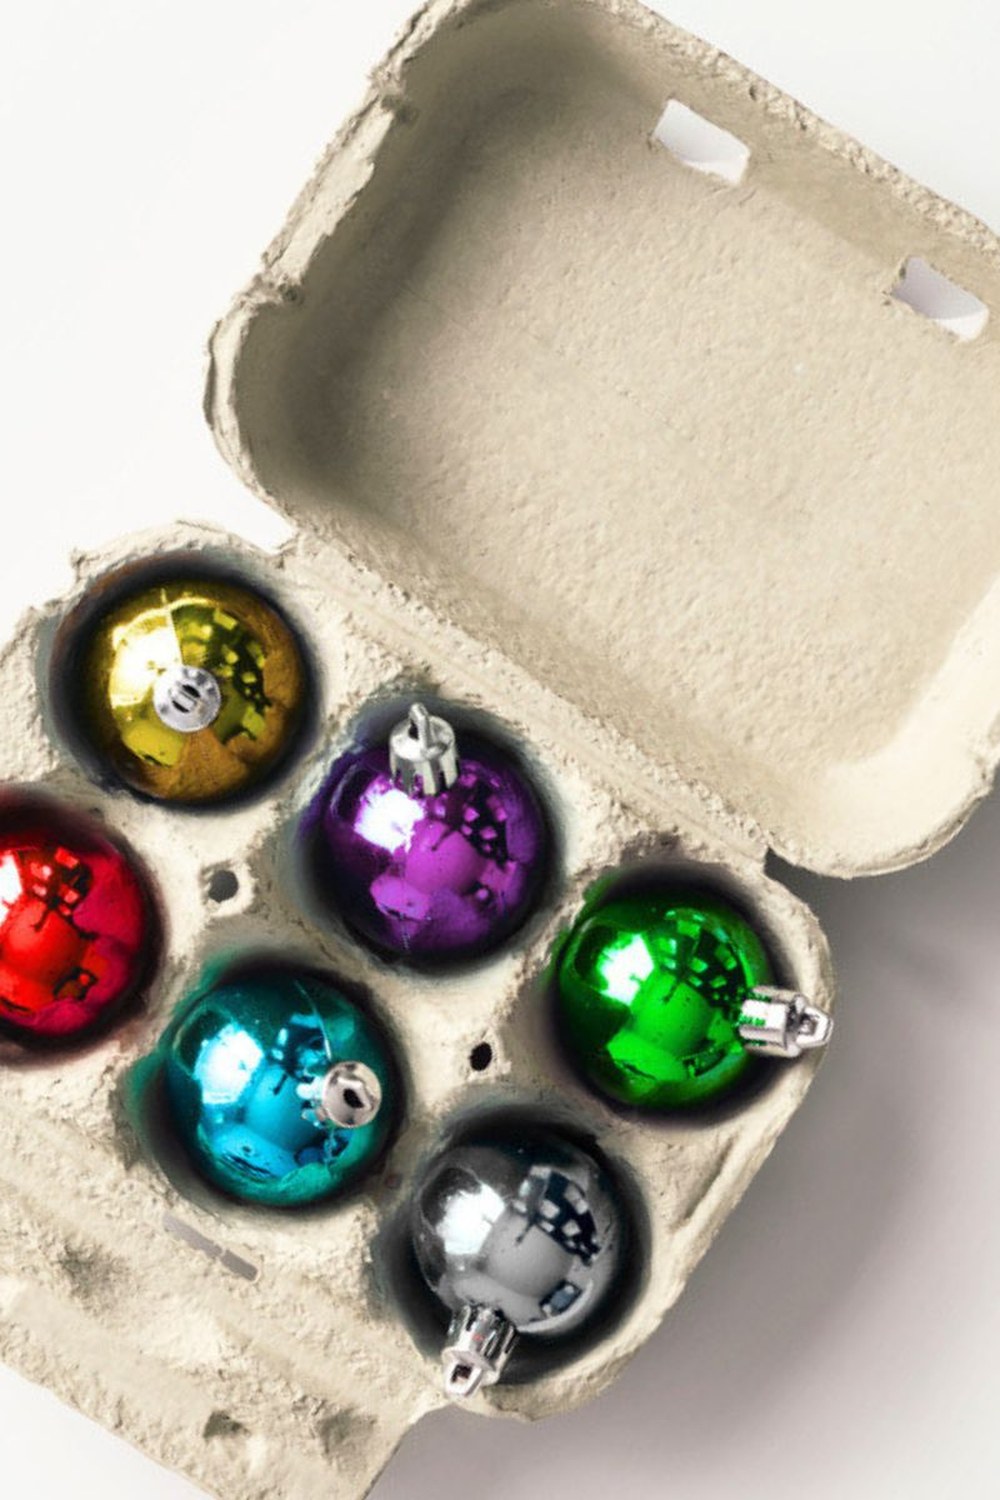
One bauble per cup — the cheapest ornament box there is, and it works.
Save sturdy egg cartons, or buy stackable ornament trays, and nest one bauble in each cup, with a layer of tissue over the top before stacking the next. The cups stop ornaments knocking together, the tissue stops scratches, and the cartons stack neatly in a single box. It is the oldest storage trick in the book, and it still beats most shop-bought inserts.
Styling tip: keep the heaviest ornaments in the bottom carton and the lightest on top, and never stack a carton on ornaments without a tissue layer between. A crushed bauble is usually a bauble that was stacked, not wrapped.
2. Wrap Each Heirloom in Tissue, Not Newspaper
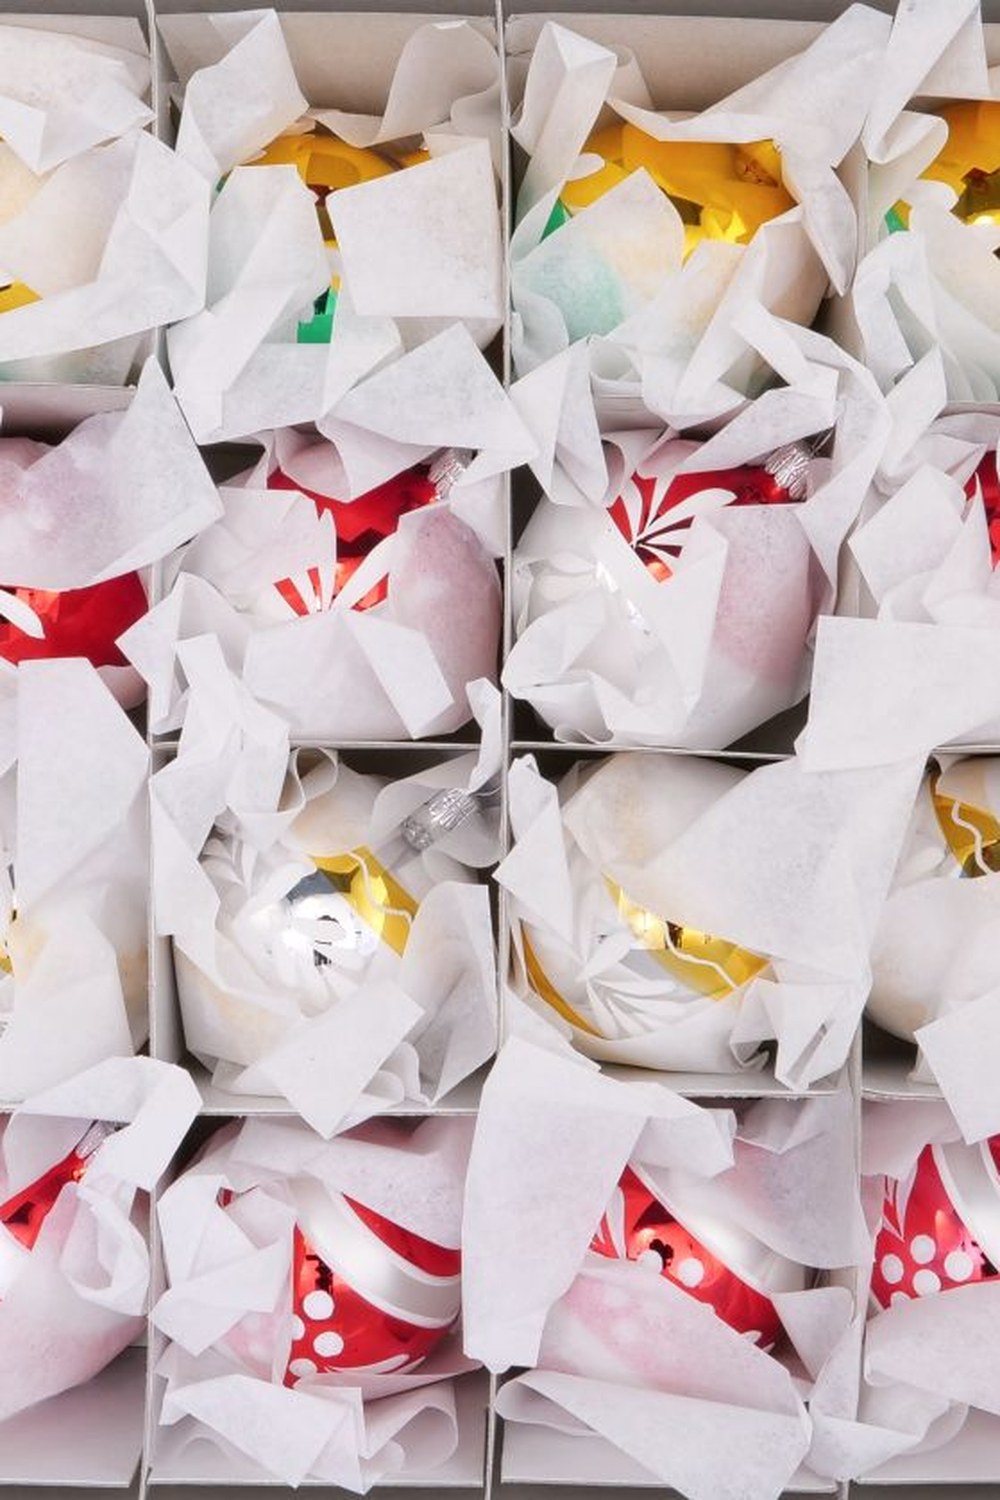
Heirlooms get tissue, not newspaper — ink and glitter never mix.
Wrap every glass or heirloom ornament individually in plain white tissue paper before it goes into its cup or tray. Newspaper ink rubs off onto ornaments and glitter sticks to newsprint, but tissue is clean, soft and cheap, and a wrapped ornament is an ornament that survives eleven months in a box. Keep a roll of tissue with the storage boxes so wrapping never feels like a chore.
Styling tip: wrap the ornament's hanging loop in the same tissue parcel, so it cannot catch on its neighbour. Most ornament damage happens in the box, not on the tree — loops snagging loops.
3. Divided Boxes With Cardboard Grids
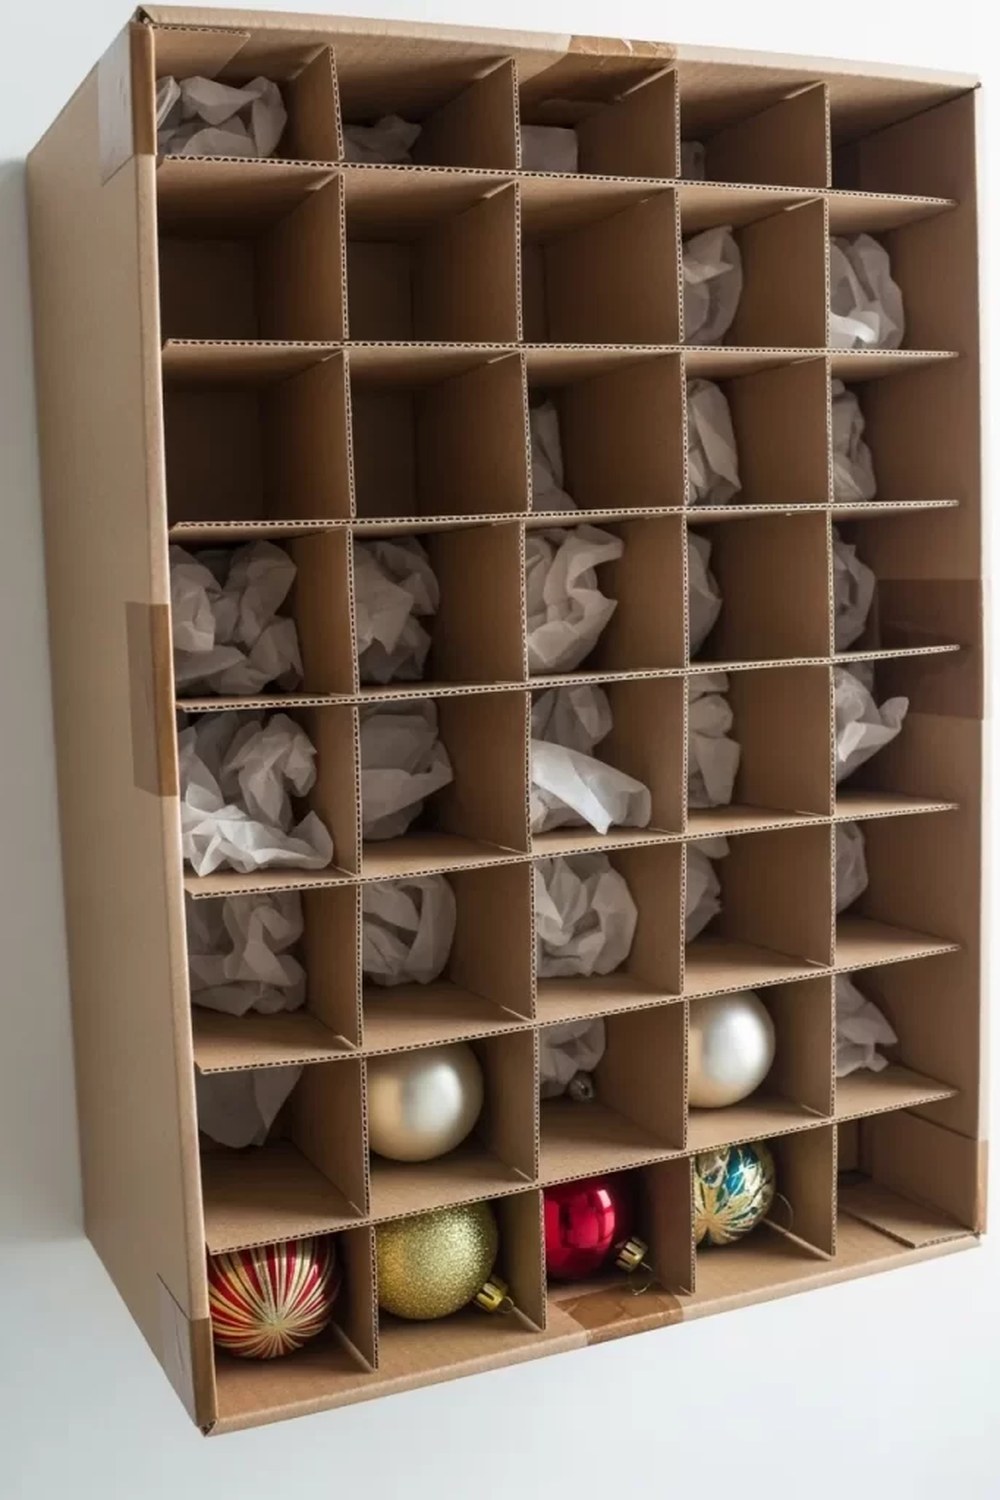
A cardboard grid turns any box into an ornament box — measure once, cut once.
Cut strips of stiff cardboard into a grid inside a shallow box, making one cell per ornament, and line the bottom with tissue. The grid costs nothing, fits any box you already own, and keeps every ornament in its own cell all year. It is the best option for a mixed collection of sizes, because you can cut the cells to fit the ornaments, not the other way round.
Styling tip: make the grid cells slightly larger than the ornaments, and label the box with the ornament type inside. A grid that is too tight cracks baubles when you lift them out.
4. Plastic Cups Glued to a Tray: The DIY Ornament Box
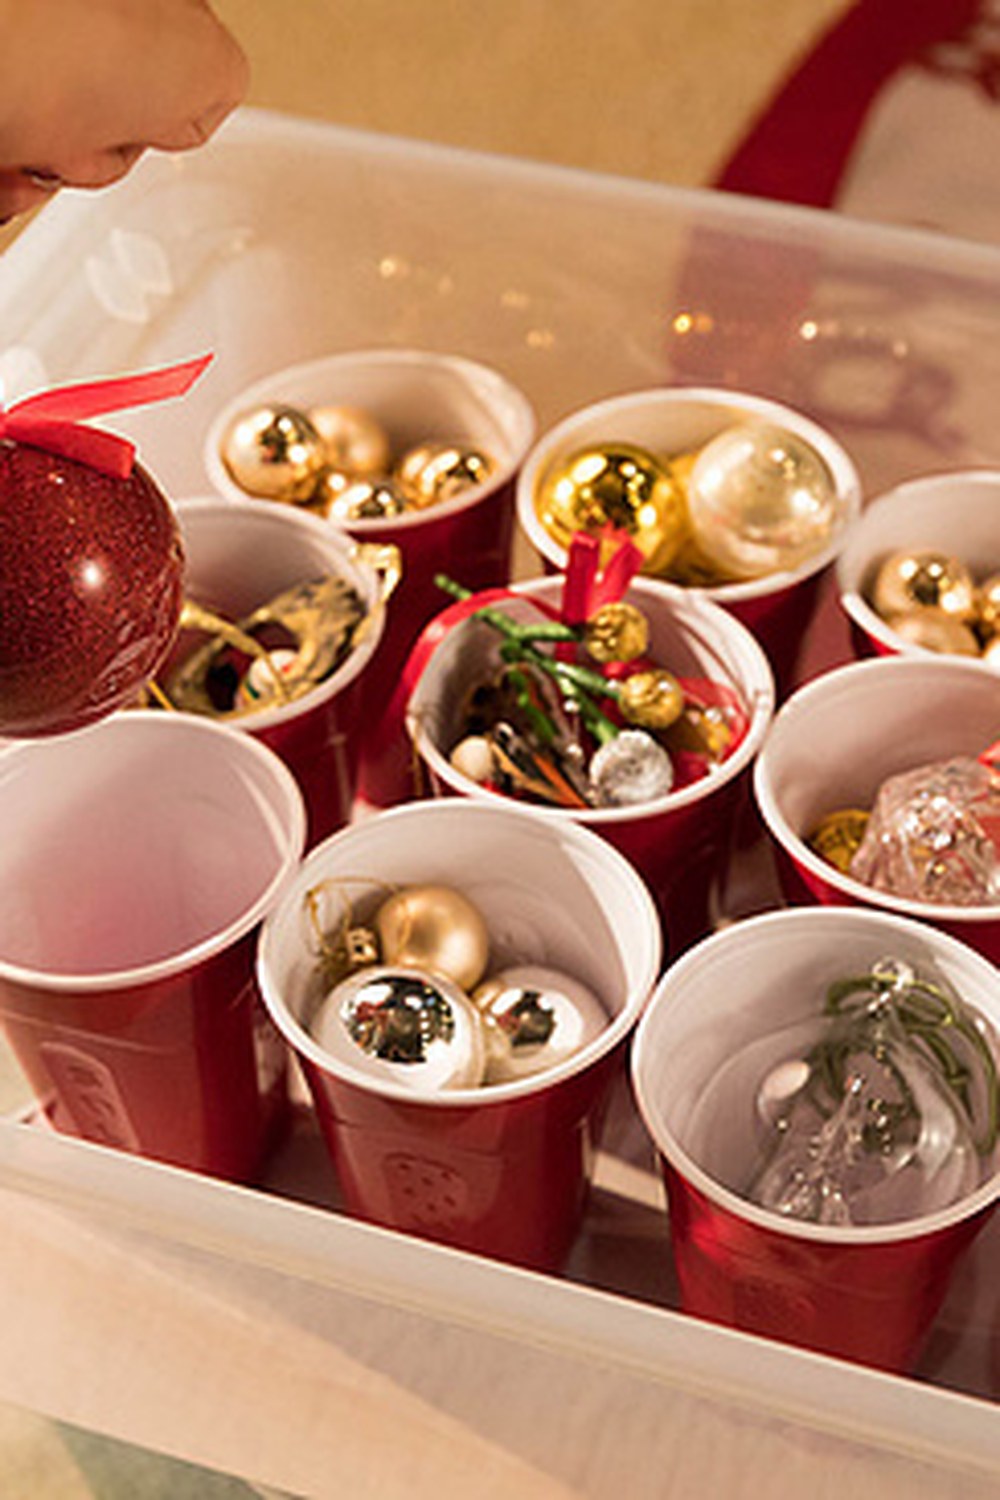
Plastic cups, glued to a tray — a custom ornament box in an afternoon.
Glue clear plastic cups in rows onto a stiff tray that fits your storage box, one ornament per cup, and stack the trays with tissue between them. The cups are see-through, so you can find an ornament without unwrapping it, and they are unbreakable, so the box can be carried without fear. It is the best DIY option for a large bauble collection.
Styling tip: glue the cups to the tray, not to each other, and keep the tray size a little smaller than the box so it lifts out easily. A tray that jams in its box is a tray nobody will use twice.
5. Keep the Original Ornament Boxes — They Were Designed for This
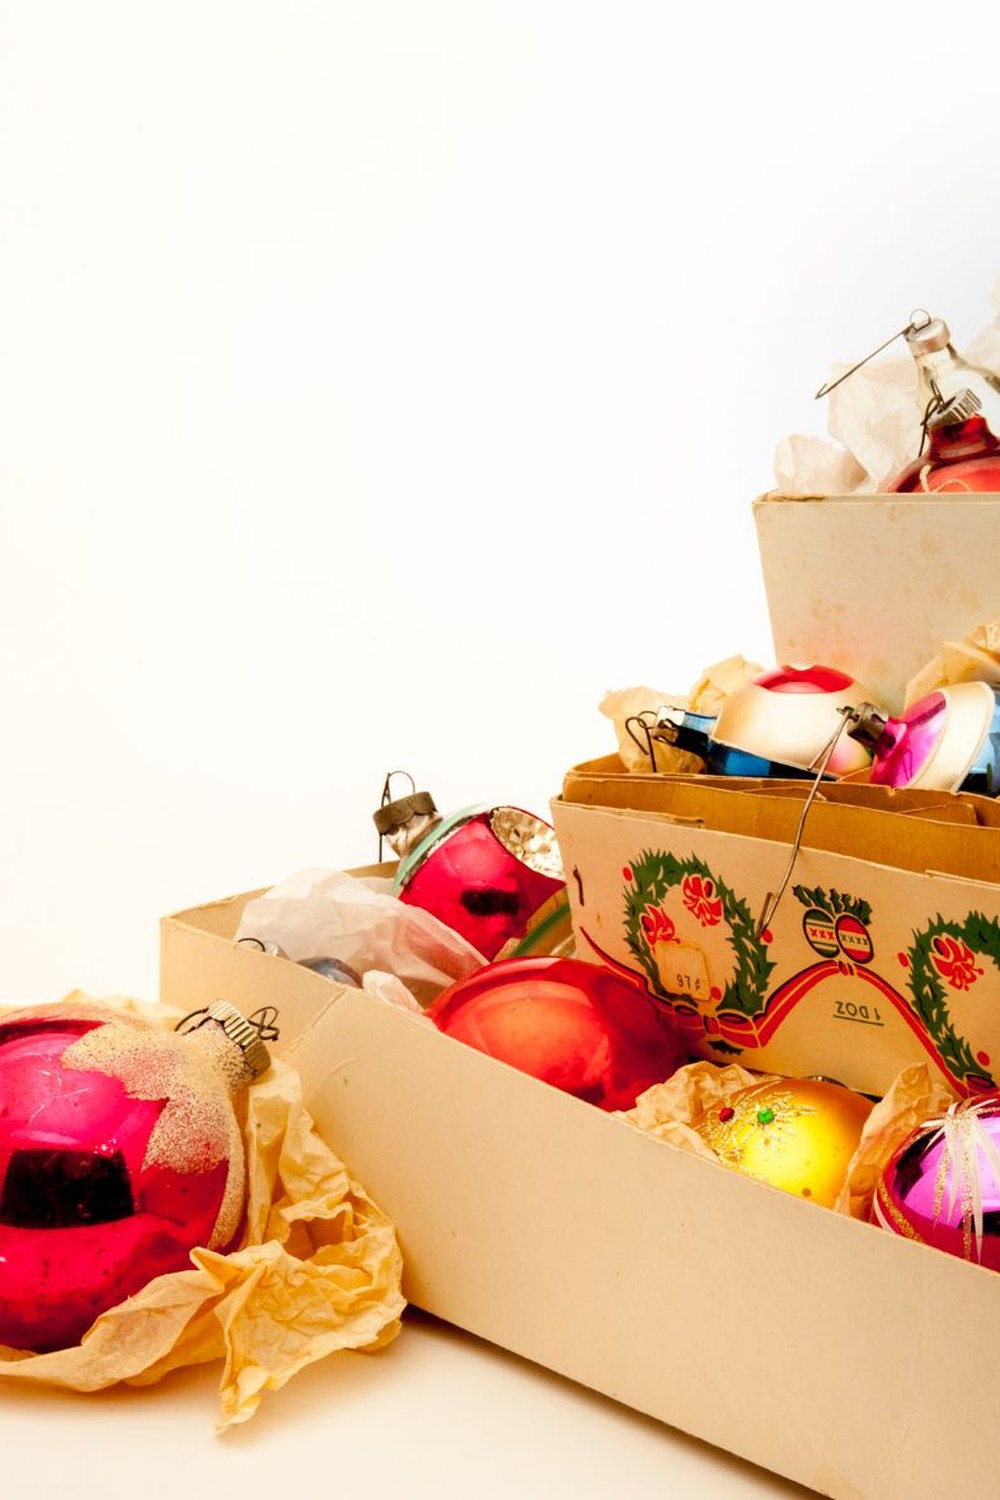
The box it came in was made for this job — keep it, and use it.
Keep the original box for every boxed ornament set, and store the sets inside one larger labelled box. Manufacturers design those boxes with fitted inserts for a reason, and an ornament in its own box is the safest ornament you own. If the original box is damaged, replace it with a small lidded box of the same size rather than throwing the ornament loose into a big box.
Styling tip: stack the original boxes upright, like books, with the label facing out, so you can pull one set without disturbing the rest. A flat pile of boxes hides the one you want at the bottom.
6. One Box per Tree Zone: Ornaments Sorted by Where They Hang
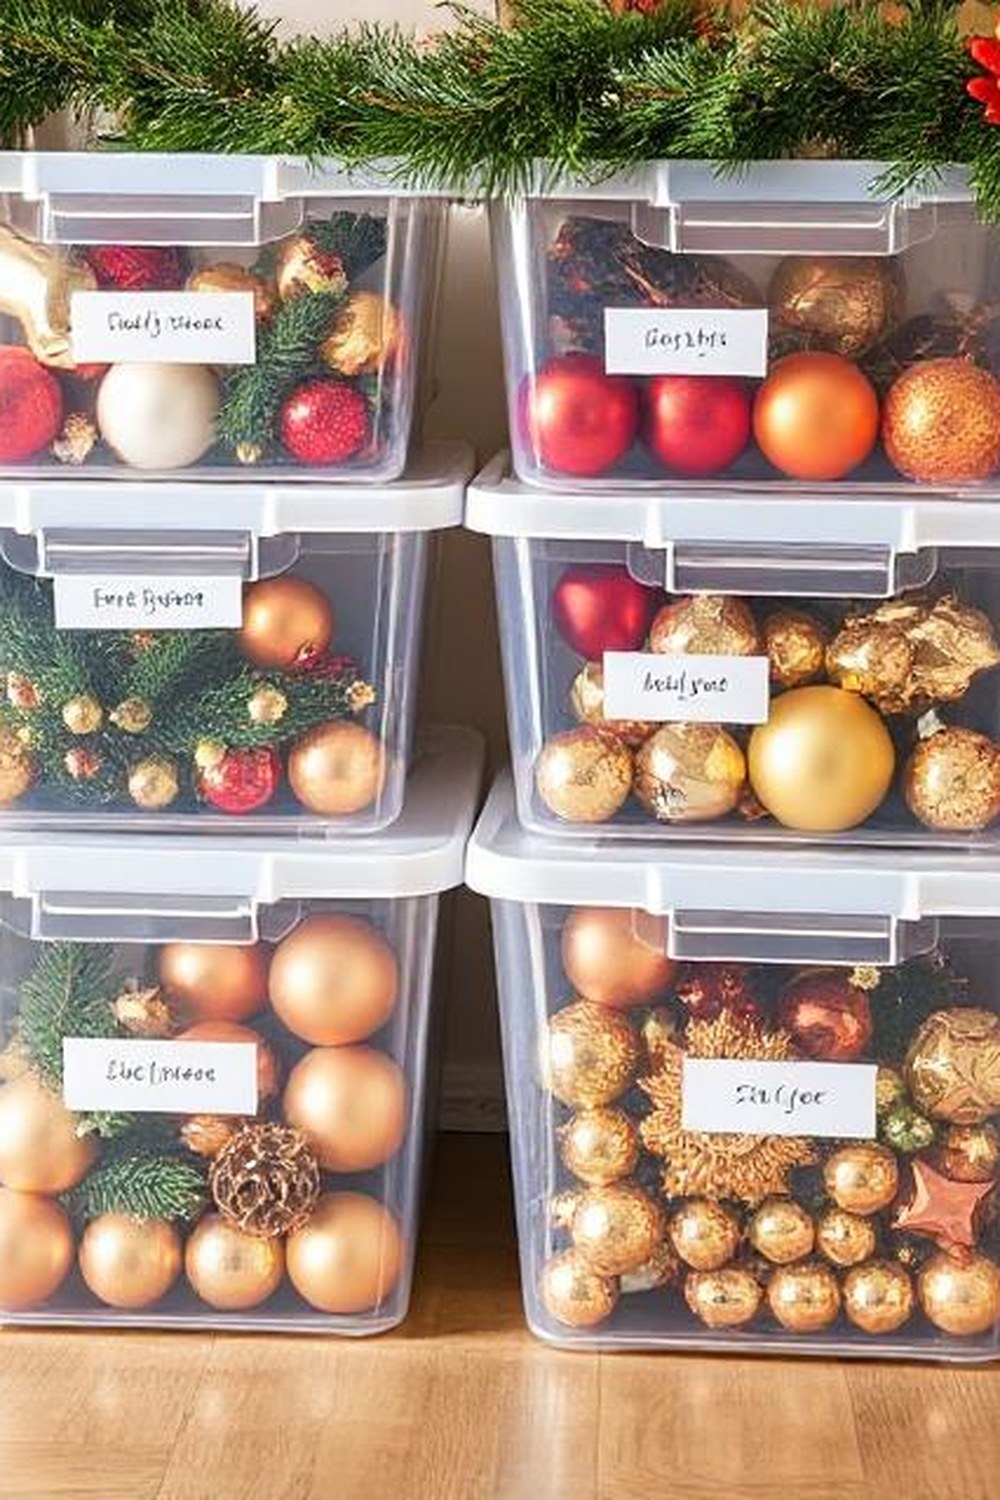
One box per colour story — next December, you open one box, not six.
Sort ornaments by where they hang — all the reds together, all the golds together, all the children's handmade ones together — and give each group its own labelled box. Sorting by zone means next December you open one box for the tree and one for the mantel, instead of opening every box to find the red baubles. It takes an extra hour in January and saves a whole afternoon next year.
Styling tip: photograph each box's contents before you close it, and tape the photo to the lid. A photo on the lid beats a written list every time.
7. The Children's Handmade Box: On Top, Every Year
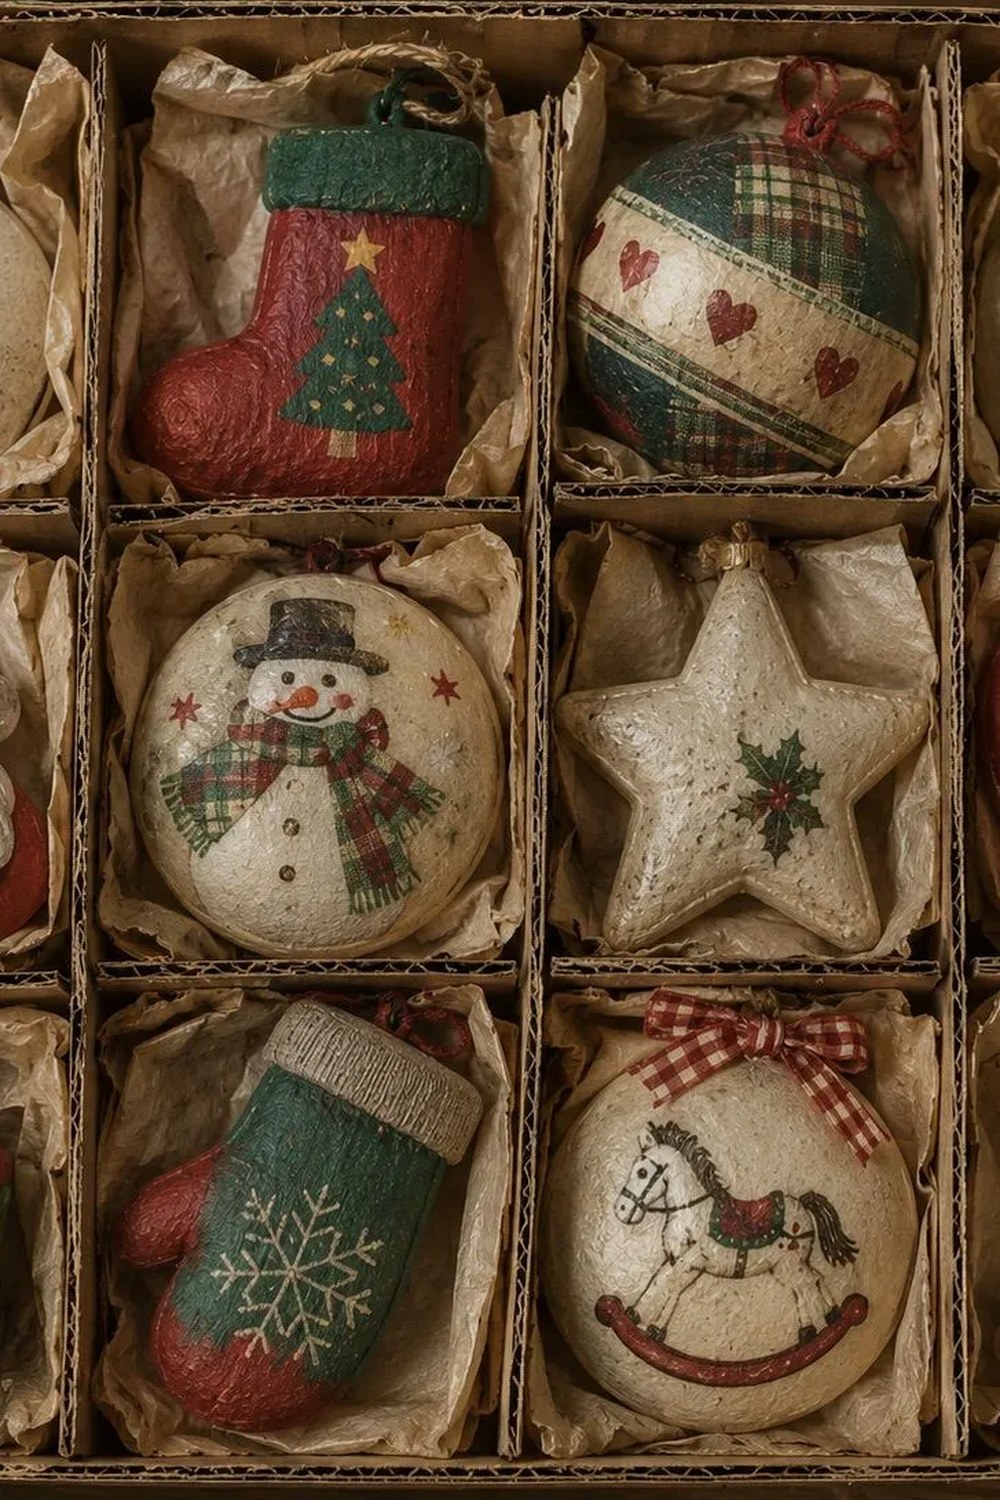
The handmade ones go on top — they are the first thing you want to see next year.
Give the children's handmade ornaments their own small box, wrapped in tissue and packed on top of the ornament stack, so they are the first thing you see when you open the storage next December. Handmade ornaments are the most fragile and the most loved, and a box of their own protects both. Let your child decorate the box's label.
Styling tip: add one new handmade ornament to the box each year, and write the year on the back of each one. A box that grows by one ornament a year becomes a family archive.
Lights & Garlands: Tangle-Free
8. Wind Lights Around a Cardboard Reel
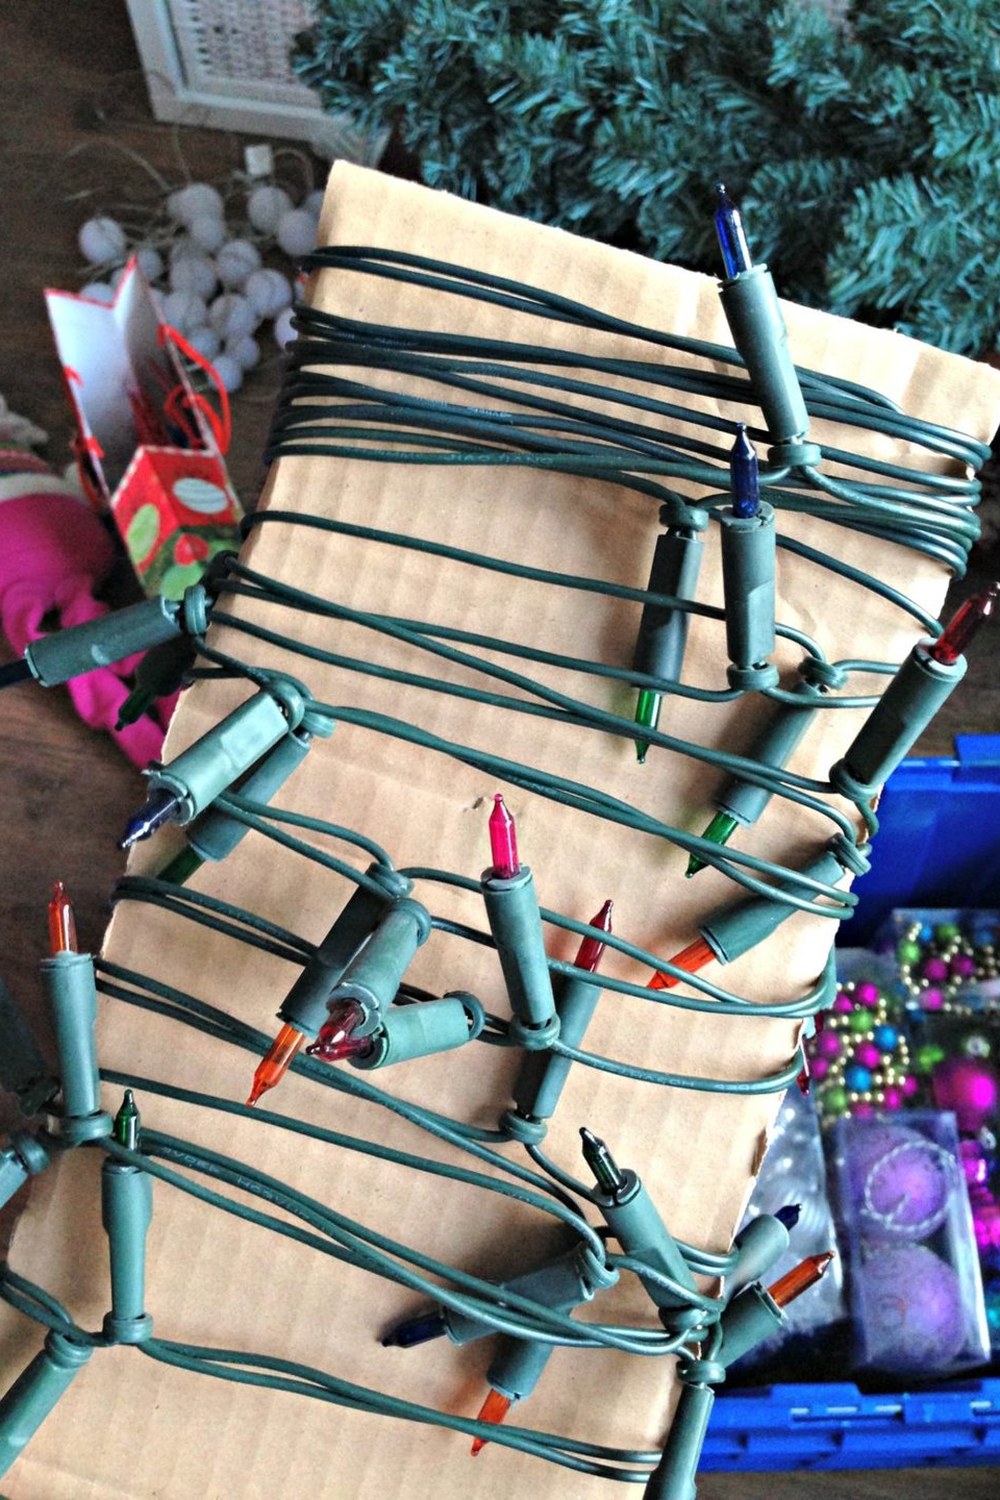
Wind them on a reel, not in a ball — ten minutes now saves an hour next year.
Cut a wide reel from stiff cardboard, with notches at each end, and wind each light string around it in neat loops, securing the plug in a notch. A reeled string unwinds in a minute next December; a balled string takes an hour and a lot of patience. Keep one reel per string, and label the reel with the string's length and where it hung.
Styling tip: wind the lights loosely, never stretched tight, and tape the loose end to the reel. A string wound too tightly strains its wires and fails next year.
9. The Hanger Trick: Lights on a Coat Hanger
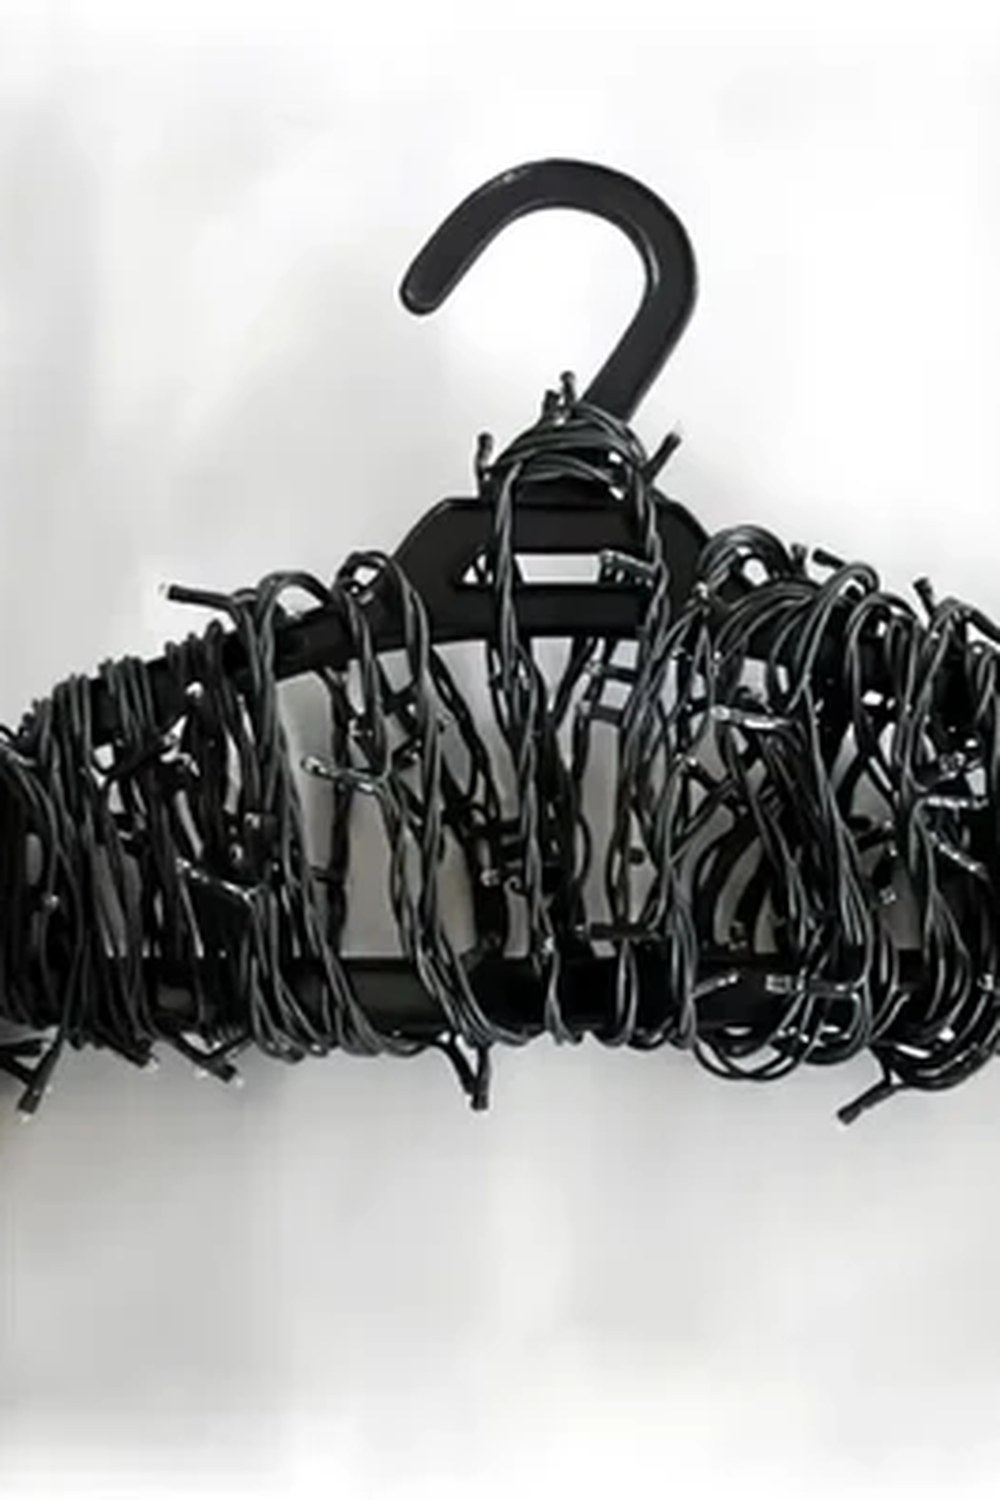
A coat hanger is a free light reel — and it hangs up out of the way.
Wrap a light string around a sturdy coat hanger, hook the plug over the hook, and hang it in a cupboard. The hanger trick needs no special equipment, the lights hang straight and tangle-free, and the cupboard keeps them dust-free. It is the best option when storage space is tight and boxes are full.
Styling tip: use wooden or padded hangers, not thin wire ones, so the lights do not kink. A kinked wire is a broken wire waiting to happen.
10. Bag Each String Separately, Labelled by Length
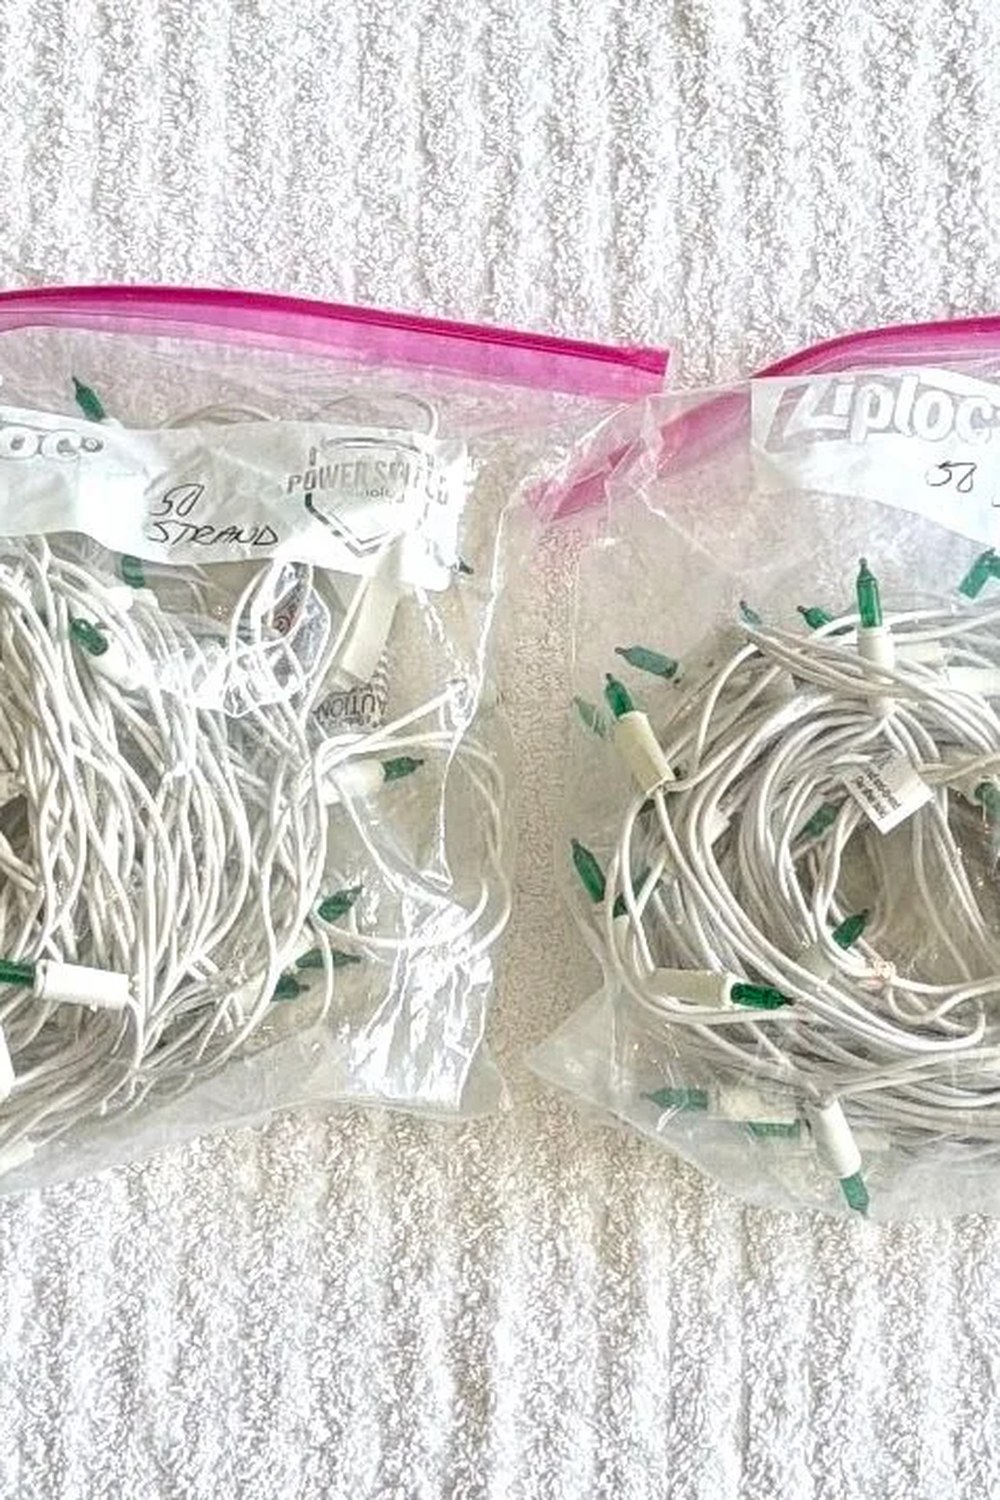
One string, one bag, one label — never untangle two strings again.
Put each light string in its own zip bag, with a label saying its length and where it hung — "tree, 5 metres" or "mantel, 3 metres". Bagged separately, strings cannot tangle with each other, and the label means you grab the right string first time. Test each string before bagging it, and note any dead bulbs on the label.
Styling tip: squeeze the air out of the bag before sealing it, and store the bags flat in one box. A flat stack of labelled bags is a pleasure to unpack; a jumble of bags is not.
11. Test Every String Before You Pack It Away
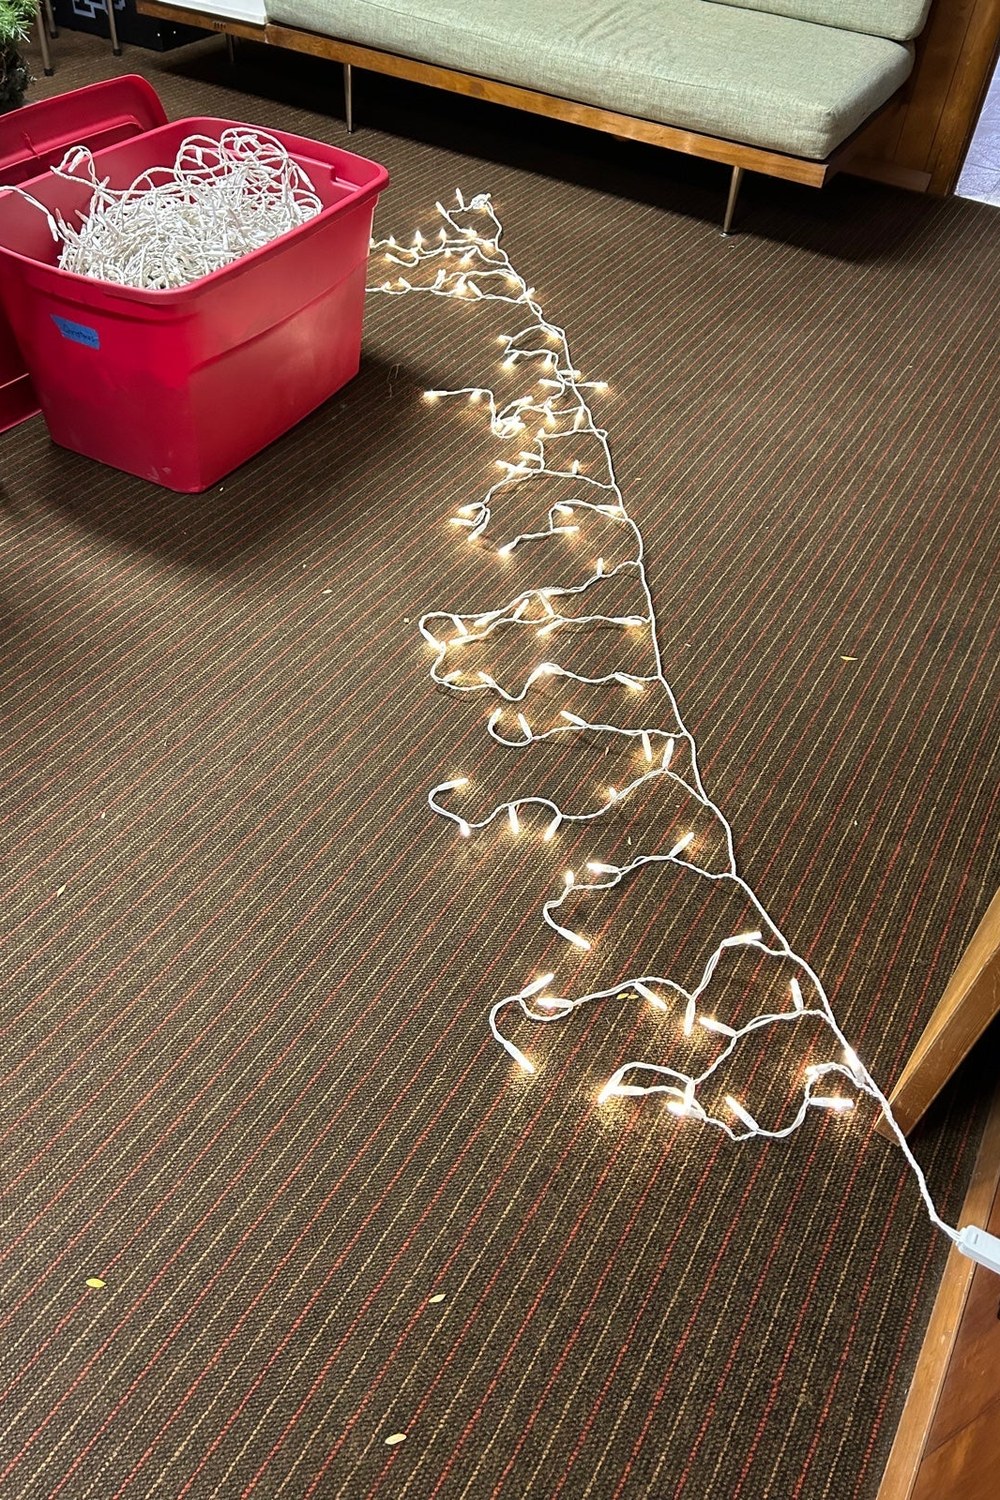
Plug them in now, while the tree is still up — a dead string is a January problem, not a December one.
Before you pack any light string away, plug it in and check every bulb, replacing dead ones from your spares. A string tested in January is a string you can trust next December; a string packed away untested is a surprise waiting in the box. Keep a small bag of spare bulbs and fuses with the light box.
Styling tip: test the string in the room where it hung, with the lights you will use next year, and write the test date on the bag. A tested string with a dated label is a promise kept.
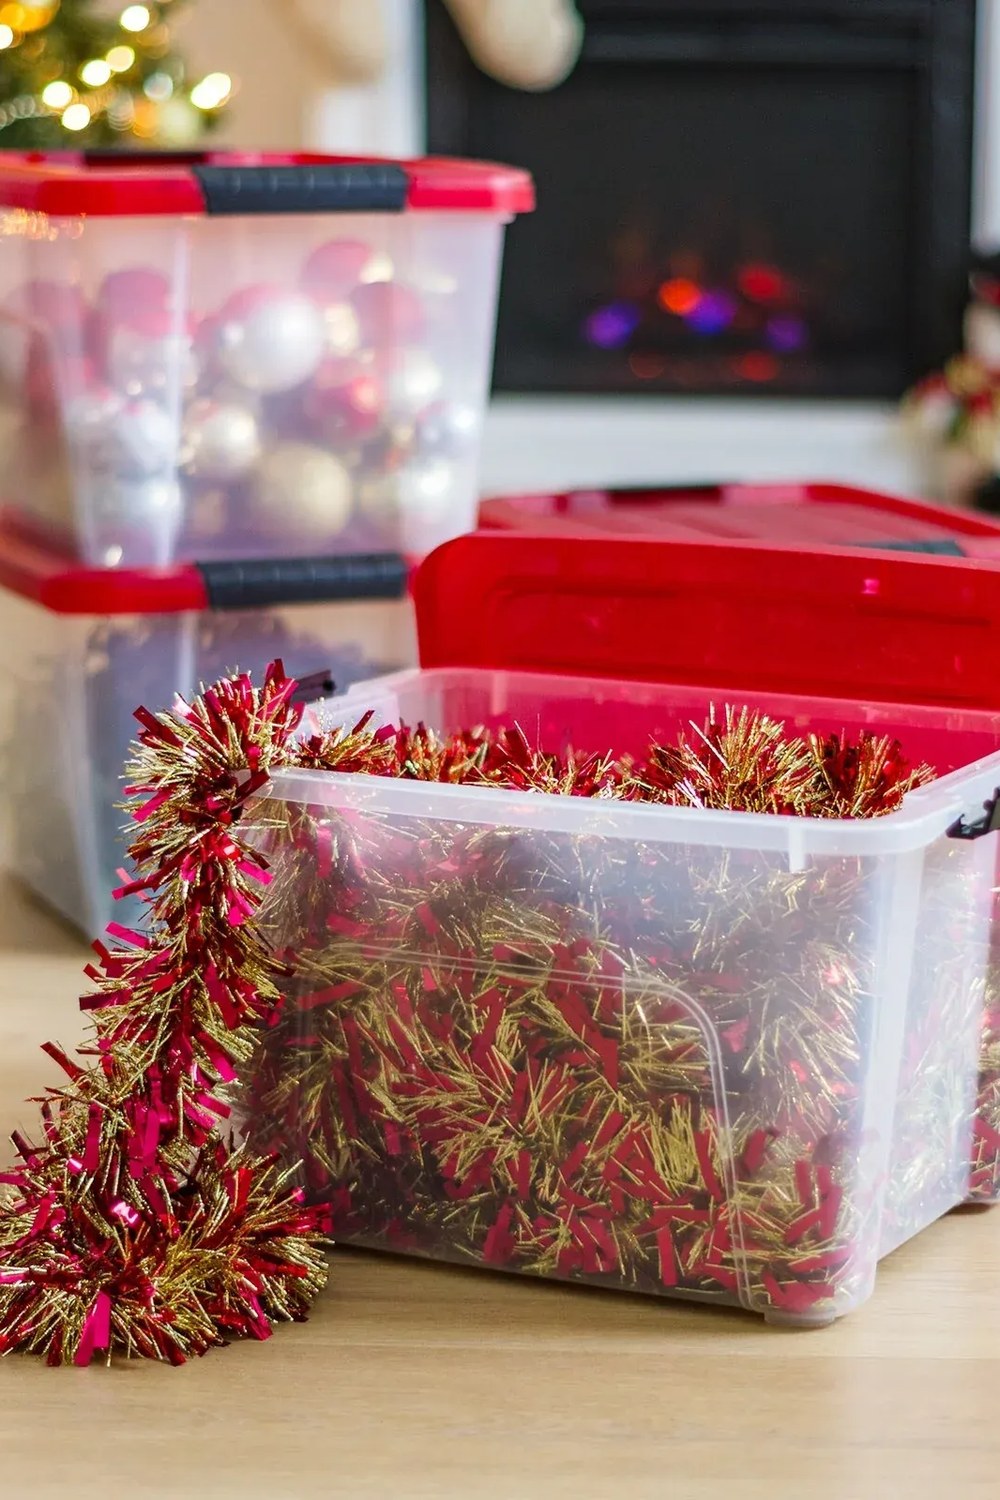
12. Garlands Coiled in a Clear Bin: No Kinks, No Crush
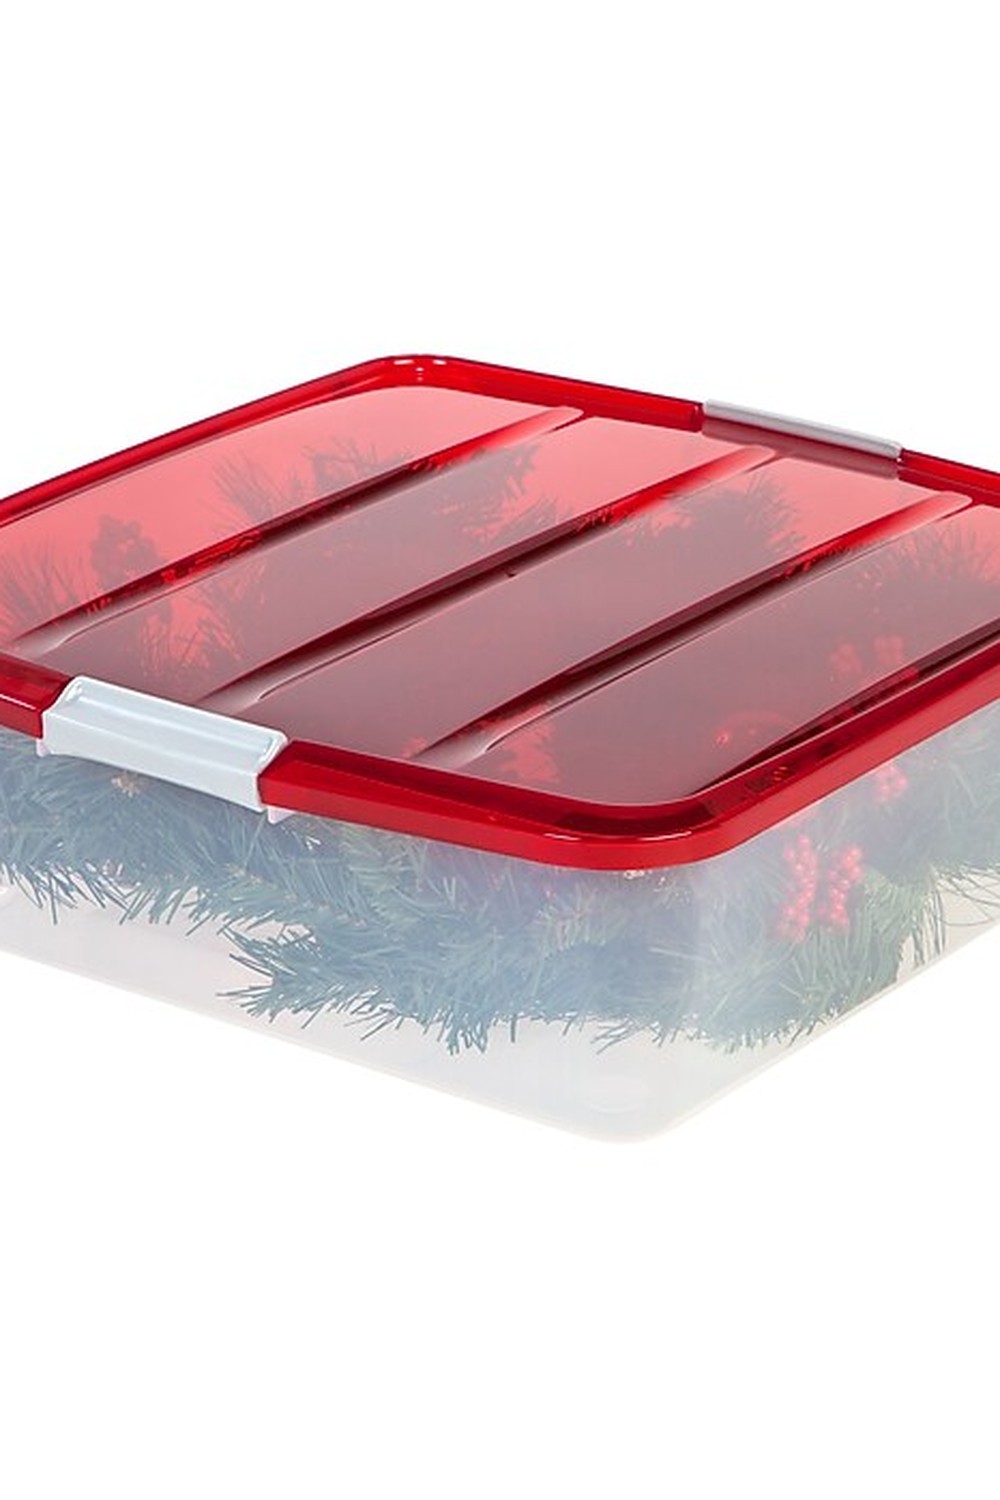
A garland coiled loosely in a clear bin keeps its shape all year — a garland folded tight comes out kinked.
Coil each garland loosely into a wide, shallow, clear bin, one or two garlands per bin, and put the lid on. The clear sides let you see which garland is inside without opening it, the rigid bin stops anything heavy being stacked on top of it, and a loose coil keeps the branches full instead of flattening them. Never fold a garland tight or crush it under a box of ornaments — a crushed garland never quite fluffs back.
Styling tip: coil the garland in the same direction it hung, and tie one loose loop of ribbon around the coil so it does not spring open when the lid comes off. A garland that uncoils in your hands is a garland that tangles.
13. The Wreath Bag: Hang It, Don't Stack It
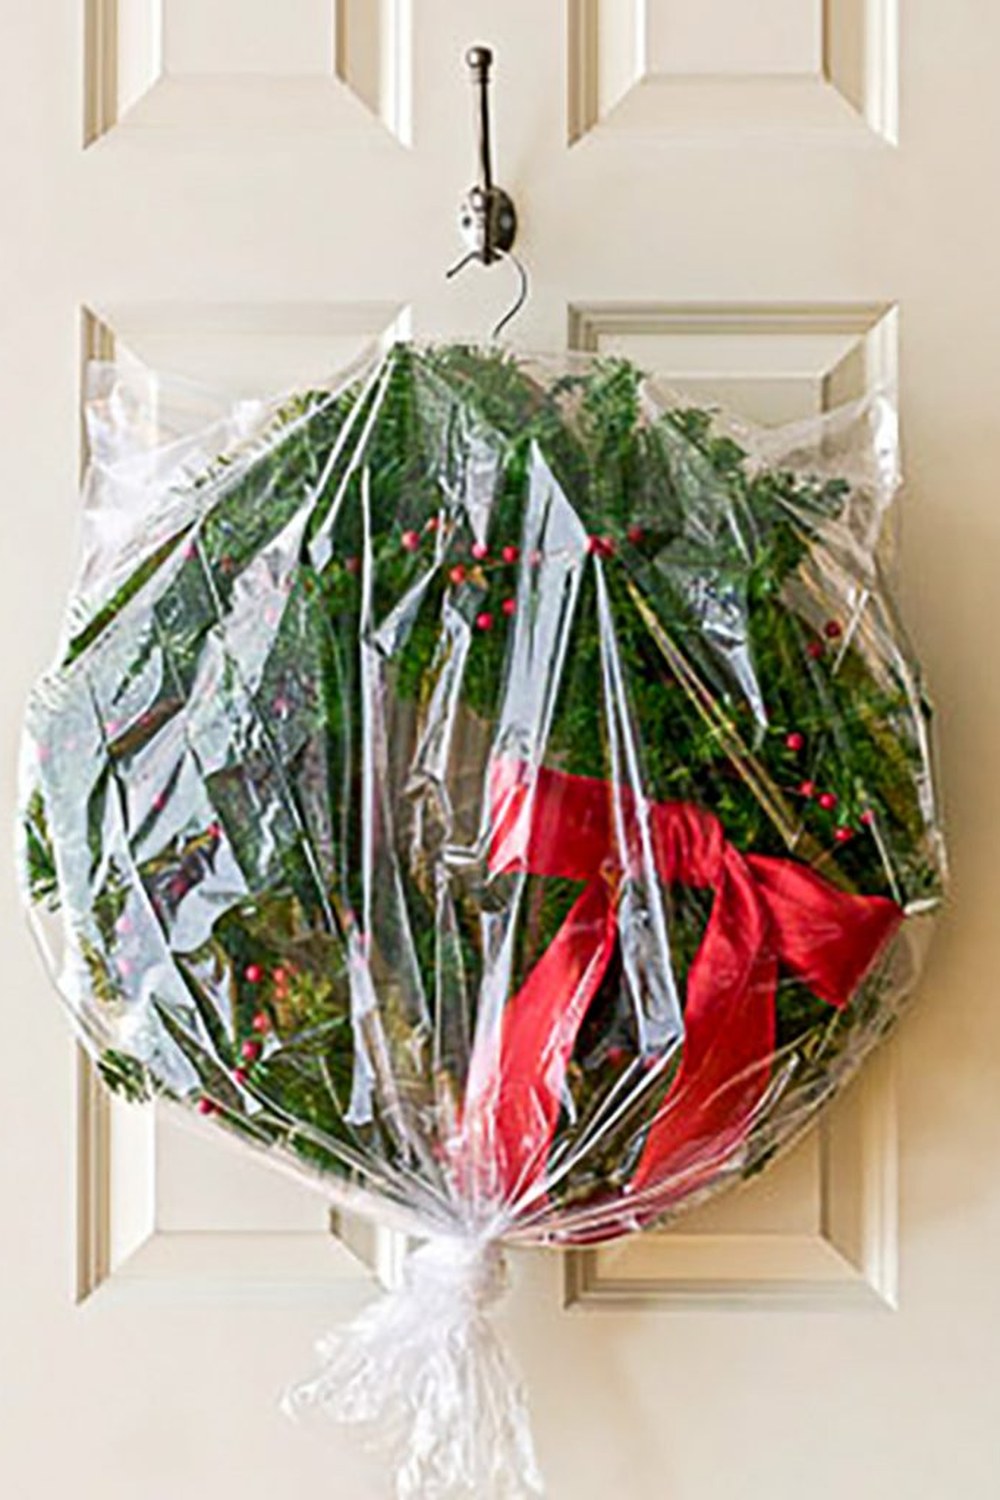
A wreath hangs in its bag — stacked wreaths come out flat.
Store each wreath in a clear wreath bag, or a large pillowcase, and hang it on a hook in a cupboard or on the back of a storage-room door. A hanging wreath keeps its shape all year; a stacked wreath comes out squashed on one side. The clear bag lets you see which wreath it is without opening it.
Styling tip: hang the wreath by its own hanging loop, not by the bag's handle, so the weight hangs evenly. A wreath hung off-centre sags into an oval.
Trees, Wreaths & Big Pieces
14. The Tree Bag: Bag the Tree in Sections
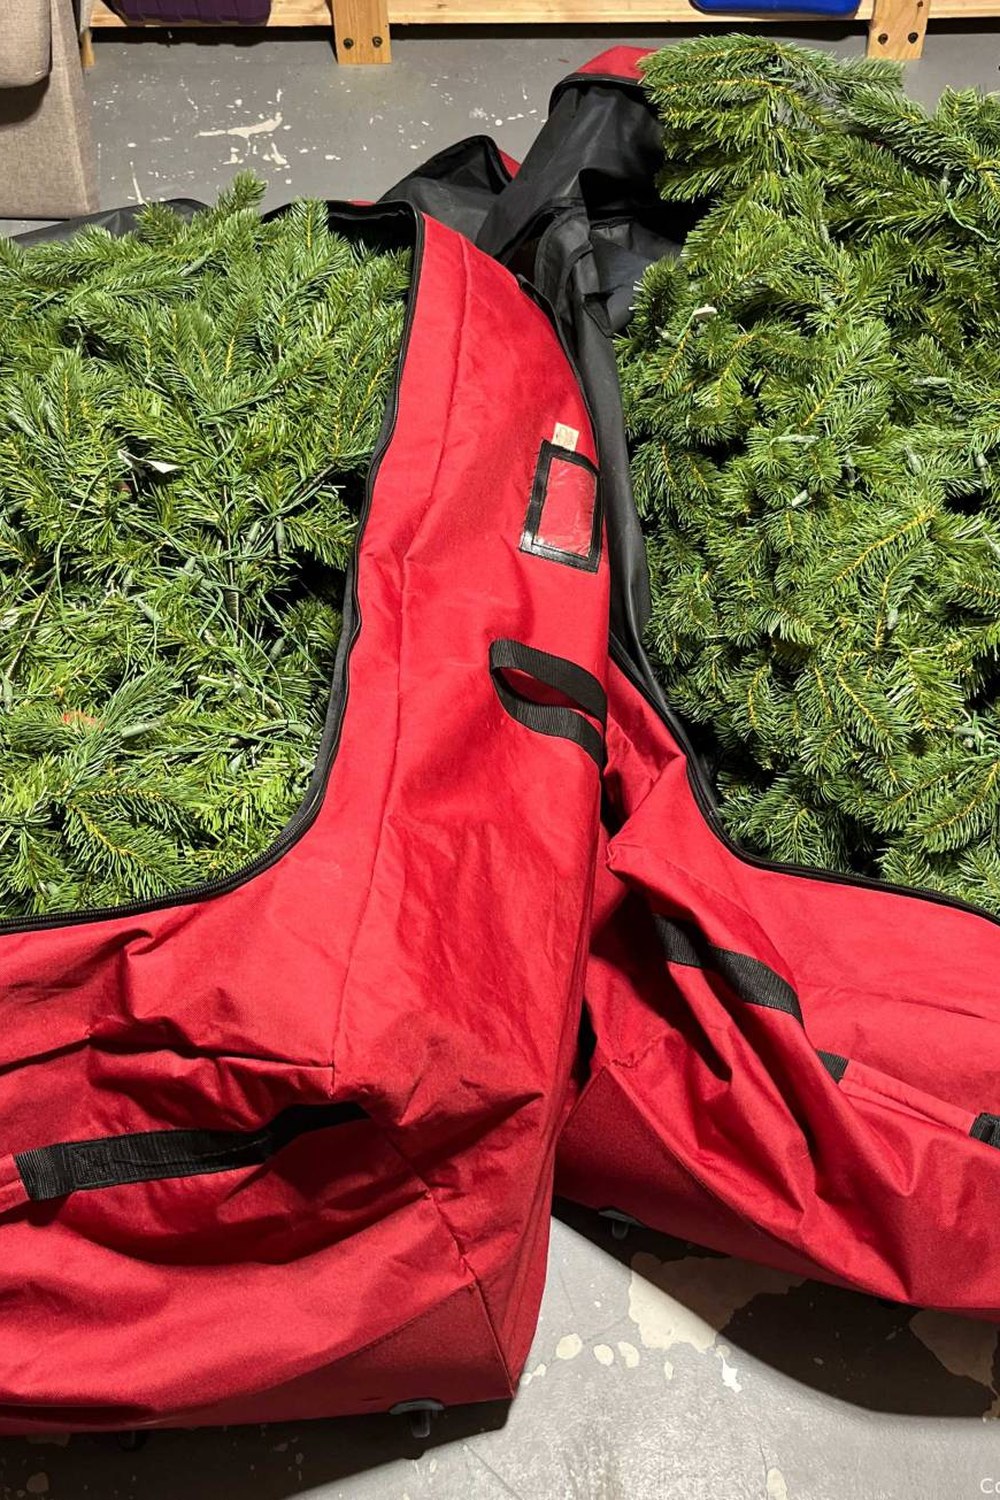
Bag the tree in its sections — it goes up faster next year, and nothing bends.
Take the artificial tree apart into its sections, bag each section separately in its own tree bag or a large bin liner, and store the sections upright together in one large bag. Bagged sections cannot snag each other, the branches stay shaped, and the tree goes up section by section next December without a wrestling match. Label the bag with the tree's height.
Styling tip: keep the tree's stand and screws in a labelled zip bag taped inside the tree bag, so nothing gets lost. A tree without its stand is a very expensive decoration with nowhere to go.
15. The Tree Box It Came In: Keep It, or Replace It Properly
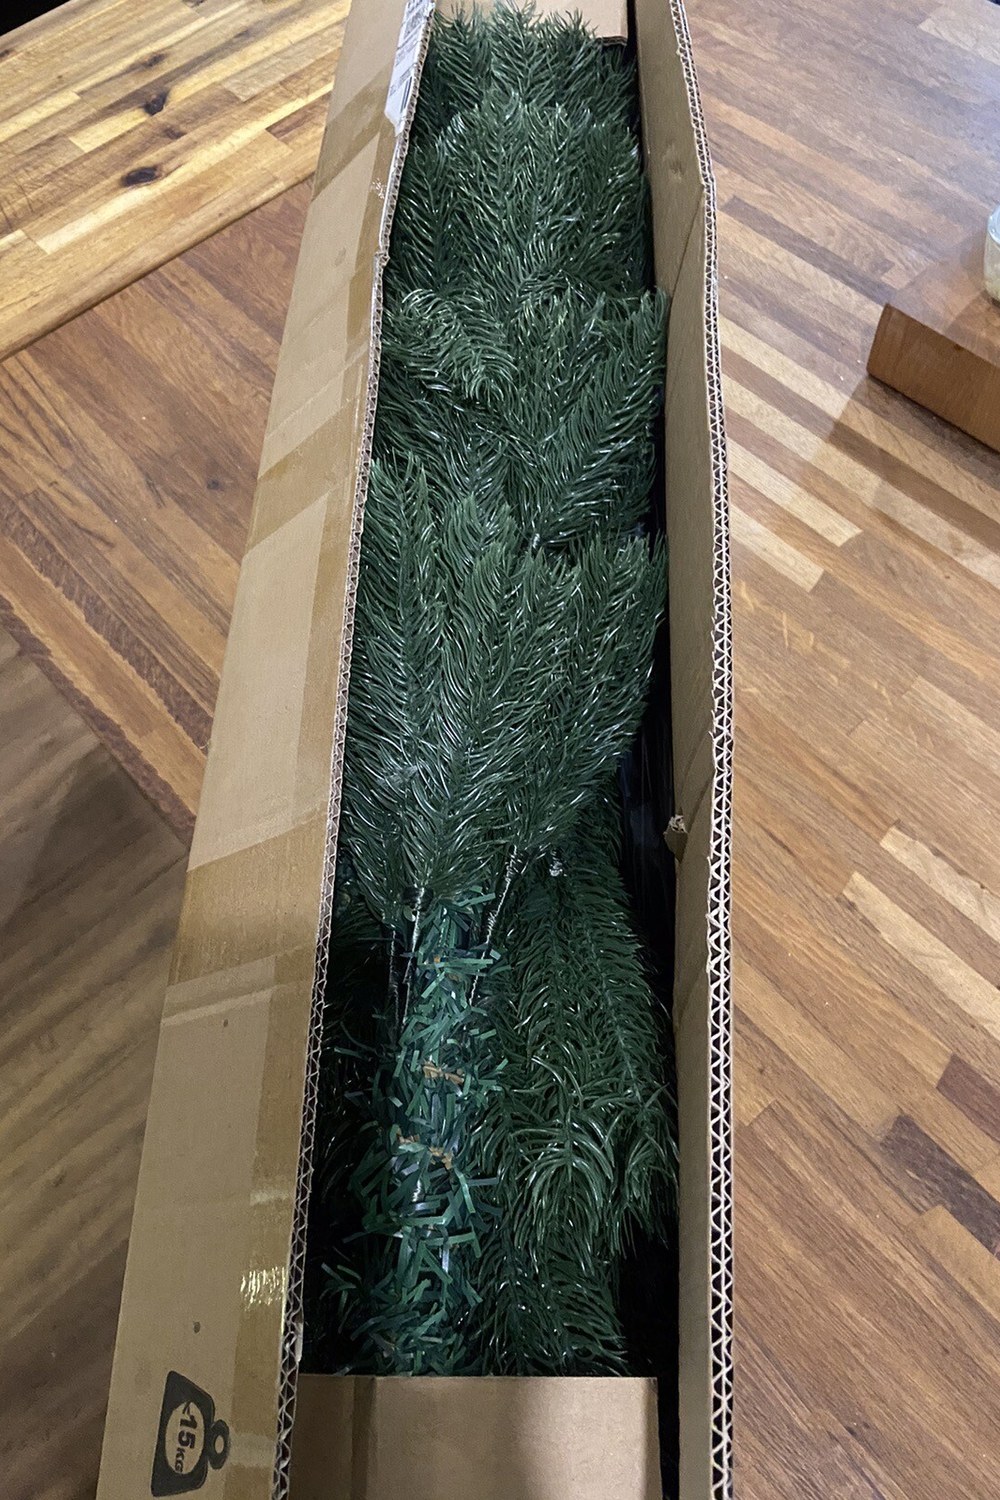
If the original tree box survives, keep it — it was measured for your tree.
Keep the tree's original long box if it is still sound, and store the tree in it, sections in order, with the stand bagged separately. The original box was cut to your tree's exact size, so it protects the branches better than any replacement. If the box is torn, replace it with a proper tree bag of the same length, not a box that is too short.
Styling tip: slide the box into its storage spot lengthways, label facing out, and never stack anything heavy on top of it. A tree box with a dent in it has a dented tree inside.
16. Wreaths on Hooks, Not in Piles
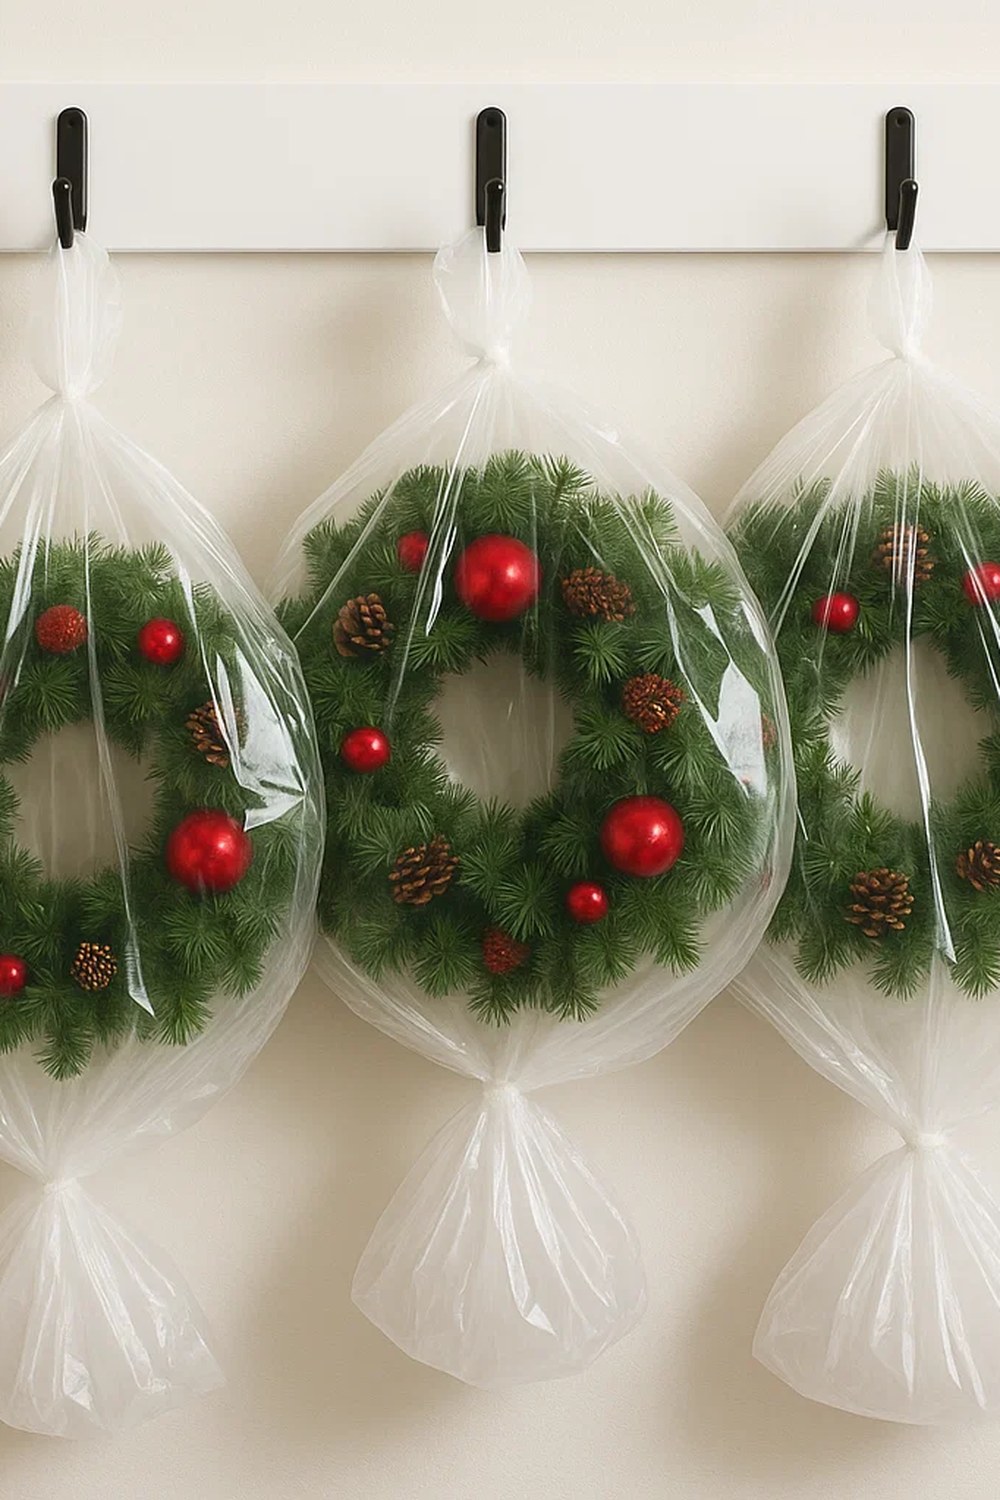
Every wreath gets a hook — a pile of wreaths is a pile of flat wreaths.
Hang each wreath, bagged, on its own hook inside a cupboard, on the storage-room wall or on the back of a door. Hooks are the cheapest wreath storage there is, and they keep every wreath round and full. If you have more wreaths than hooks, add a row of removable hooks to the inside of a cupboard door.
Styling tip: hang the largest wreath lowest and the smallest highest, so they do not overlap. Overlapping wreaths crush each other's greenery.
17. Big Pieces in Their Own Boxes: Village Houses and Nativities
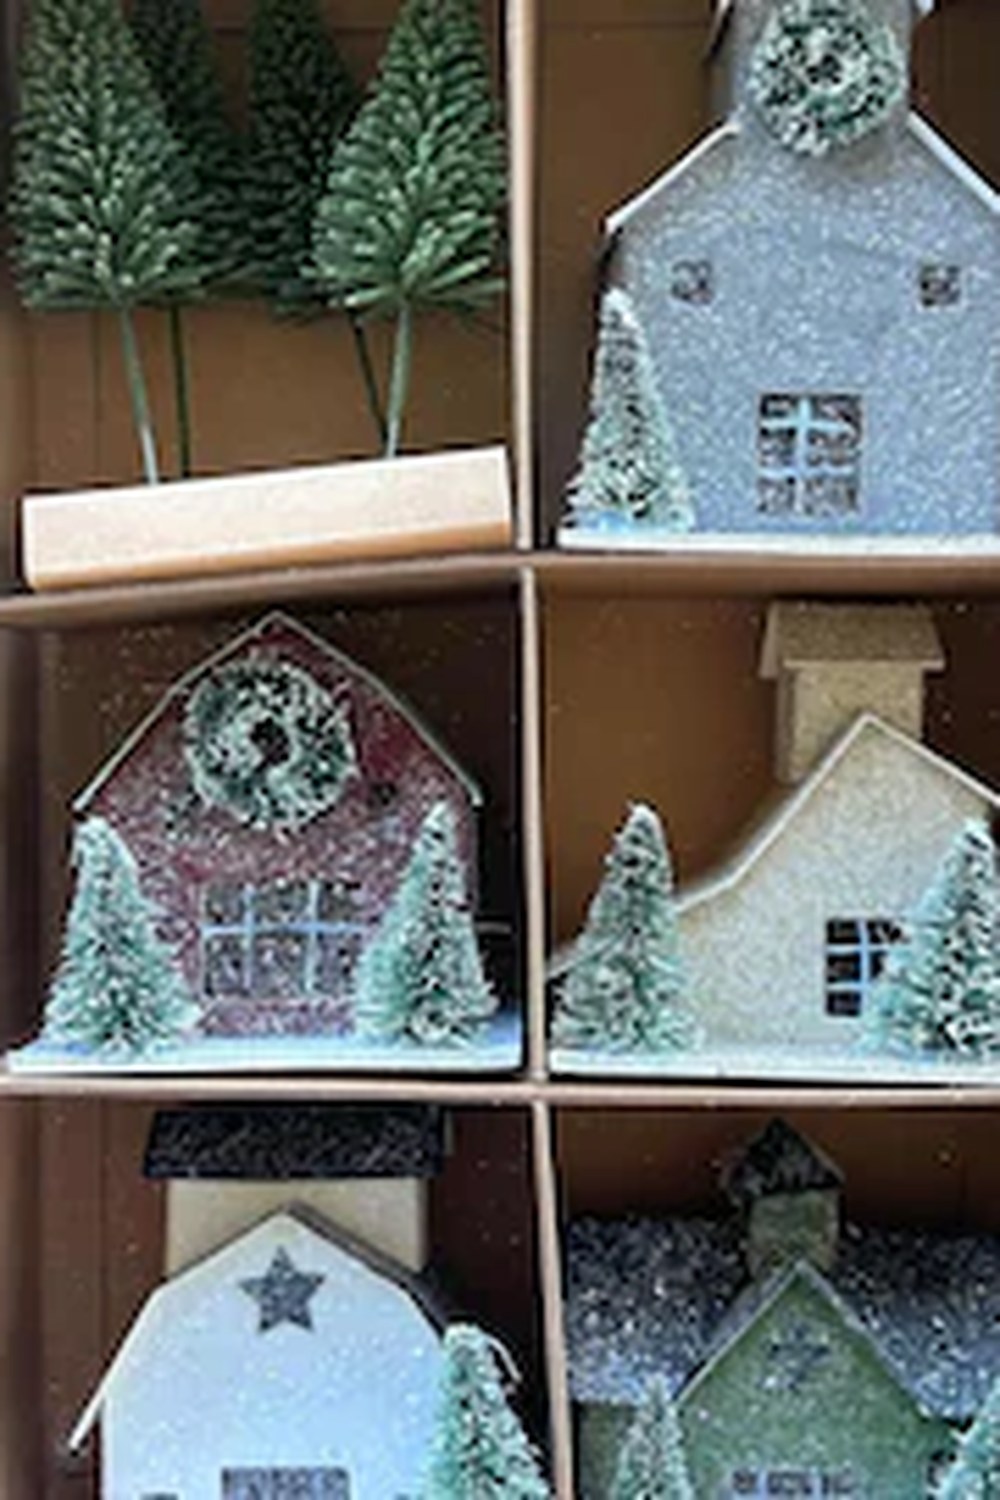
Village houses and nativity pieces get their own cells — they are the most breakable things you own.
Pack village houses, nativity figures and other ceramic pieces individually in tissue, in a divided box, one piece per cell, with the most fragile on top. These pieces are the ones that break in January, because they are oddly shaped and easily forgotten in a big box. A divided box with a photograph of the display taped inside the lid means next December you can rebuild the scene exactly.
Styling tip: photograph the display before you pack it, and keep the photo in the box. A village you can rebuild from a photo is a village that comes out every year.
18. Nutcrackers Standing Upright: One Tall Figure per Cell
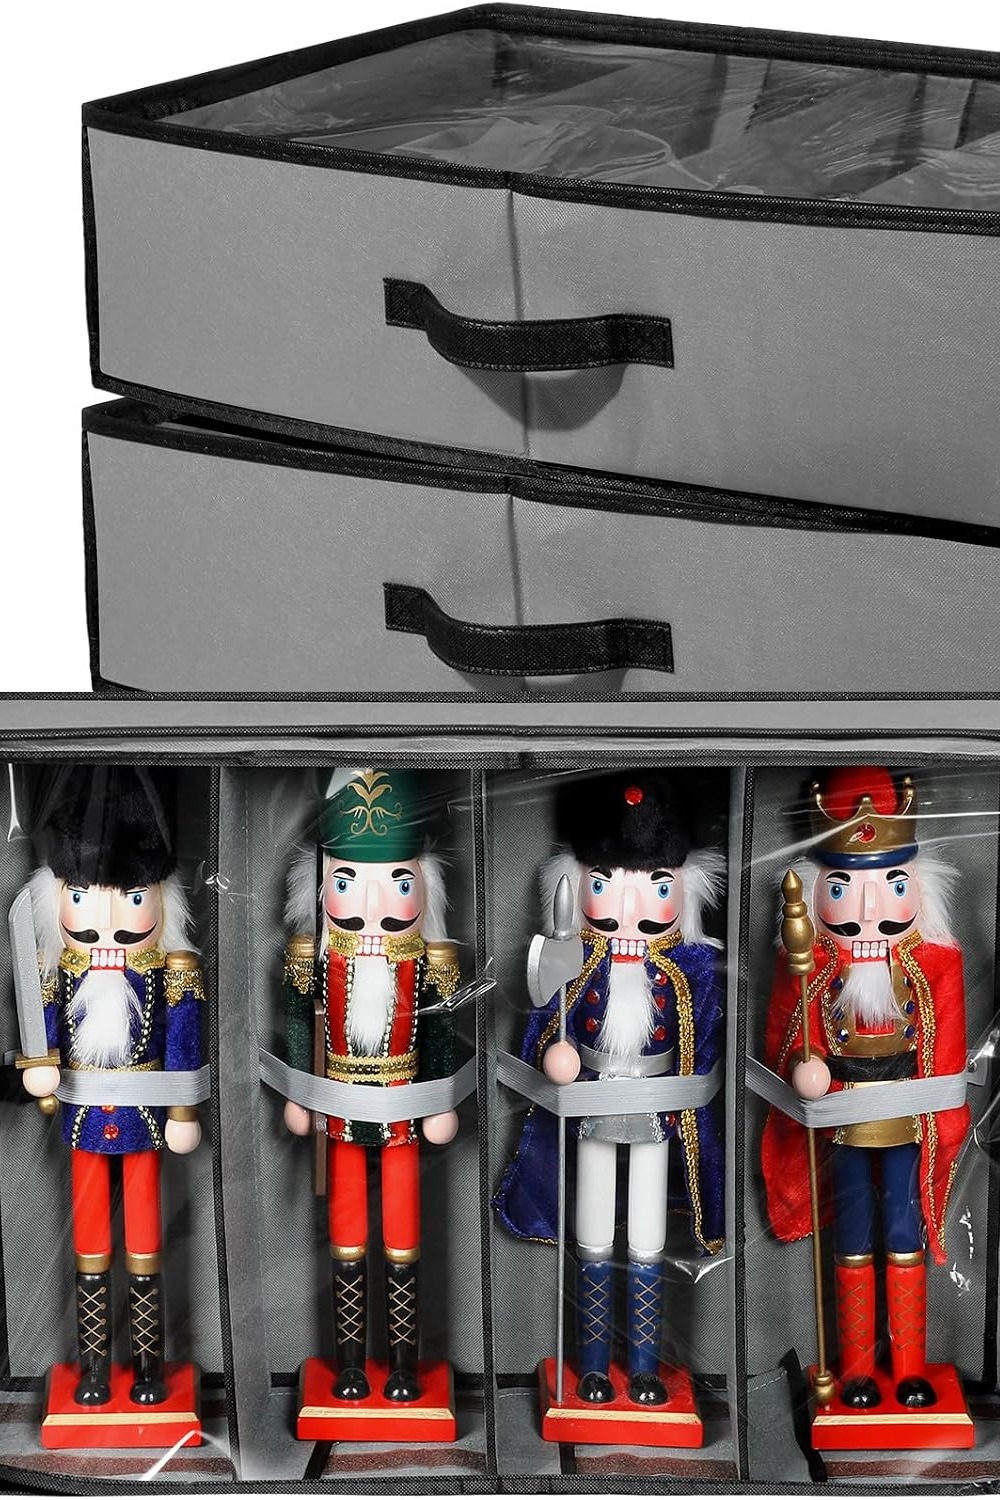
Nutcrackers stored standing stay unchipped — a tall figure tipped into a general bin comes out scratched.
Nutcrackers are the awkward big pieces: too tall for an ornament box, too top-heavy for the big holiday bin, and the first things to chip when they topple into each other. Store them standing upright in a divided figure box, one nutcracker per cell, with the strap across each cell holding the figure steady. The dividers keep painted faces, crowns and lever arms from rubbing against their neighbours, and one box keeps the whole collection together, so the nutcrackers come out next December in the same row they went in.
Styling tip: measure your tallest figure, crown and all, before you choose the box, and store the box upright on a shelf rather than under the heavy bins. The cells stop sideways knocks; they cannot hold up weight stacked on top.
19. The Table Centrepiece Box: One Box, One Table
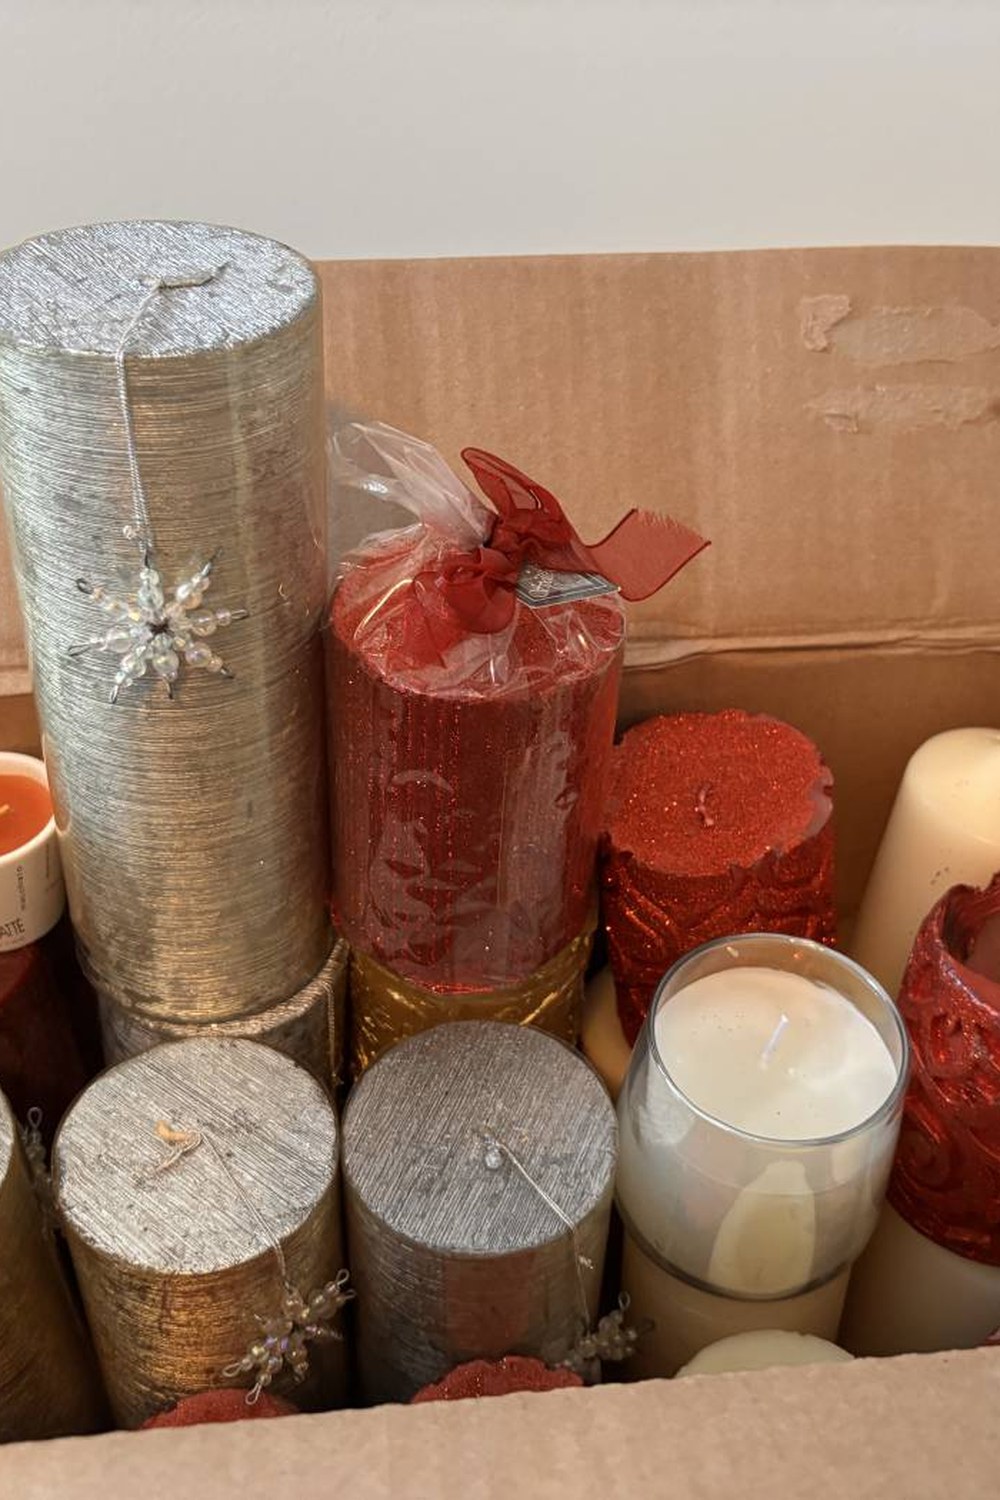
One box holds the whole table — centrepiece, runner, candlesticks, all together.
Pack everything for one table — the runner, the candlesticks, the centrepiece, the napkin rings — into a single labelled box, so next December you open one box and the table is dressed. Packing by table, rather than by item type, is the fastest way to decorate, because you never hunt through five boxes for one table's pieces. Wrap the candlesticks in tissue so they do not scratch the runner.
Styling tip: lay the runner flat on top of the box's contents, not folded underneath them. A runner that has been crushed all year needs ironing before it can be used.
Labels, Boxes & Finding It Again
20. Label Every Box on Two Sides, Not One
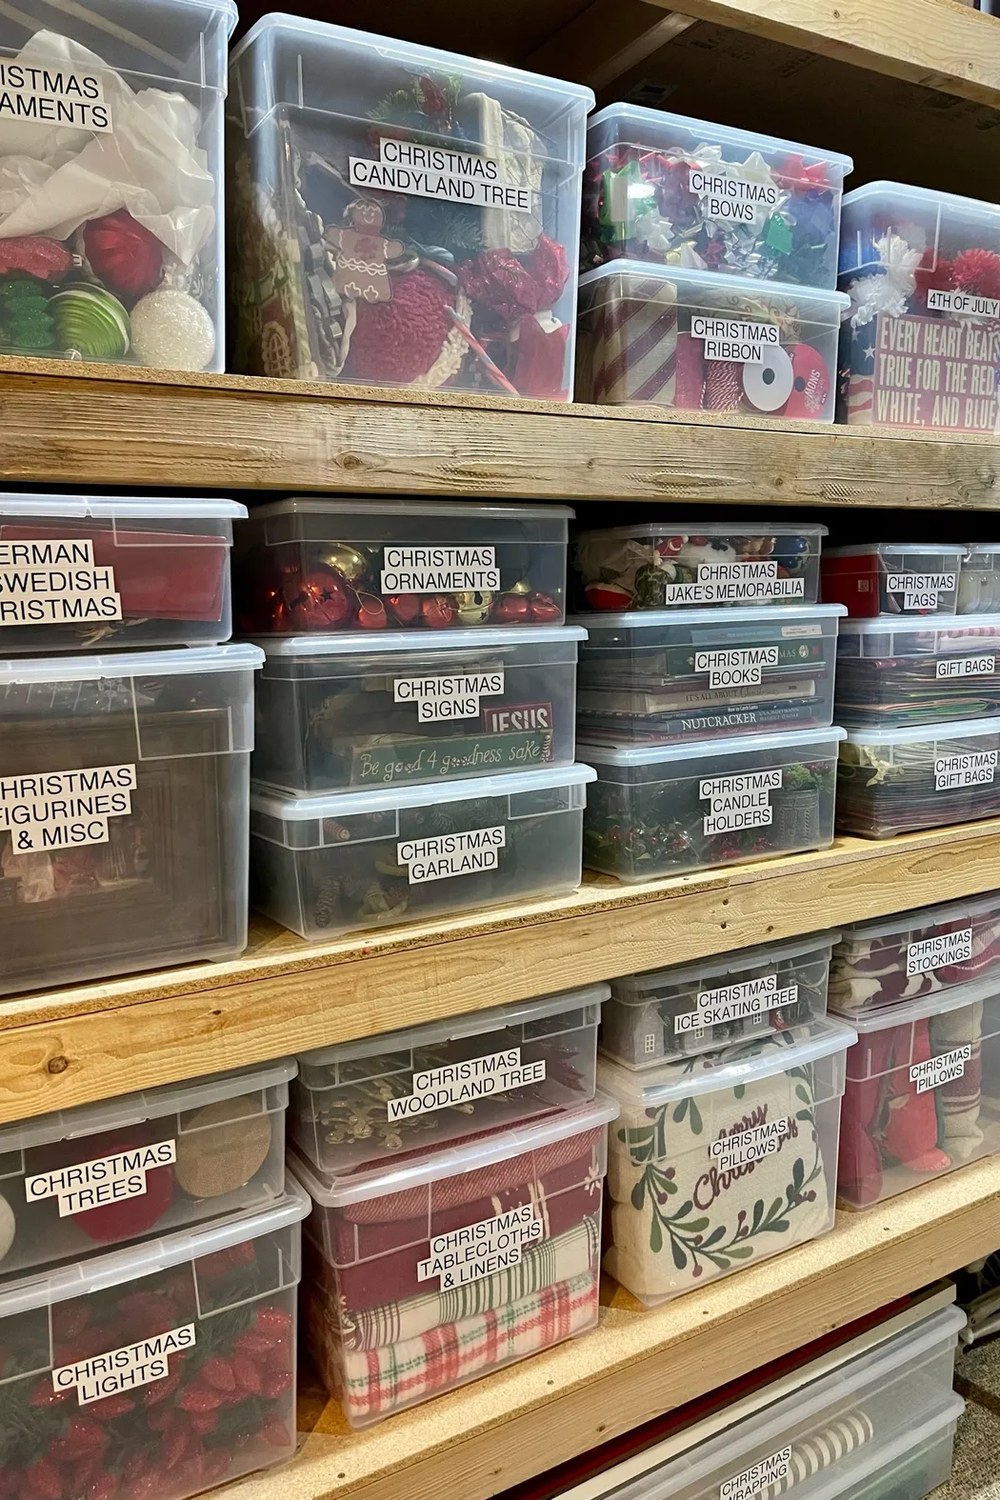
Label two sides, not one — boxes get turned around, and labels get hidden.
Write a large, clear label on two sides of every storage box — the front and one end — so the box is readable whichever way it is stacked. A box labelled on one side is a box you have to pull out and turn around to identify, and a shelf of single-labelled boxes is a shelf nobody wants to search. Use a thick marker and short labels: "Tree ornaments — red" beats a paragraph.
Styling tip: label the box before you fill it, while it is still empty and easy to write on. A box labelled after filling is a box labelled in a hurry, in small writing, on the wrong side.
21. A Photo Inventory on Your Phone: Snap Before You Seal
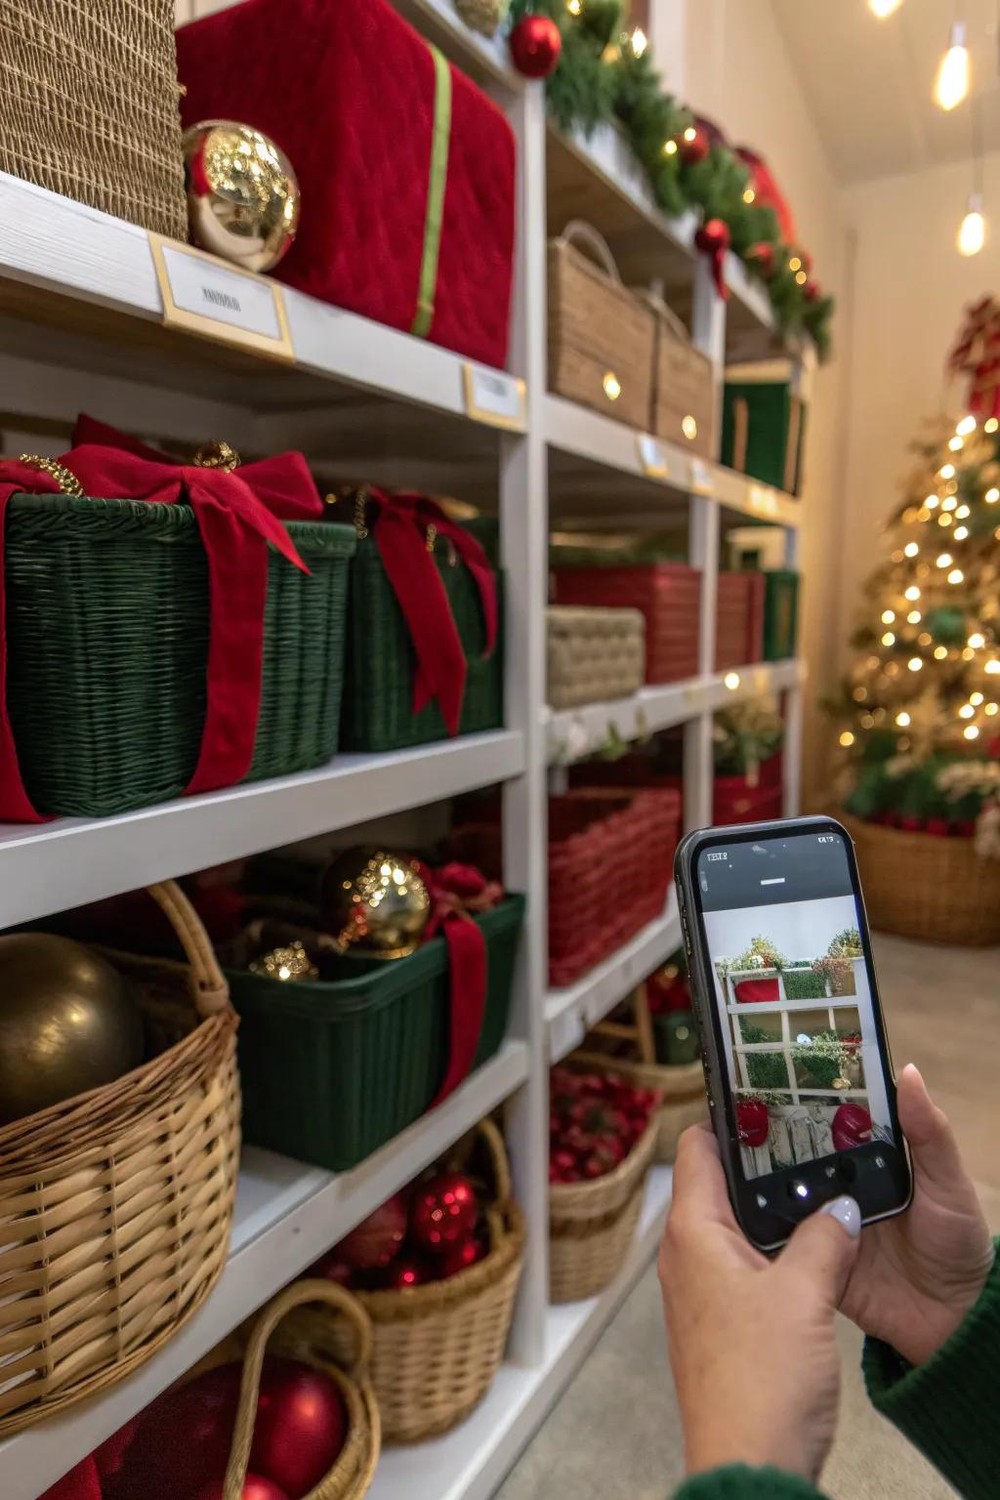
A photo on your phone is worth a hundred words of label — and it never falls off the lid.
Before you close each box, lay its contents out and photograph them from directly above, then save the photo in a "Christmas" album on your phone, named for the box — "Box 3: tree ornaments". Next December the photo tells you at a glance what is inside — which baubles, which garland, which table's pieces — and it stops you opening six boxes to find one thing. It also shows you what is missing, which a written list never does.
Styling tip: take the photo in daylight, with the contents spread out, not piled, and name the album before you start packing. A phone album with thirty unnamed photos is no better than thirty unlabelled boxes.
22. Colour-Code the Boxes by Room
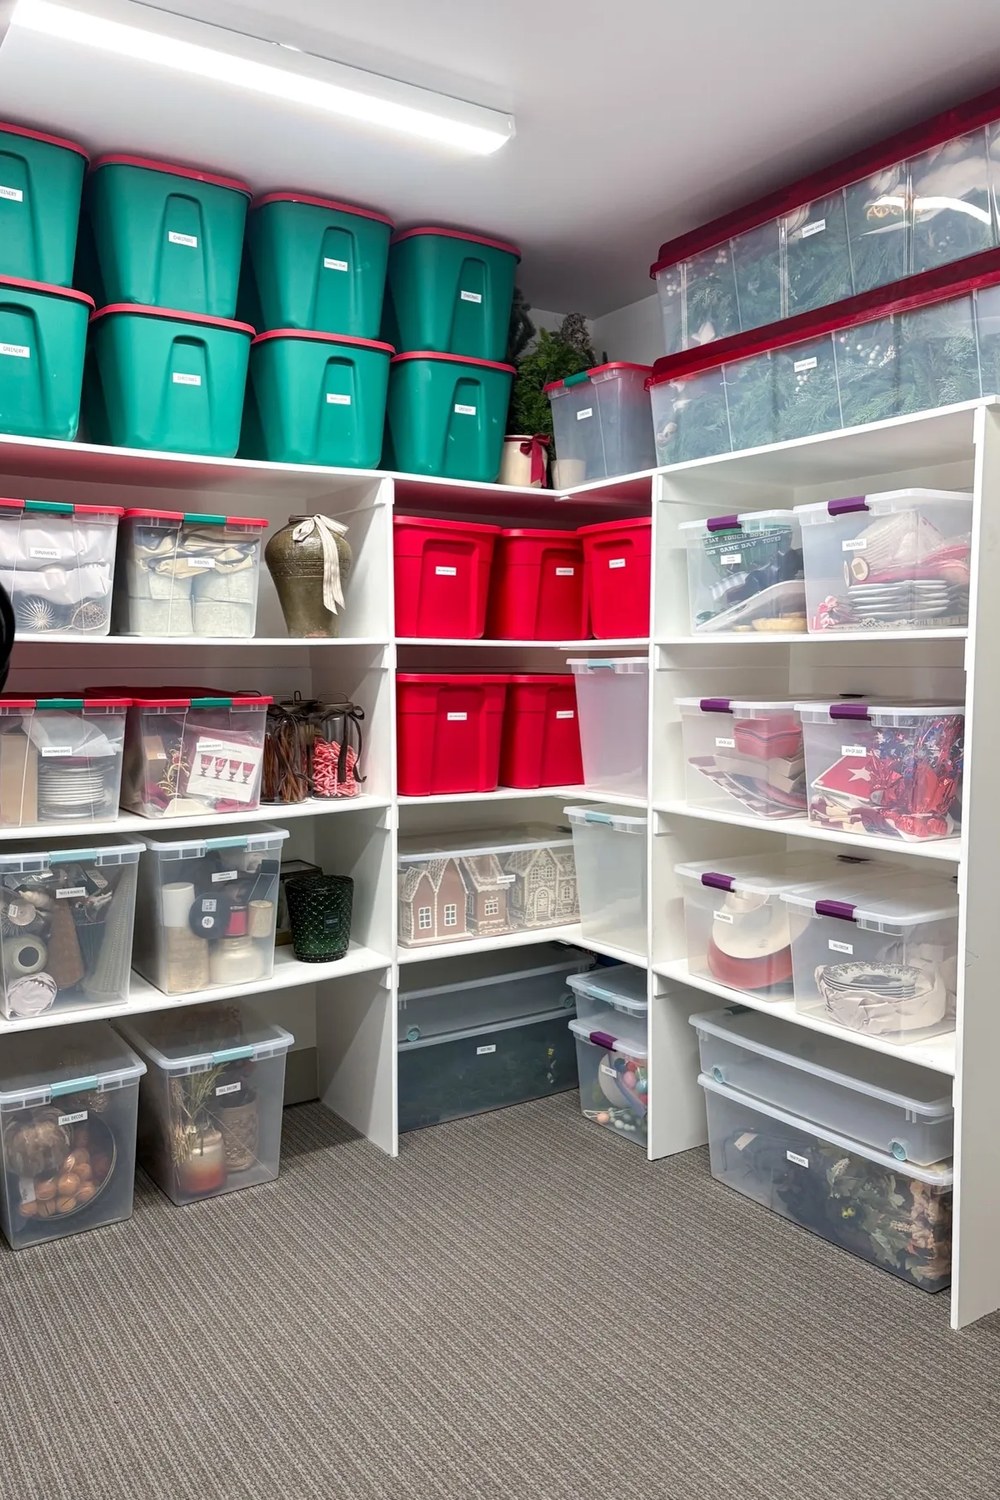
Red tape for the living room, green for the tree, blue for the kids' room — find it by colour.
Give each room a colour — red tape for the living room, green for the tree, blue for the kids' rooms — and mark every box with a strip of that room's tape plus its written label. Colour-coding means you can pull the right boxes at a glance, even from the far end of a shelf, and the children can find their own box by colour alone. Keep a small key taped inside the storage cupboard door.
Styling tip: use the same colours every year, and write the colour key on the inside of the cupboard door where it cannot be lost. A colour system that changes yearly is no system at all.
23. One Box per Room, Not One Box per Item
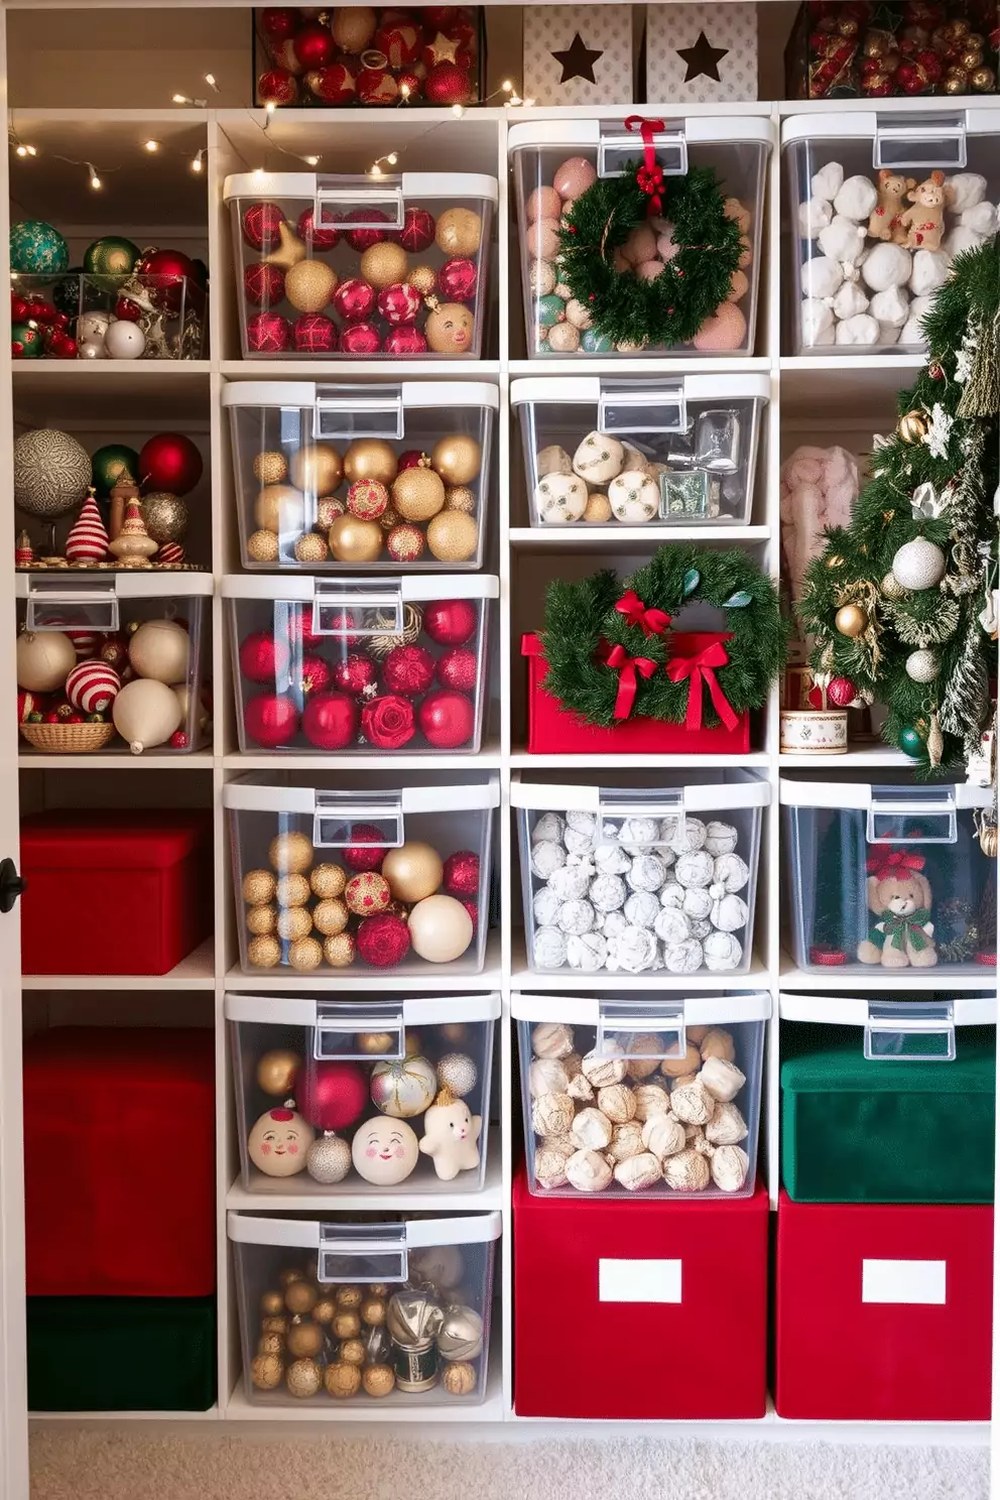
Pack by room, not by type — decorating is a room-by-room job.
Pack each room's decorations into that room's boxes — the living room's garlands, baubles and cushions together, the kids' room's decorations together — rather than sorting all baubles into one box and all garlands into another. Packing by room matches how you actually decorate: you take one room's boxes to that room and finish it, instead of carrying six boxes to every room. Keep only the tree ornaments in their own dedicated boxes.
Styling tip: write the room name first on the label, in the largest writing, then the contents. A label that starts with the room is a label you can read from the doorway.
24. The Spare Parts Bag: Hooks, Ties and Spare Bulbs Together
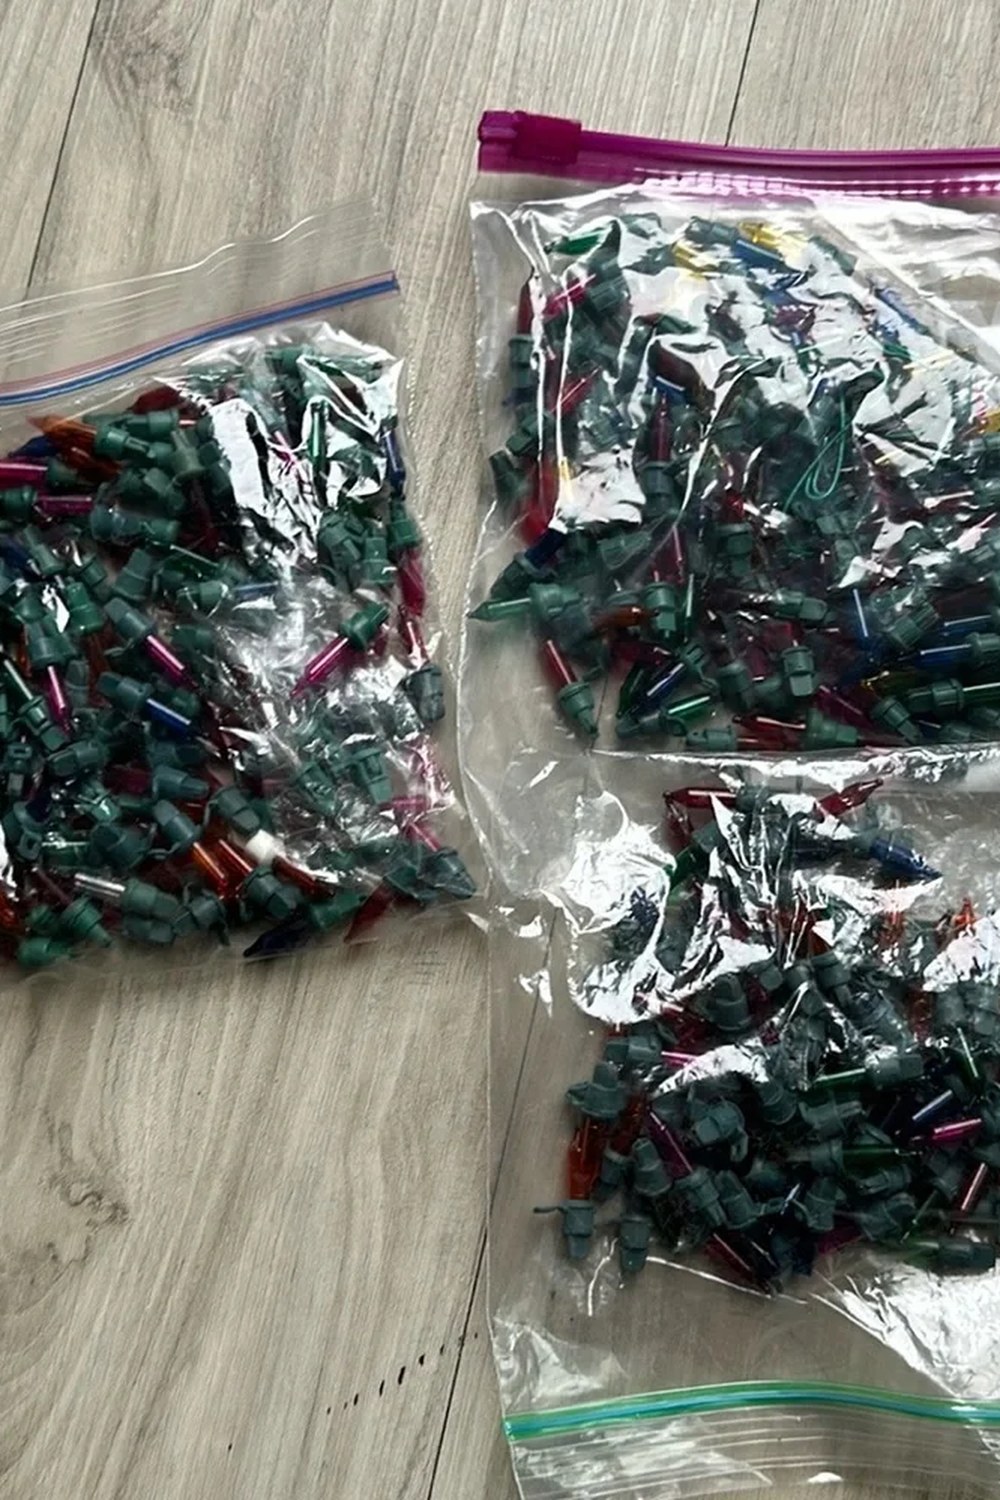
Hooks, ties, spare bulbs and fuses, in one bag — the bag you will reach for first.
Keep one zip bag with everything small and easily lost: ornament hooks, ribbon ties, spare bulbs, fuses, adhesive hooks and the tree's screws. Tape the bag to the inside of the largest storage box, or hang it on the cupboard door, so it is the first thing you find next December. A spare-parts bag saves a trip to the shops on the day you most want to be decorating.
Styling tip: check the bag before you pack it away, and replace anything you used this year. A spare-parts bag with no spare bulbs in it is just a bag.
25. The Inventory List: One Page, Taped Inside the Cupboard
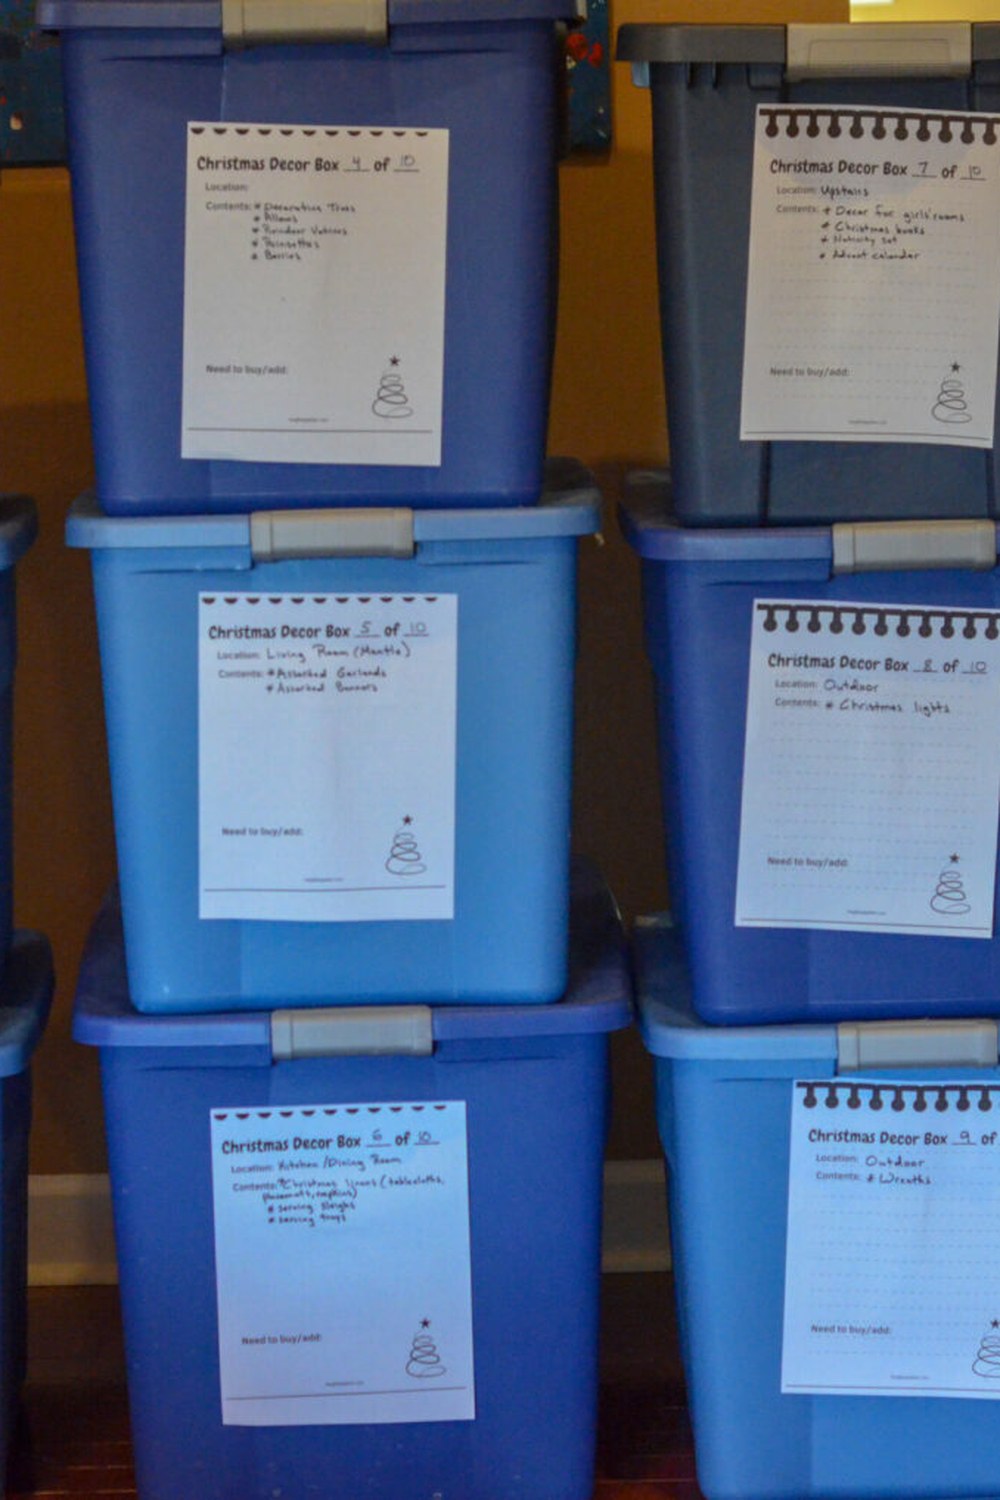
One page lists every box — tape it inside the cupboard door, where it lives.
Write a one-page inventory — box number, room, contents, and where it is stored — and tape it inside the storage cupboard door. The inventory is the map of your Christmas: it tells you how many boxes there are, where each one is, and what is in it, without opening a single lid. Update it each January as you pack away, while the boxes are still in your hands.
Styling tip: number the boxes and write the numbers on the inventory, so "Box 4" means the same box to everyone in the house. A list without numbers is a list nobody can follow.
The January Pack-Away Routine
26. Pack Away Room by Room, in One Afternoon
One room, one afternoon — pack it, label it, move on to the next.
Pack away one room at a time, finishing it completely — ornaments wrapped, lights reeled, box labelled and photographed — before starting the next room. Room-by-room packing is faster than packing the whole house at once, because you never have six half-filled boxes open at the same time, and each finished room feels like progress. Start with the room you use least, and end with the tree.
Styling tip: set a timer for each room — an hour for a small room, two for the living room — and stop when it rings. Packing away should be a job with an end, not a weekend that swallows January.
27. Clean Everything Before It Goes Into the Box
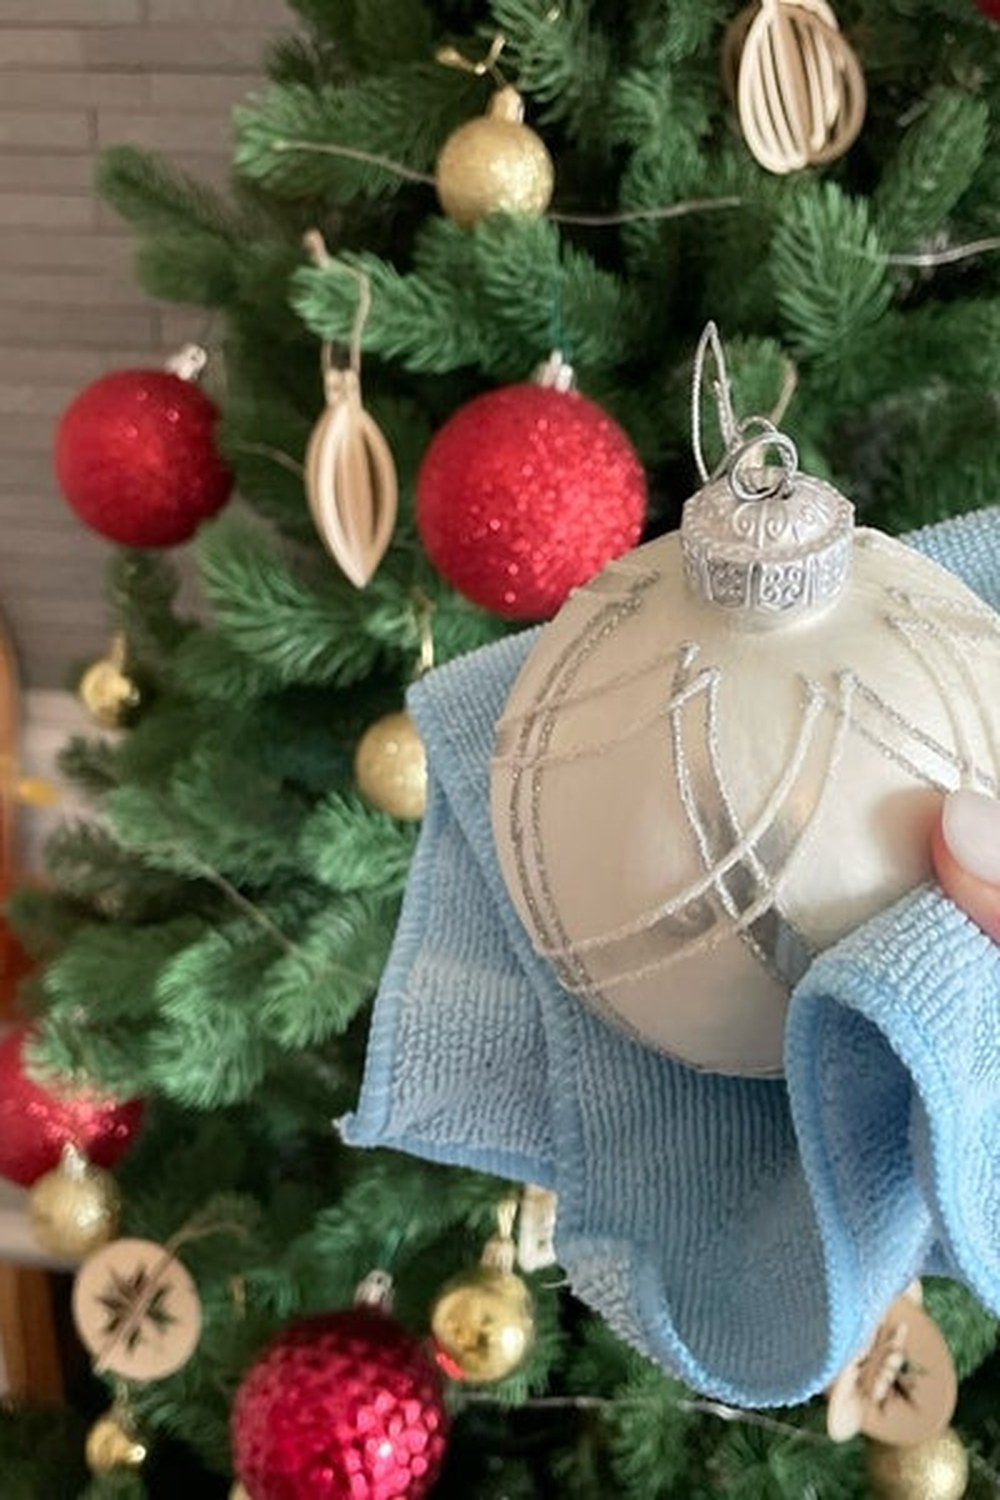
Wipe it now, while it is in your hand — dust packed away is dust next December.
Wipe every ornament, dust every garland and shake out every stocking before it goes into its box. Dust left on an ornament for eleven months settles into the finish, and a garland packed away damp goes musty. Cleaning as you pack takes seconds per item, and it means next December everything comes out looking like it did when you bought it.
Styling tip: keep a soft cloth and a small brush beside the packing boxes, and clean each piece as you pick it up. A cleaning step that needs a separate trip to the cupboard never happens.
28. The Donate Box: One In, One Out, Every Year

If it did not come out this year, it goes in the donate box — one in, one out.
Keep a donate box beside the packing boxes, and put anything you did not use this Christmas into it — the ornaments that stayed in the box, the garland that never left the cupboard. If a decoration was not used for two Christmases in a row, it is not a decoration, it is storage. Donating it frees a box and gives it a home where it will be used.
Styling tip: decide as you pack, not afterwards — if you hesitate over a piece for more than ten seconds, it goes in the donate box. A decoration you have to think about is a decoration you do not love.
29. Keep the Packing Supplies With the Decorations
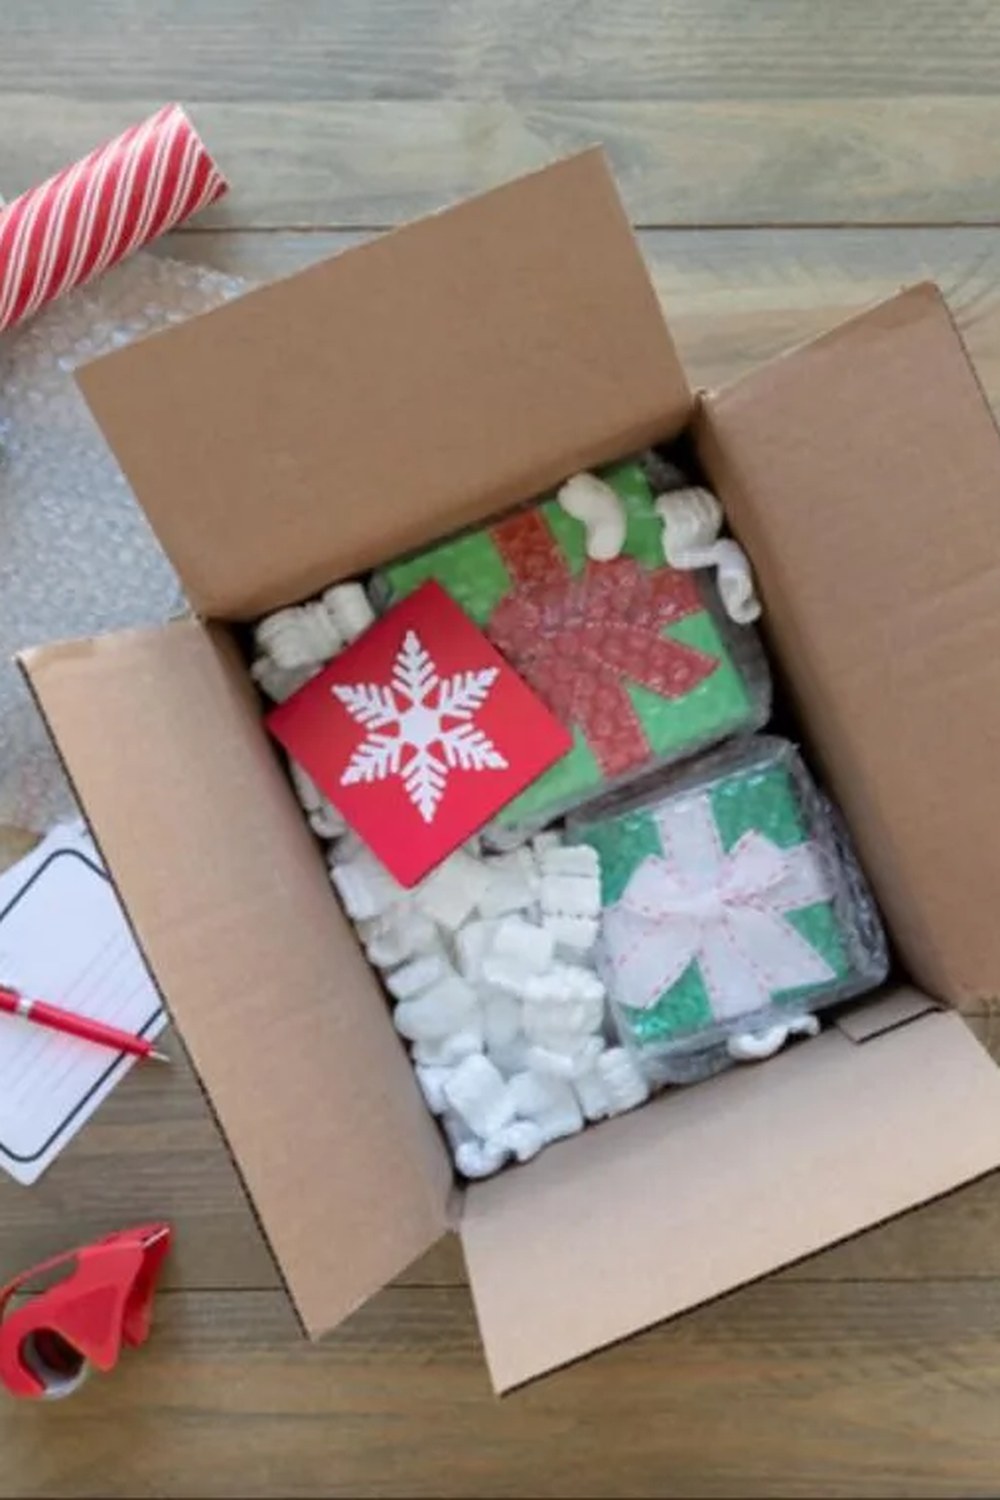
Tissue, tape and markers live with the boxes — packing supplies should never be hunted for.
Keep a small box with the storage supplies — tissue paper, tape, markers, zip bags, cardboard — stored with the Christmas boxes, so packing away never starts with a hunt for supplies. The supplies box is the first box out in January and the last box away, and it saves the most annoying part of the job: finding the tape. Restock it each year as you use it.
Styling tip: put the marker on a string tied to the supplies box, so it cannot wander off. A packing session without a marker is a packing session that stops halfway.
30. Store Boxes Off the Floor, Away From Damp
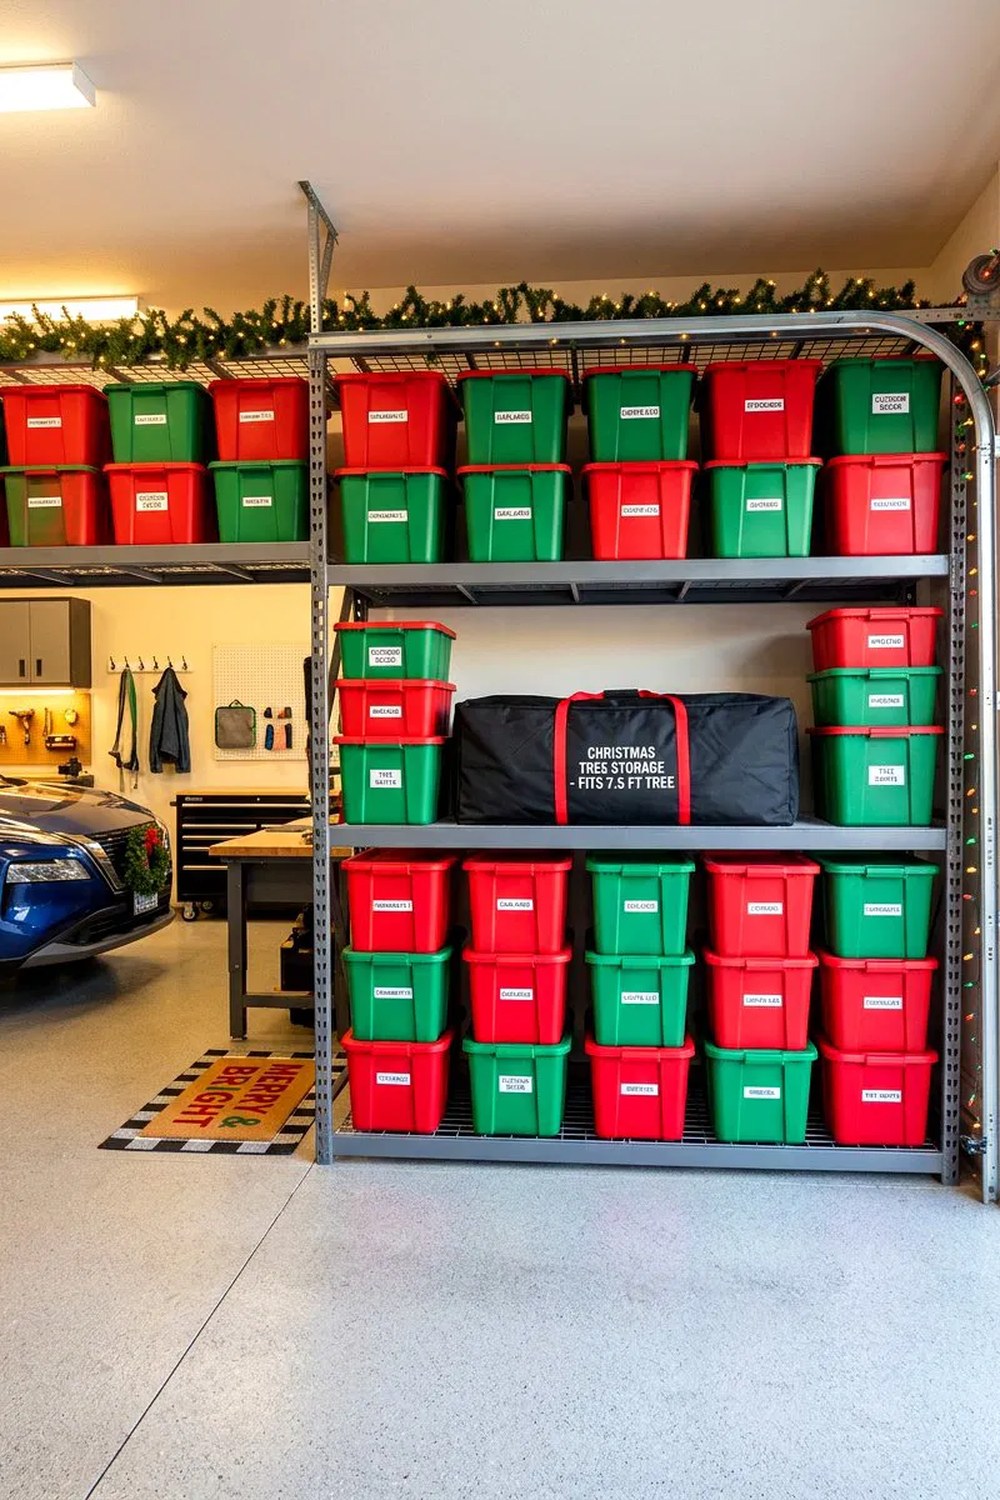
Boxes on shelves, not on the floor — damp rises, and cardboard soaks it up.
Store every Christmas box on a shelf, a pallet or a raised rack, never directly on a garage or cellar floor. Damp rises from concrete, cardboard soaks it up, and a box that has sat in a damp patch all year opens to musty ornaments and ruined tissue. A dry, cool cupboard or a high garage shelf is the right home; a damp floor is the wrong one.
Styling tip: check the storage spot in summer, when you are not thinking about Christmas, for damp patches and leaks. A leak found in July is a repair; a leak found in December is a ruined Christmas.
31. Number the Bins in Setup Order: Bin 1 Opens First
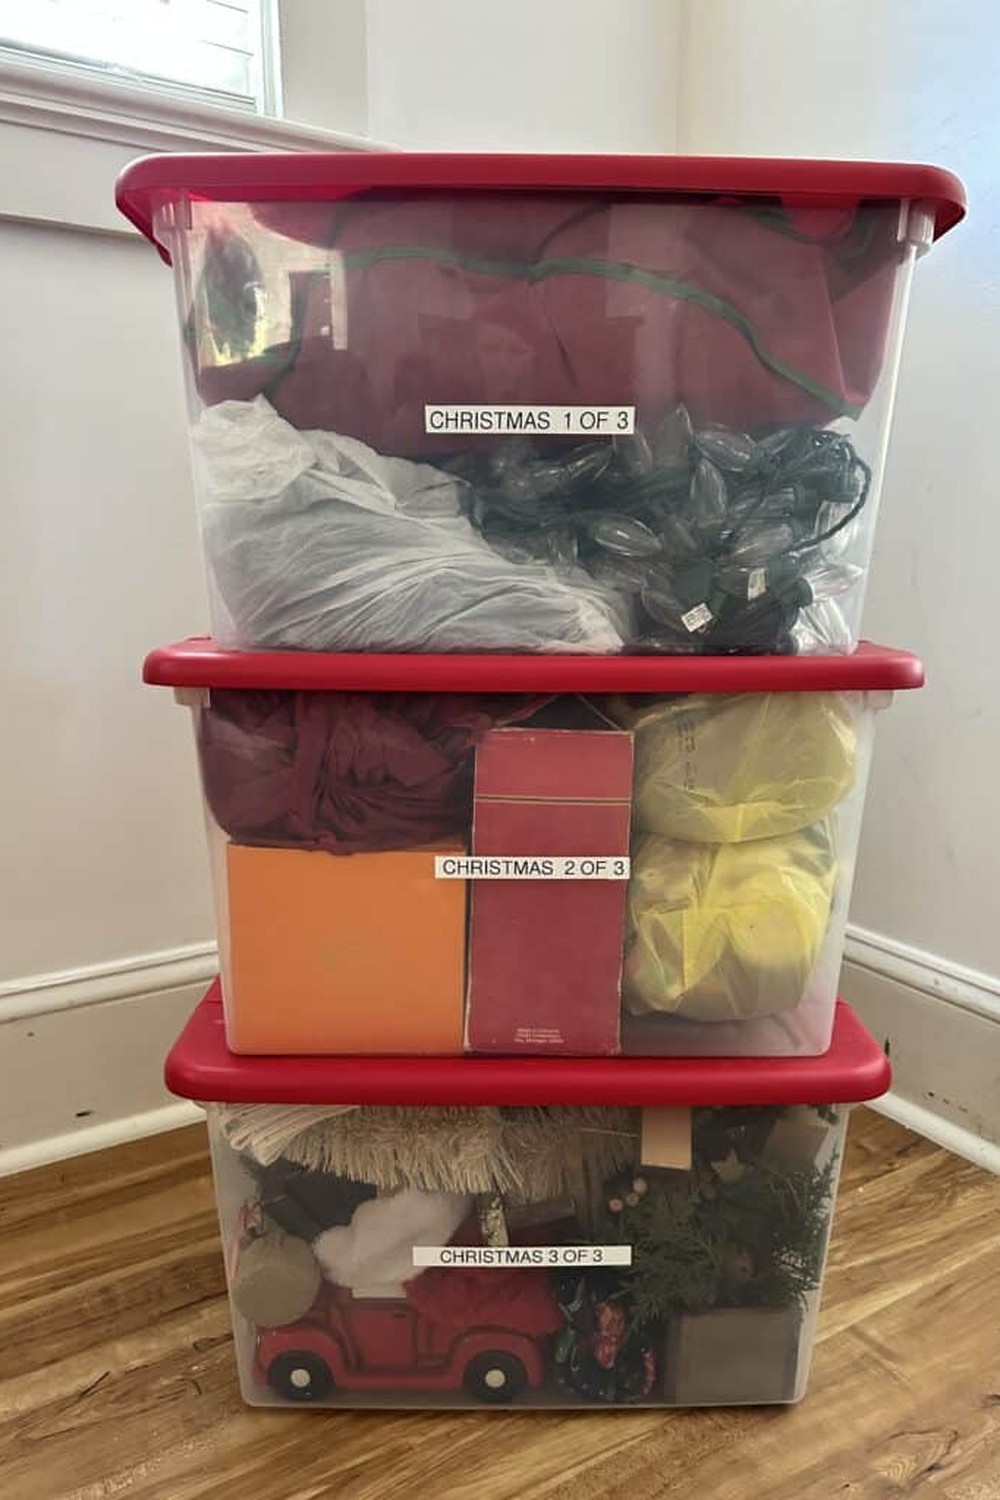
Bin 1 opens first — number the bins in the order you will open them, and decorating starts itself.
Pack a single Bin 1 with the things decorating starts with: the tree stand and screws, the light reels, the ornament hooks, the spare-parts bag and the inventory list. Then number every bin in the order you will open it — Bin 1 for the first things out, Bin 2 for the tree ornaments, Bin 3 for the mantel — and write the number big on two sides of each bin. Next December you open Bin 1 first, and the whole job starts smoothly, instead of with a hunt through six boxes for the tree stand.
Styling tip: put Bin 1 on top of the stack, or on its own shelf, where it is the easiest box to reach, and keep the same numbers every year. A first box buried at the bottom of a pile is not a first box.
32. The Gift Wrap Organizer: Rolls, Cards and Tags Packed Away Together
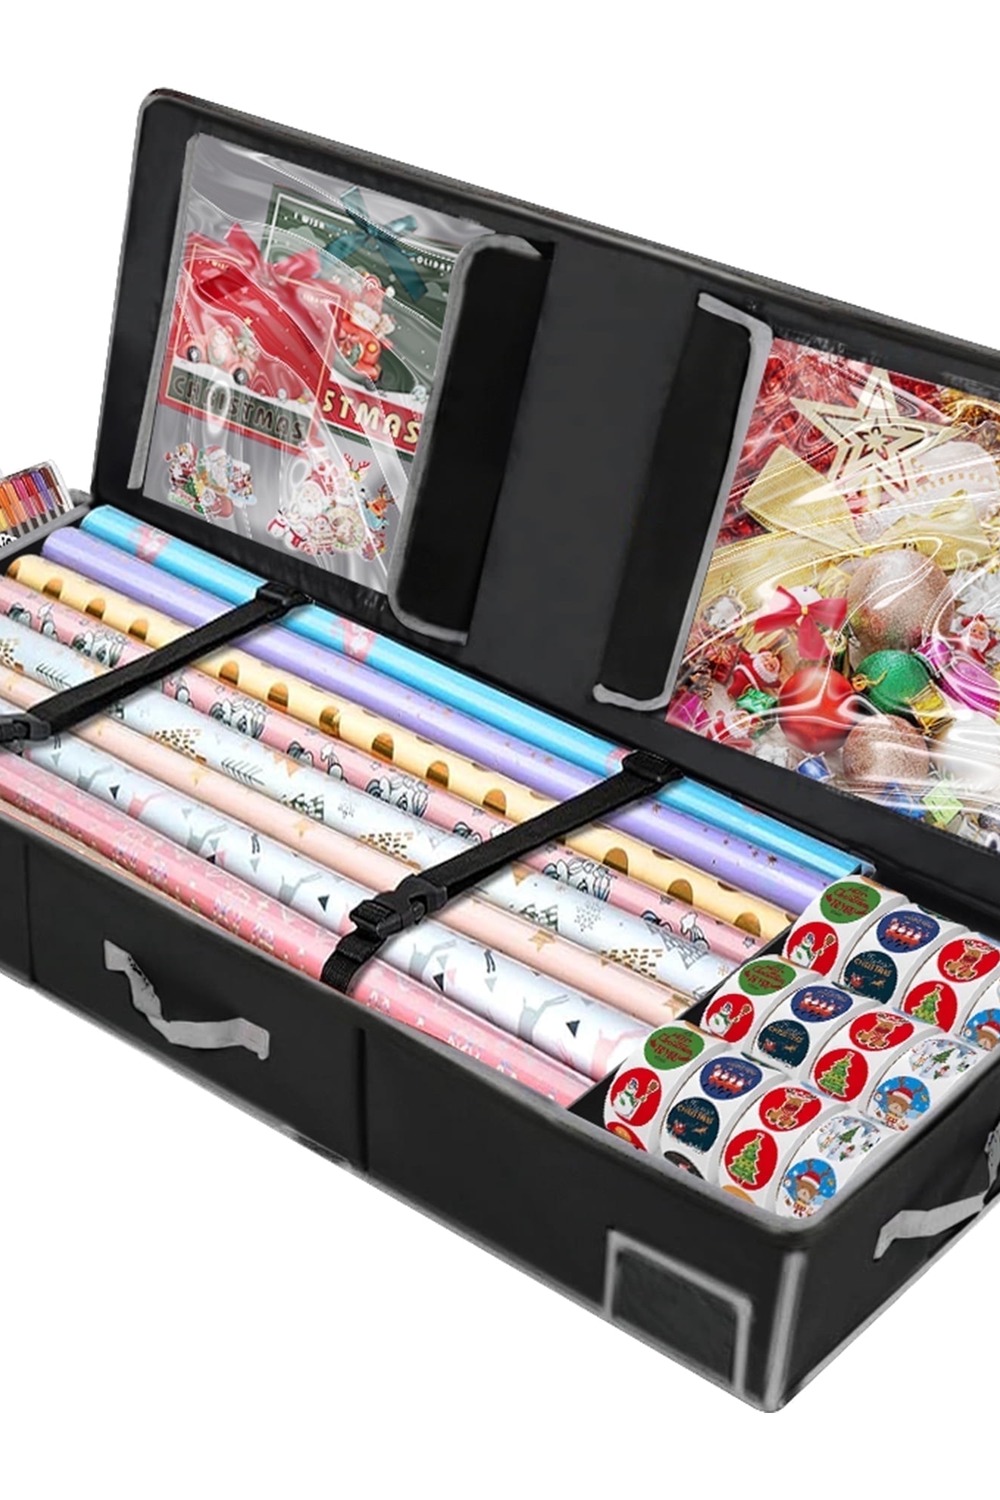
The wrapping gets packed away too — one long organizer, and no crushed rolls or lost tags next December.
The last job of the pack-away is the wrapping itself: the half-used rolls of paper, the spare Christmas cards, the bows and the sticker tags, which otherwise end up crushed in a carrier bag behind the boxes. Give them one long, flat organizer instead — the rolls strapped side by side so they cannot crease or unroll, the cards and baubles in the clear lid pockets where you can see exactly what you have, the sticker tags in their own end pocket — and store it with the decorations, under a bed or lying flat on top of the bins. Next December the whole wrapping station comes out in one trip, and the paper you already own gets used instead of bought again.
Styling tip: count the rolls as you pack them, and note on the inventory list any colour you are running short of. The organizer holds what you have; the list stops you buying it twice.
Essential Decor Takeaways
- Wrap every ornament individually in tissue and give it its own cell — most ornament damage happens in the box, not on the tree.
- Wind lights on a reel or a hanger, one string per bag, and test every string before you pack it away.
- Hang wreaths and garlands in bags on hooks; stacked wreaths come out flat, hanging ones keep their shape.
- Label every box on two sides, photograph its contents on your phone before you seal it, and colour-code by room so you can find anything at a glance.
- Pack by room, not by item type, and keep one "Open First" box with the stand, lights, hooks and inventory.
- Store boxes off the floor in a dry spot, and keep the packing supplies with the decorations so January never starts with a hunt.
- Pack the wrapping away in its own organizer too — rolls strapped flat, cards and tags in the pockets, ready for next December.
Frequently Asked Questions
How do I stop Christmas lights tangling in storage?
Wind each string loosely around a cardboard reel or a coat hanger, secure the plug in a notch, and store each string in its own labelled zip bag. Never wind lights into a ball or pack two strings in one bag — a reeled string unwinds in a minute, while a balled one takes an hour to untangle.
What is the best way to store an artificial Christmas tree?
Take it apart into sections, bag each section separately, and store the sections upright together in one long tree bag or its original box, with the stand and screws in a labelled zip bag taped inside. Keep the bag on a shelf, never on a damp floor, and never stack anything heavy on top of it.
How should I store glass ornaments so they do not break?
Wrap each one individually in plain white tissue paper, nest it in its own cell in a divided box or an egg carton, and keep the heaviest ornaments at the bottom with tissue between layers. Never use newspaper — the ink rubs off — and never stack a tray directly onto unwrapped ornaments.
How do I remember where everything goes next Christmas?
Photograph each box's contents before you seal it and save the photos in a "Christmas" album on your phone, named for each box, and keep a one-page written inventory with the boxes. Between the photo album and the inventory, next December's unpacking is a plan, not a puzzle — you will know what is in every box before you open it.
Packing Christmas away well is the kindest thing you can do for next December's you — ornaments that survive, lights that unwind in a minute, and boxes that tell you exactly what is inside. Save your favourite christmas decor storage ideas from this list, start with one Bin 1 box and a phone photograph of every box's contents, and let January's hour of care buy you a whole afternoon next Christmas. For more seasonal inspiration, follow TheStylingHub on Pinterest, where we pin fresh tree, mantel, table and colour-story ideas all season long.